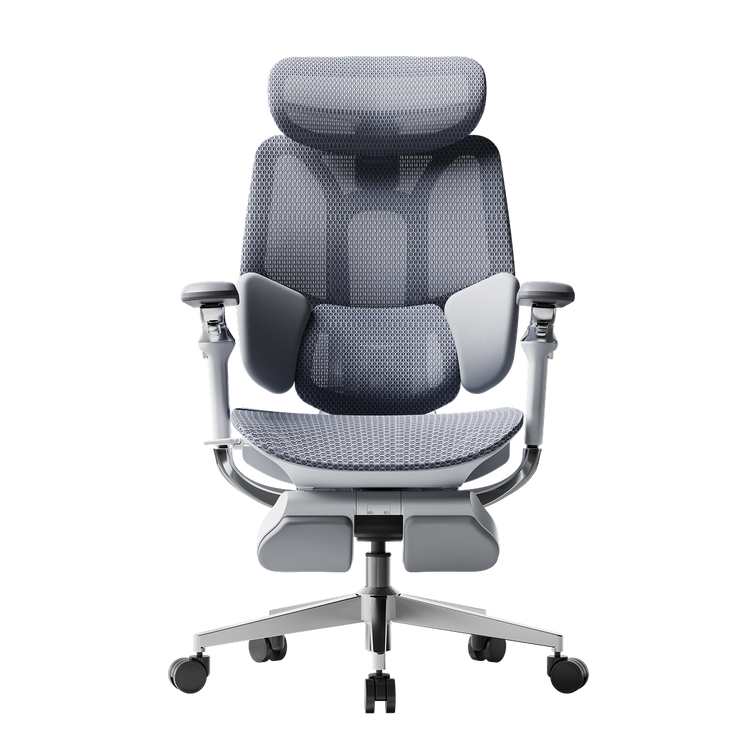
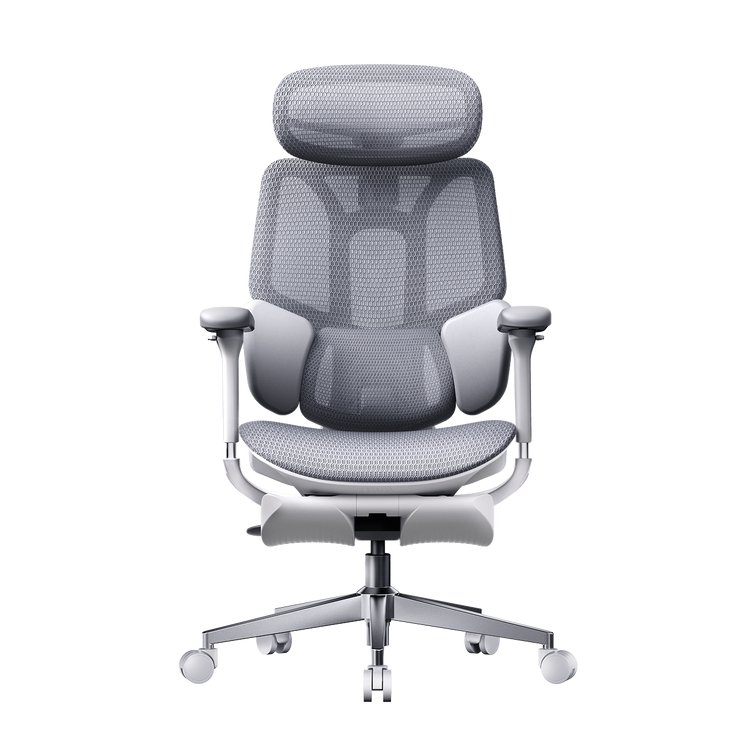
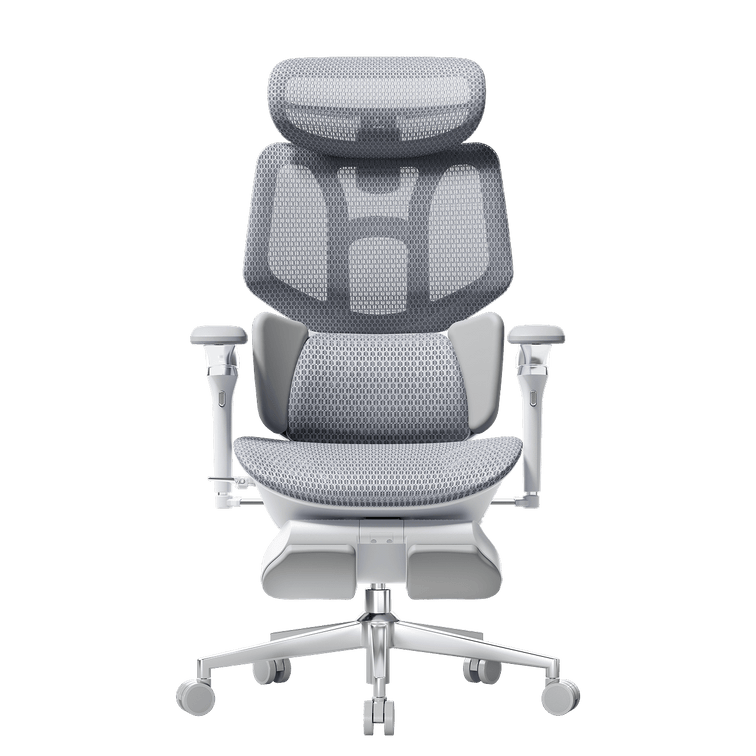
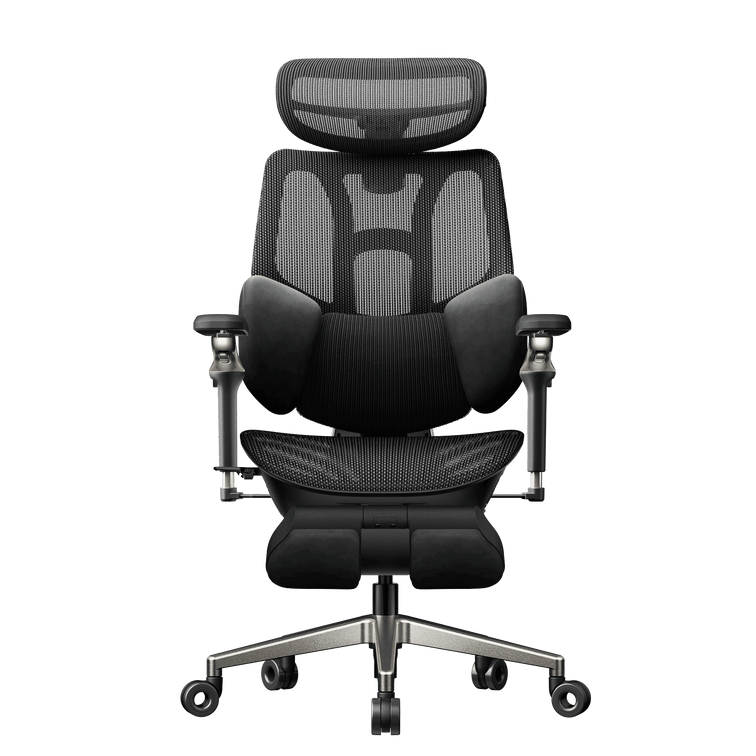
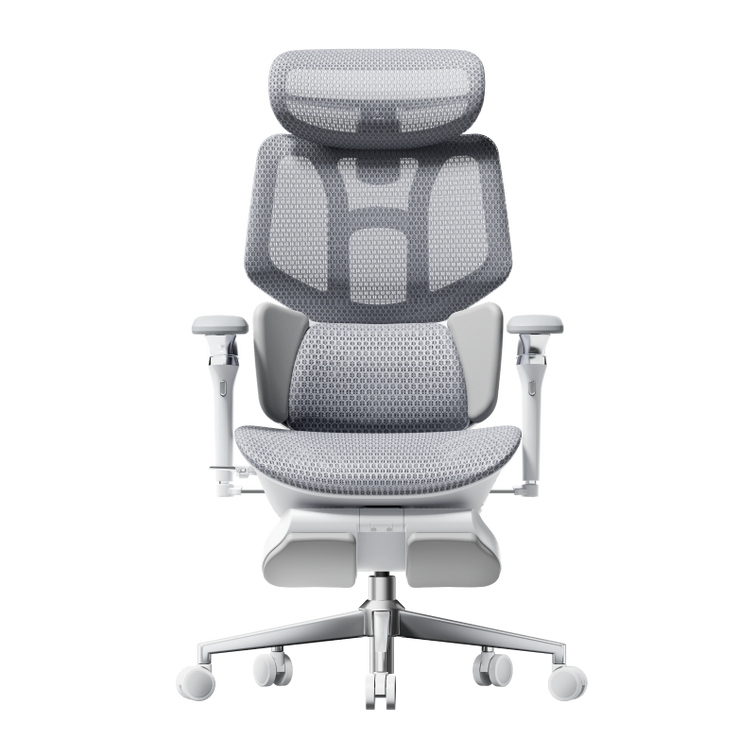

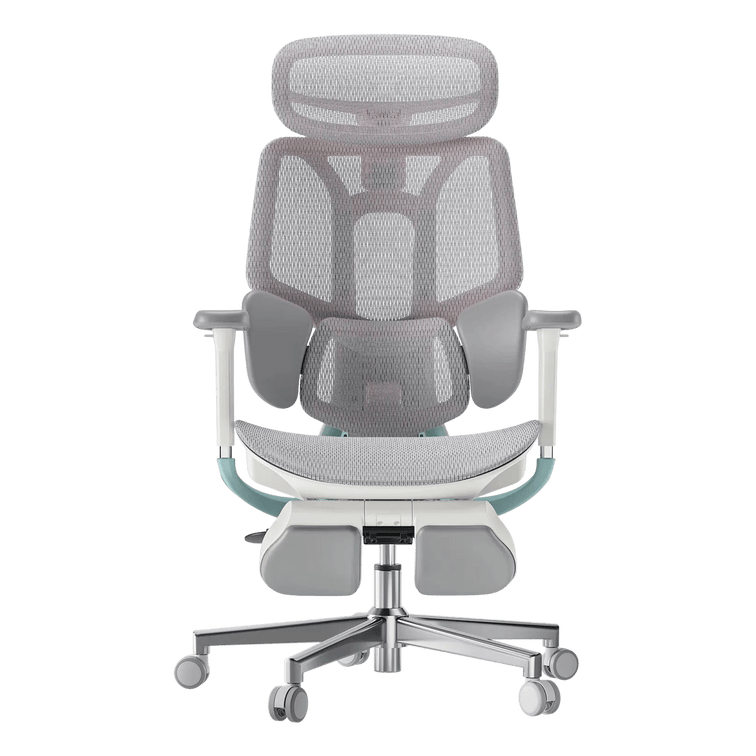
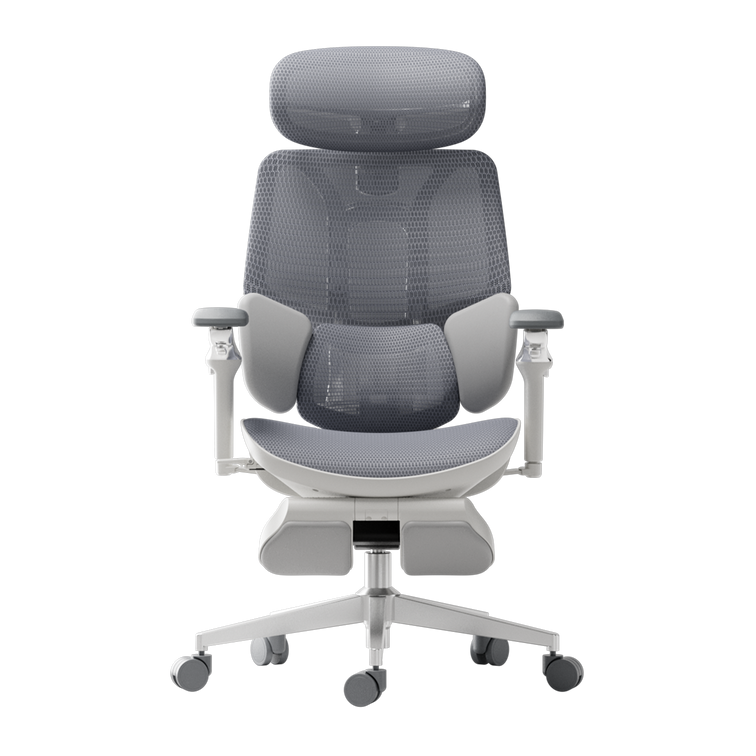


Moving your desk, replacing a worn part or freeing up storage space? This step-by-step guide explains how to separate the castors, base, gas lift, seat, backrest, armrests and headrest without damaging the chair.
What You’ll Need: Tools for Office Chair Disassembly
Gather the appropriate tools before starting so the chair can be disassembled in a controlled order without stripped screws or damaged parts.
| Tool | What it is used for |
|---|---|
| Flat-head screwdriver | Releasing removable clips or cover plates and gently helping loosen a stuck castor. |
| Allen key or hex-key set | Removing compatible bolts from the seat, armrests, backrest and mechanism. |
| Rubber mallet | Applying controlled taps around an approved metal joint without striking or denting the gas-cylinder body. |
| Adjustable or pipe wrench | Gripping the outside of a removable gas cylinder near its joint. Protect the finish and use only reasonable force. |
| Suitable penetrating oil | Helping release a seized external metal joint. Keep it away from upholstery, mesh, electronics and braking surfaces. |
| Work gloves and eye protection | Protecting hands and eyes while handling heavy, greasy or tightly fitted components. |
| Labelled bags and a blanket | Keeping bolts organised and protecting the chair and floor. |
| Model-specific manual | Confirming the correct bolt locations, removable parts and assembly sequence for the exact chair model. |
Before You Start: The Safety Rule That Matters Most
Only separate parts that the chair manual identifies as removable. Certain tilt mechanisms, powered components and moulded back panels may be factory-assembled. If a part does not move with reasonable effort, stop and check the manual instead of applying additional force.
Disconnect any power supply before working on a powered chair. If the chair contains a battery, follow the model-specific shutdown and battery instructions. Take a photograph at every stage so cable routing, washers, brackets and bolt positions can be restored correctly.

How to Disassemble an Office Chair Step by Step
Begin at the bottom of the chair and work upwards. The precise sequence may differ by model, so the supplied assembly manual always takes priority.
-
Remove the Castors or Wheels
Place the chair on its side on a blanket. On chairs with push-fit castors, hold one castor close to the base and pull it straight out. Avoid pulling only on the wheel rim.
If a castor is difficult to remove, confirm that it is not retained by a clip or screw. A screwdriver may help release a compatible push-fit stem, but protect the surrounding material and do not twist hard enough to crack the base.
-
Separate the Five-Star Base From the Gas Lift
Turn the chair over on a protected surface. Check the manual for a retaining clip, cover or model-specific connection before attempting to separate the base.
Where the manual permits removal, support the base and apply light, even taps around the metal joint or collar using a rubber mallet. Never strike the cylinder body. If the joint remains seized, stop rather than escalating to heavy impacts.
-
Remove the Sealed Gas Lift From the Seat Mechanism
Grip the external cylinder near the mechanism using a suitable protected wrench, then use slow rotational pressure to release the taper fit. Keep your face and body away from the direction in which the cylinder may release.
Once removed, keep the gas lift sealed and store it upright in a stable location away from heat, children and heavy objects.
If the cylinder is damaged, leaking or cannot be released with reasonable force, use a qualified repair service. Do not attempt to dismantle the cylinder itself. -
Unbolt the Seat and Mechanism
Support the seat before removing its final bolts. Locate the fasteners that connect the seat mechanism to the seat pan and loosen them using the correct Allen key or tool.
Place each bolt, washer and spacer in a labelled bag. Do not mix fasteners from the seat, armrests and backrest, as they may use different lengths or thread types.
-
Detach the Backrest, Armrests and Headrest
Support the backrest while loosening its bracket. Remove the armrests at their intended attachment points and detach the headrest only if the manual shows it as a removable component.
Keep the components in removal order. Photograph any cables or connectors before unplugging powered features, and never pull a connector by its wire.
How to Reassemble Your Office Chair

Follow the manufacturer’s assembly instructions and use your photographs to restore every bracket, washer and cable to its original position. Reassembly is usually completed in the reverse order:
- Attach the headrest, backrest and armrests to the seat as instructed.
- Reinstall the seat mechanism in its original orientation.
- Start all related bolts by hand before tightening any one bolt fully.
- Tighten paired bolts gradually and evenly.
- Fit the sealed gas lift and five-star base according to the manual.
- Push each compatible castor completely into the base.
- Reconnect approved powered components before restoring power.
Disposing of or Recycling Office-Chair Parts in Europe
Waste and recycling arrangements differ among EU countries and municipalities. Before transporting a chair, contact your local municipal recycling centre or bulky-waste service and describe the materials and components you need to dispose of.
| Chair component | Recommended next step |
|---|---|
| Reusable chair or components | Consider repair, donation or reuse if the chair remains safe and the parts are in serviceable condition. |
| Metal base and mechanism | Ask the local recycling centre whether it accepts separated metal chair components. |
| Sealed gas lift | Tell the facility that it is a pressurised office-chair gas cylinder. Do not place it in household recycling or attempt to depressurise it yourself. |
| Mesh, foam and upholstered sections | Follow local bulky-furniture or residual-waste instructions. Acceptance and separation requirements vary by municipality. |
| Powered or electronic components | Use the applicable separate e-waste or WEEE collection route rather than mixed household waste. |
| Rechargeable battery | Follow the manufacturer’s removal instructions and use an authorised battery collection point. Do not puncture, crush or place the battery in general waste. |
EU rules require separate collection and appropriate treatment of electrical and electronic waste. National and local implementation can differ, so your municipal authority or authorised collection facility should confirm the correct route.
When to Repair an Office Chair—and When to Replace It

A worn castor, missing fastener or model-compatible arm pad may be an economical repair. Replacement becomes more sensible when the chair has structural damage, several recurring faults or no safe compatible parts.
| Situation | Usually repairable | Consider replacement |
|---|---|---|
| Castors | One or more worn castors with confirmed compatible replacements | Base sockets are cracked or distorted |
| Gas lift | A correct replacement is available and the surrounding structure is sound | The base or seat mechanism is also damaged |
| Armrests or headrest | A replaceable pad, bracket or model-specific component has failed | Multiple mounting points or the main frame are cracked |
| Seat or backrest | Minor replaceable trim or a removable component is worn | The supporting frame, mesh structure or mechanism is unsafe |
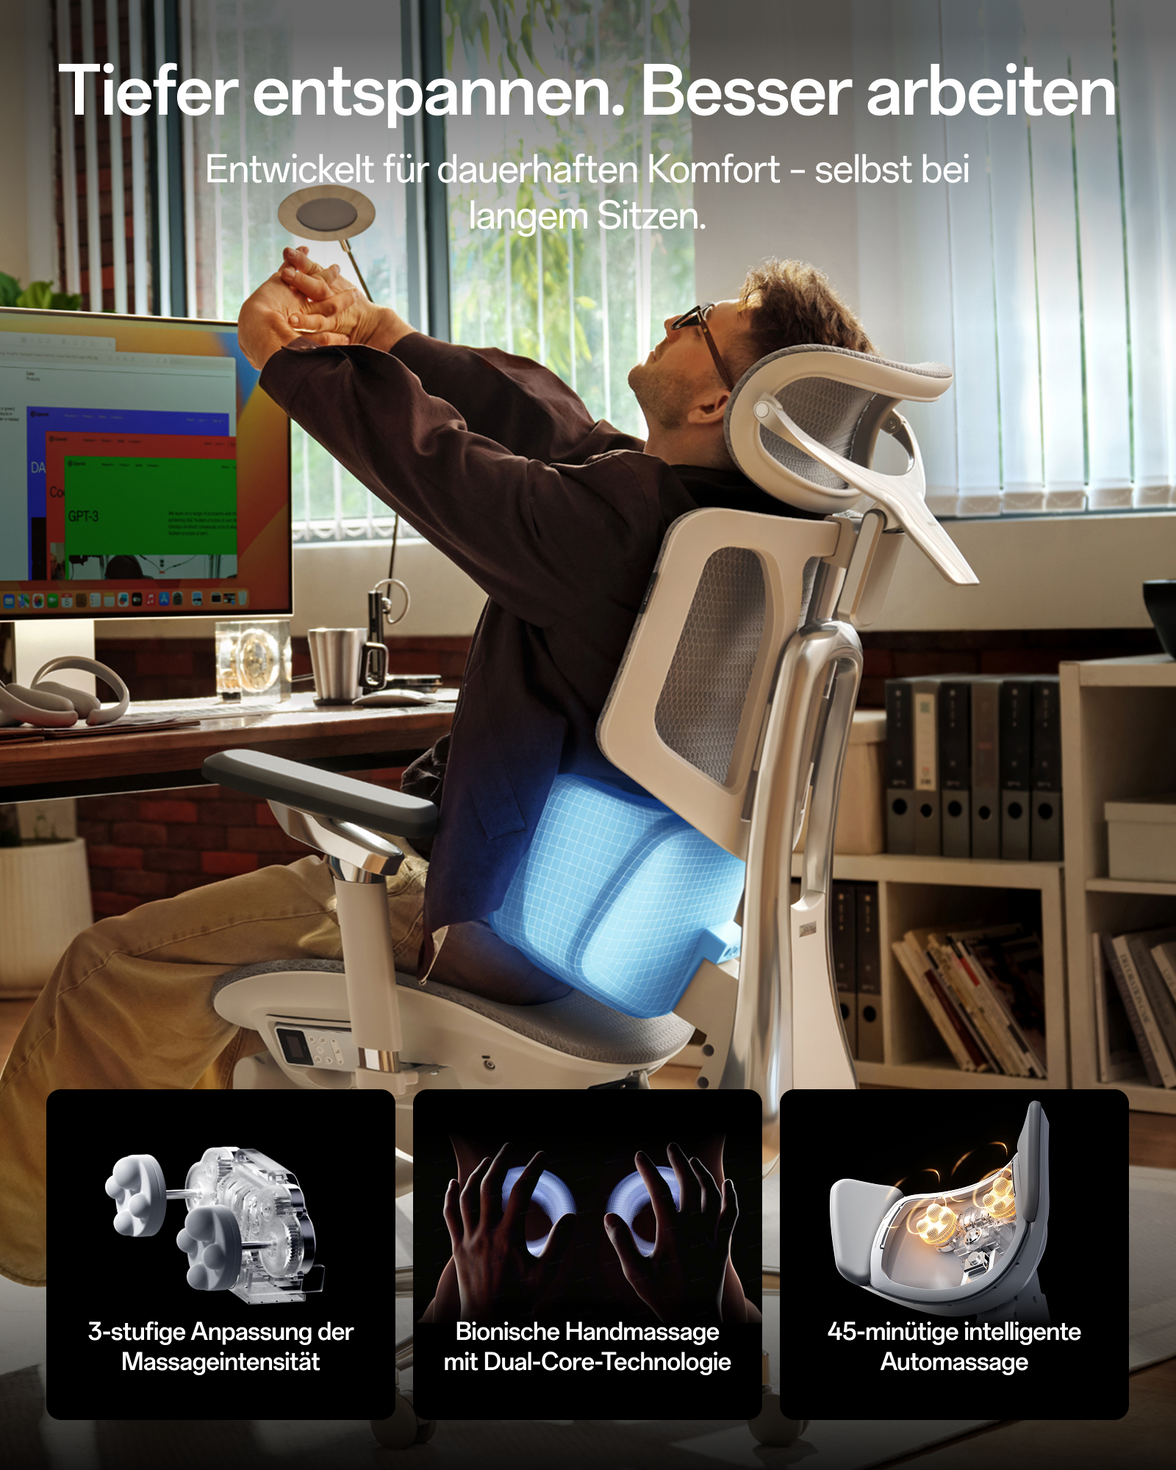
| Powered features | HBADA confirms a compatible module or authorised repair | Battery damage, overheating or repeated electrical faults occur |
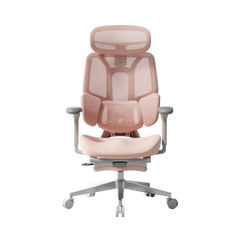
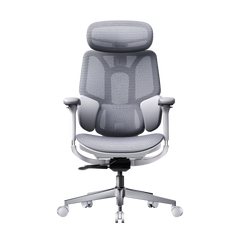
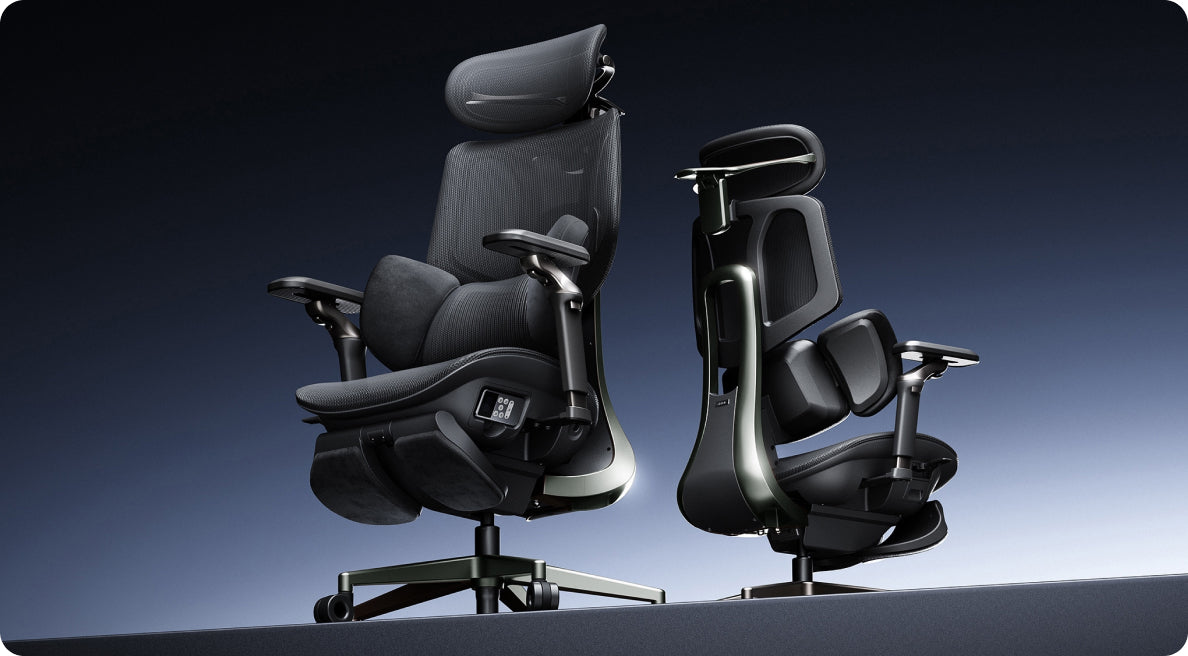
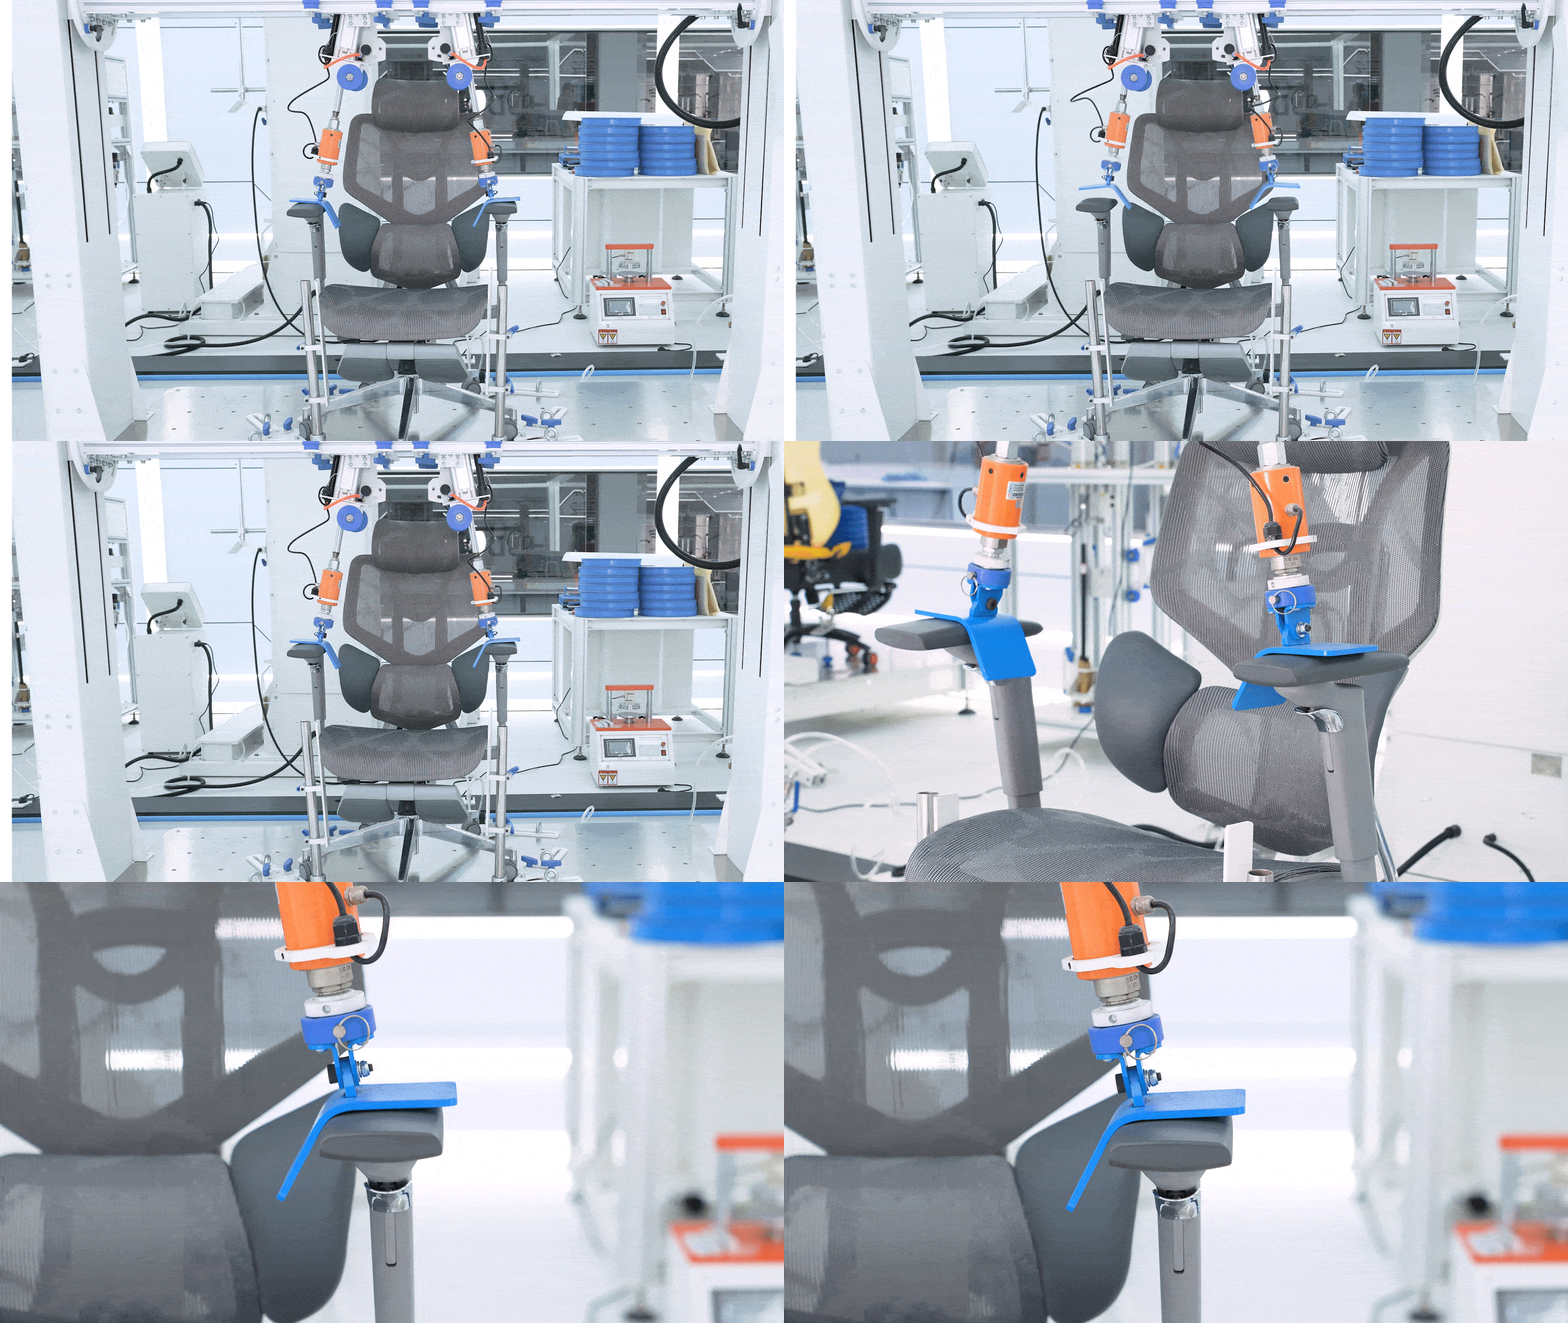
The HBADA X7 Smart Ergonomic Chair is one current EU option for users seeking powered lumbar tracking, a ventilated seat, highly adjustable armrests and a stated maximum load of 150 kg. HBADA states that the model is certified to the BIFMA X5.1 standard and tested for an intended ten-year service life under individual-use scenarios. Actual service life still depends on body weight, frequency of use, maintenance and environmental conditions.
Product configurations, specifications, prices and availability can change. Confirm the current details on the relevant HBADA EU product page before purchasing.
Which HBADA EU Chair Should You Choose?

Compare body-fit ranges and the type of adjustment you prefer rather than choosing on appearance alone.
| Model | Support and adjustment highlights | Recommended height | Maximum stated load | Best considered by |
|---|---|---|---|---|
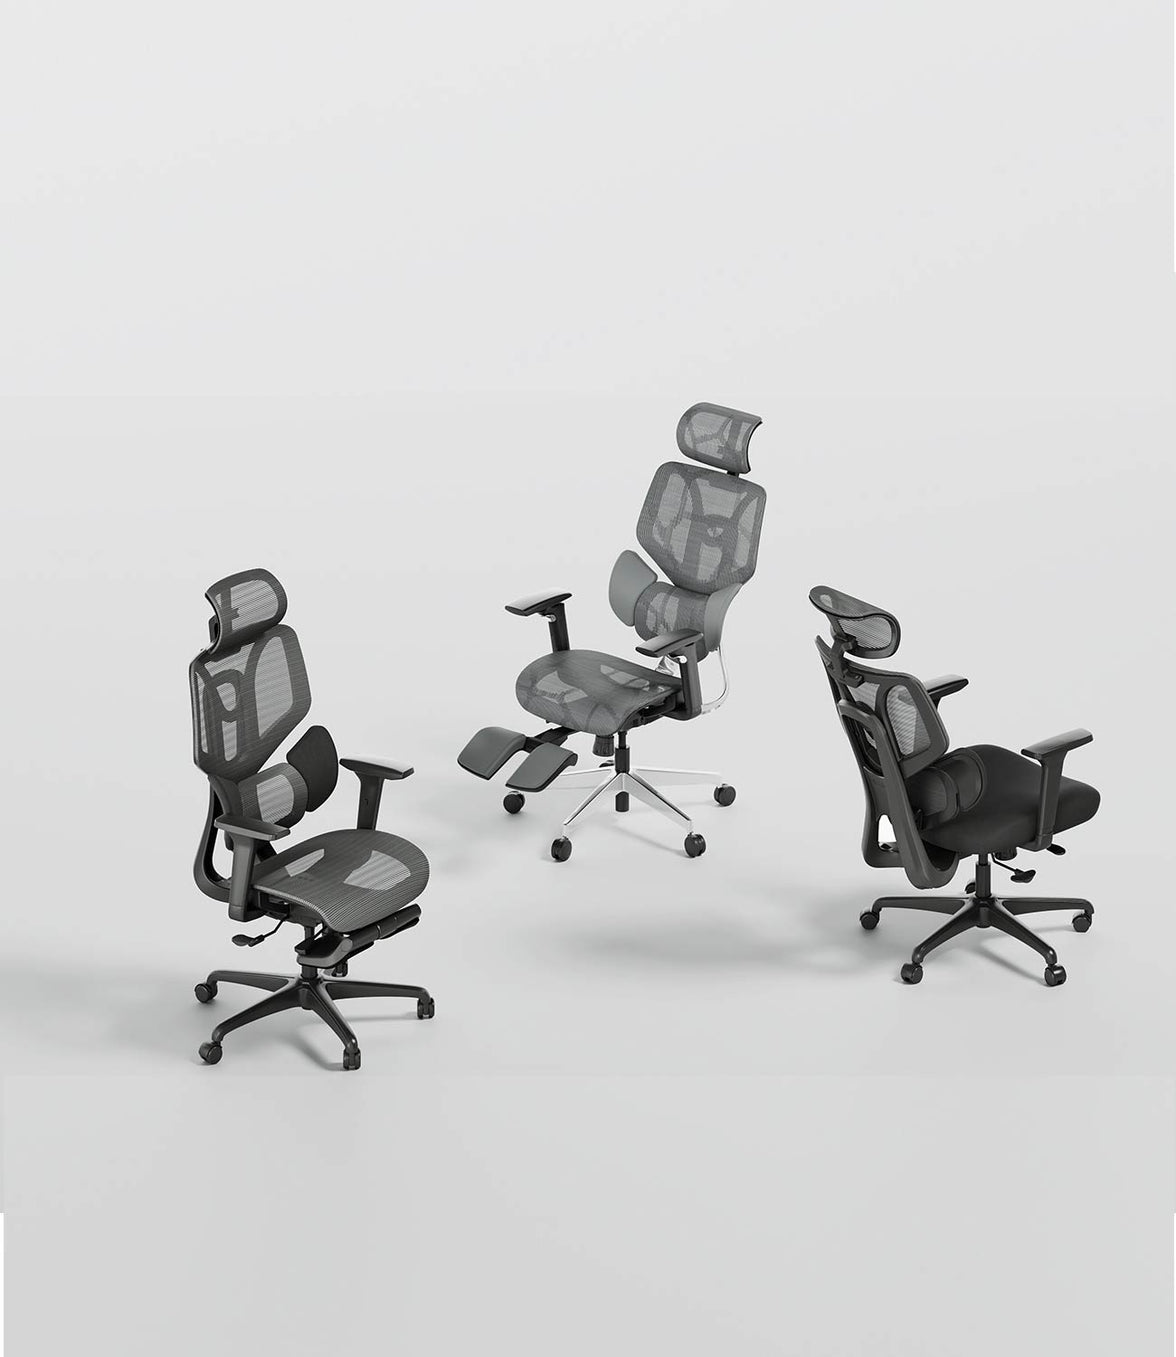
| HBADA X7 Smart | Powered lumbar tracking, ventilated seat, 720° armrests, adjustable headrest and up to 140° recline | 150–195 cm | 150 kg | Users who value responsive powered support and additional smart comfort features |
| HBADA E3 Pro 2026 Edition | Three-zone adaptive lumbar support, adjustable seat depth, 720° mechanical armrests and up to 140° recline | 155–195 cm | 150 kg | Users who prefer extensive mechanical adjustment without relying on powered lumbar functions |
| HBADA E3 Air 2026 Edition | Three-zone lumbar system, adjustable seat depth, flexible armrests, breathable CloudMesh and up to 140° recline | 155–195 cm | 150 kg | Users looking for a lighter everyday ergonomic chair with extensive adjustment |
Illustrative Heavy-Use Scenario
A user around 190 cm tall and close to 140 kg discovers that an older chair has both a failing gas lift and a cracked base. Replacing only the cylinder would leave the structural fault unresolved. A chair with a confirmed 150 kg load rating and suitable seat dimensions would be the safer comparison point.
Illustrative Smaller-Frame Scenario
A user around 158 cm tall may find that a wide inherited chair places the lumbar support too high and the armrests too far apart. Before buying, the user should compare seat height, seat depth, armrest positioning and the model’s recommended height range.
For Powered Support
Consider the X7 Smart if adaptive powered lumbar support and additional electronic comfort functions are priorities.
View HBADA X7 SmartFor Mechanical Adjustment
Consider the E3 Pro 2026 Edition if you prefer broad mechanical adjustment and detailed control over chair fit.
View HBADA E3 ProFor Everyday Flexibility
Consider the E3 Air 2026 Edition for breathable support and flexible adjustment in home and professional workspaces.
View HBADA E3 AirFrequently Asked Questions
Can you take apart an office chair?
Yes. Many office chairs can be partly disassembled for moving, repairs or component replacement. Removable parts commonly include the castors, base, sealed gas lift, seat, backrest, armrests and headrest. Check the exact chair manual because some mechanisms, panels and powered components are not intended for user removal.
How do you remove a gas cylinder from an office chair?
Follow the chair’s manual. Where removal is permitted, separate the base at the metal joint without striking the cylinder body. Grip the exterior of the sealed cylinder near the seat mechanism with a protected suitable wrench and use slow rotational pressure to release the taper fit.
Never cut, puncture, heat or open the cylinder. If it is damaged, leaking or seized, contact a qualified repairer or the manufacturer.
How do you remove the base from an office chair?
Place the chair securely on a protected surface and check for a retaining clip or other model-specific connection. If the manual permits removal, support the five-star base and apply controlled, even taps around the appropriate metal joint with a rubber mallet. Never strike the pressurised cylinder body.
Can office-chair castors be removed?

Many office-chair castors use push-fit stems. Lay the chair on its side and pull the castor straight out while holding it close to the base. Some models use different retaining systems, so check the manual before using a tool or fitting replacement castors.
Is it safe to disassemble a gas lift yourself?
You may be able to remove the complete sealed gas lift from a chair when the manufacturer’s instructions permit it. It is not safe to disassemble the cylinder itself.
Wear appropriate protection, keep the part away from heat and never cut, drill, puncture, crush or hammer the cylinder body. Stop if the component is damaged, leaking or cannot be released safely.
Can I replace an office-chair gas lift with any cylinder?
No. Dimensions, taper fit, class, travel range and load requirements must be compatible with the chair. Contact the manufacturer with the exact model and order information before buying or installing a replacement.
Will taking my chair apart affect its warranty?
Normal model-approved assembly or removal of intended service parts is different from modifying a mechanism or opening a sealed component. Unauthorised modification or damage caused during disassembly may affect warranty eligibility.
For an HBADA chair under warranty, contact service@hbada.eu before attempting a structural or gas-lift repair.
Need a Model-Specific Part or Assembly Guide?
Contact HBADA EU with your order number, exact chair model, product-label photo and a clear image or video of the component. This helps the support team confirm whether the part is removable and identify the correct replacement.
Email HBADA EU Support View Assembly and Maintenance HelpSources and Product Information
- HBADA EU: X7 Smart Ergonomic Chair Lab and Specifications
- HBADA EU: E3 Pro 2026 Edition
- HBADA EU: E3 Air 2026 Edition
- HBADA EU Warranty and Service
- European Commission: Waste Electrical and Electronic Equipment
Product specifications, configurations, warranty terms and availability may change. Confirm current details on the applicable HBADA EU product and policy pages. Local waste-disposal requirements vary across European countries and municipalities.