


Ein quietschener, einsinkender oder starrer Schreibtischstuhl kann den Arbeitsfluss schnell unterbrechen und die Konzentration stören. Viele Menschen glauben, sie müssten ihren Stuhl sofort wegwerfen oder ein teures neues Modell kaufen, sobald erste Probleme auftreten.
Dabei ist es bemerkenswert einfach, einen Bürostuhl selbst zu reparieren – und es erfordert kaum technisches Vorwissen. Die meisten mechanischen, strukturellen oder Ausrichtungsprobleme lassen sich in weniger als zehn Minuten zu Hause diagnostizieren und vollständig beheben. Wenn Sie die Grundlagen moderner Möbelkonstruktion verstehen, können Sie schnelle Reparaturmethoden meistern, störende Geräusche eliminieren und Ihren professionellen Arbeitsplatz wieder in perfekten Zustand versetzen.
🛠️ Schritt 1: Das „Absinkende-Stuhl-Syndrom“ lösen (Wartung der Gasdruckfeder)
Die richtige Sitzhöhe ist entscheidend für Ihre Körperhaltung. Wenn jedoch die Gasdruckfeder defekt ist, sinkt der Bürostuhl im Laufe des Tages langsam ab. Sobald die innere Dichtung an Druck verliert, rutscht der Sitz jedes Mal nach ganz unten, wenn Sie sich hinsetzen.
Diagnose der Druckdichtung
Die meisten Bürostühle nutzen eine mit Stickstoff gefüllte Gasdruckfeder, die über ein Ventil gesteuert wird. Mit der Zeit können Schmutz oder winzige Risse in der Gummidichtung dazu führen, dass das Gas langsam entweicht.
Um dieses Problem zu überprüfen, drehen Sie den Stuhl um und schauen Sie sich den Kunststoffknopf oben auf dem Zylinder an. Manchmal kann sich die Metallplatte in der Steuerung verbiegen oder verschieben, wodurch sie dauerhaft auf das Ventil drückt und der Stuhl absinkt – selbst wenn Sie den Hebel gar nicht betätigen.
Der saubere, modulare Austausch
Wenn die Druckdichtungen verschlissen sind, bieten Klebeband oder Klemmen nur eine vorübergehende Lösung. Der beste Weg, einen absinkenden Stuhl zu reparieren, ist der komplette Austausch der Gasdruckfeder.
-
Sicherungsclip entfernen: Ziehen Sie den Sicherungsclip ganz unten an der aktuellen Radbasis mit einer Nadelzange heraus.
-
Basis lösen: Klopfen Sie vorsichtig mit einem Gummihammer gegen die Unterseite der Basis, um den Zylinder aus dem 5-Sterne-Fußkreuz zu lösen.
-
Zylinder herausdrehen: Drehen Sie den Zylinder mithilfe einer verstellbaren Rohrzange aus dem oberen Steuerchassis-Mechanismus heraus.
-
Neue Feder einsetzen: Setzen Sie eine frische, zertifizierte Gasdruckfeder in die Mitte der Basis ein und drücken Sie sie fest nach unten, um die Montage abzuschließen.
Unsere modernen Stuhllinien setzen auf modulare Konstruktion, um diesen Prozess extrem zu beschleunigen. Durch Bauteile mit klaren strukturellen Verbindungen stellen wir sicher, dass Sie Kernkomponenten wie eine pneumatische Feder in unter 10 Minuten und ohne Spezialwerkzeug austauschen können.
🔊 Schritt 2: Quietschen und Knarren beseitigen (Schmierung des Chassis)
Störende Geräusche sind der größte Feind tiefer Konzentration im ruhigen Büro oder Homeoffice. Ein lautes Quietschen bei jedem Zurücklehnen oder Drehen deutet darauf hin, dass zwei trockene Metallflächen aneinanderreiben.
Reibungspunkte von Metall auf Metall lokalisieren
Um die genaue Ursache des Quietschens zu finden, setzen Sie sich auf den Stuhl, bewegen Sie sich vorsichtig von Seite zu Seite und lehnen Sie sich langsam zurück, um das Geräusch einzugrenzen. Drehen Sie den Sitz dann um (auf einem sauberen Teppich oder Handtuch), um das mechanische Steuerchassis freizulegen.
Die Hauptursachen sind häufig der Bolzen des Neigungsgelenks, das Gehäuse der Stahl-Zugfeder oder die Halterungen, die den Sitz mit der Basis verbinden. Mit der Zeit trocknet das ursprüngliche Fett aus oder sammelt Staub an, wodurch eine sandige Paste entsteht, die ihre Schmierwirkung verliert.
Gewerbliche Schmiermittel sicher auftragen
Sprühen Sie keine wahllosen Haushaltsöle auf die Beschläge Ihres Stuhls. Diese trocknen zu schnell aus und ziehen Staub an, was die Reibung später verschlimmern kann. Verwenden Sie stattdessen ein hochwertiges Silikonspray oder ein spezielles PTFE-Trockenschmierstoff-Spray, um das Problem dauerhaft zu lösen.
-
Wischen Sie alle freiliegenden Stahlgelenke mit einem Mikrofasertuch ab, um Schmutzablagerungen und altes Öl zu entfernen.
-
Sprühen Sie das Schmiermittel direkt in das Gehäuse der Neigungsfeder und um die Gelenkbolzen.
-
Bewegen Sie die mechanischen Gelenke, indem Sie das Chassis hin und her kippen, damit die Flüssigkeit tief in die Lager eindringt.
-
Wischen Sie überschüssiges Spray mit einem sauberen Tuch ab, um zu verhindern, dass Öl auf den Büroboden tropft.
Unsere robusten Aluminiumrahmen und selbstschmierenden Neigungskomponenten des Chassis sind so konzipiert, dass Reibung minimiert wird. Dieses Design sorgt dafür, dass Ihr Arbeitsplatz auch an langen Arbeitstagen flüsterleise bleibt.
🔩 Schritt 3: Lockere Komponenten und instabile Armlehnen festziehen
Durch die ständigen feinen Bewegungen im Laufe des Tages können sich die Stahlschrauben, die Ihren Stuhl zusammenhalten, mit der Zeit langsam lockern.
Die halbjährliche Hardware-Inspektions-Checkliste
Ein wackeliges Rückenteil oder eine lose Armlehne bedeuten meist nur, dass Ihr Stuhl eine routinemäßige Überprüfung braucht – nicht, dass etwas kaputt ist. Ein kurzer Check alle sechs Monate hält Ihre Möbel in bestem Zustand. Nutzen Sie diese Checkliste für einen stabilen Arbeitsplatz:
-
Schrauben zwischen Chassis und Sitz: Überprüfen Sie, ob alle vier primären Montageschrauben unter dem Hauptkissen fest angezogen sind.
-
Rückenlehnen-Stützarm: Ziehen Sie die hochbelastbaren Bolzen fest, die die vertikale Rückenstrebe mit der Unterseite der Mechanik verbinden.
-
Armlehnen-Halterungen: Überprüfen Sie die Verbindungen an der Unterseite, um zu verhindern, dass die Armlehnen wackeln oder sich verstellen.
-
Rollen-Steckplätze: Stellen Sie sicher, dass die Stifte jeder Rolle vollständig im Steckplatz des 5-Sterne-Fußkreuzes sitzen, damit der Stuhl gerade steht.
Wartung hochdynamischer Gelenke
Wenn Sie ein älteres Modell mit festen Armlehnen besitzen, können sich die Halterungen mit der Zeit lockern – bedingt durch den Druck, den Sie ausüben, wenn Sie sich vom Schreibtisch hochdrücken. Deshalb enden viele einfache Bürostühle mit wackeligen Armlehnen.
Ein Upgrade auf ein hochwertigeres Stuhlmodell löst dieses Problem. Unsere fortschrittlichen Konstruktionen verteilen das Gewicht gleichmäßig, sodass Ihre Armlehnen über Jahre hinweg fest und unterstützend bleiben.
📊 Wartungsplan: Strukturelle Pflege für verschiedene Stuhl-Klassen
Verschiedene Stuhldesigns erfordern unterschiedliche Wartungsroutinen, um dauerhaft zuverlässig und optimal zu funktionieren.
| Produktmodell | Wichtige mechanische Baugruppe | Fokus der 10-Minuten-Wartung | Erforderliches Werkzeug |
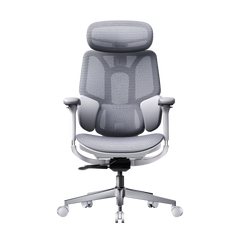
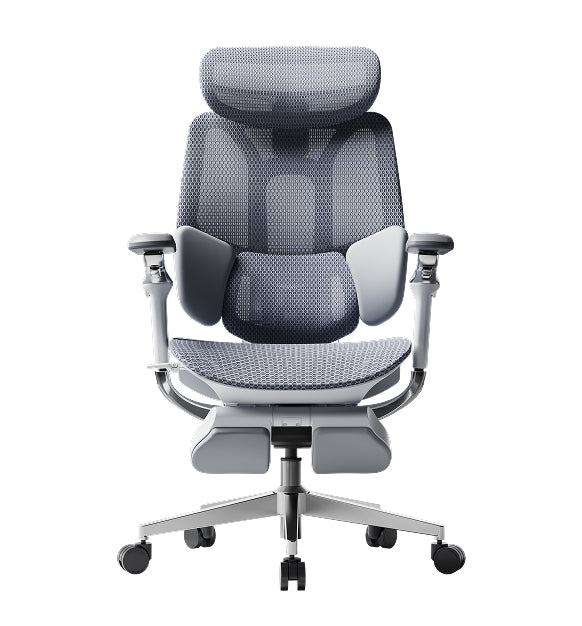
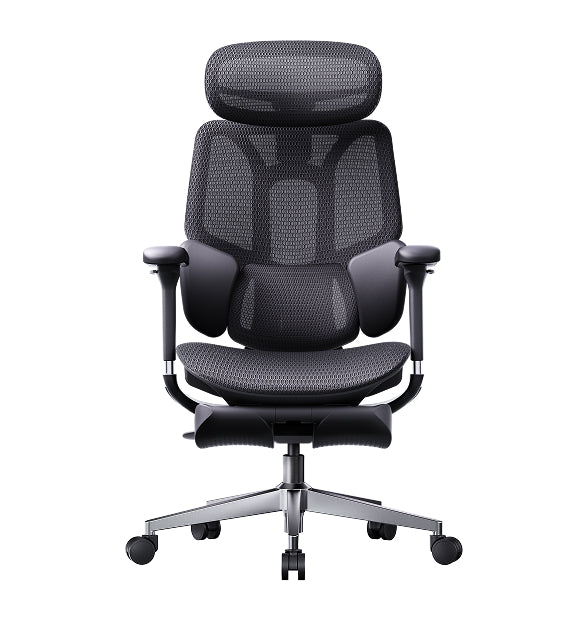
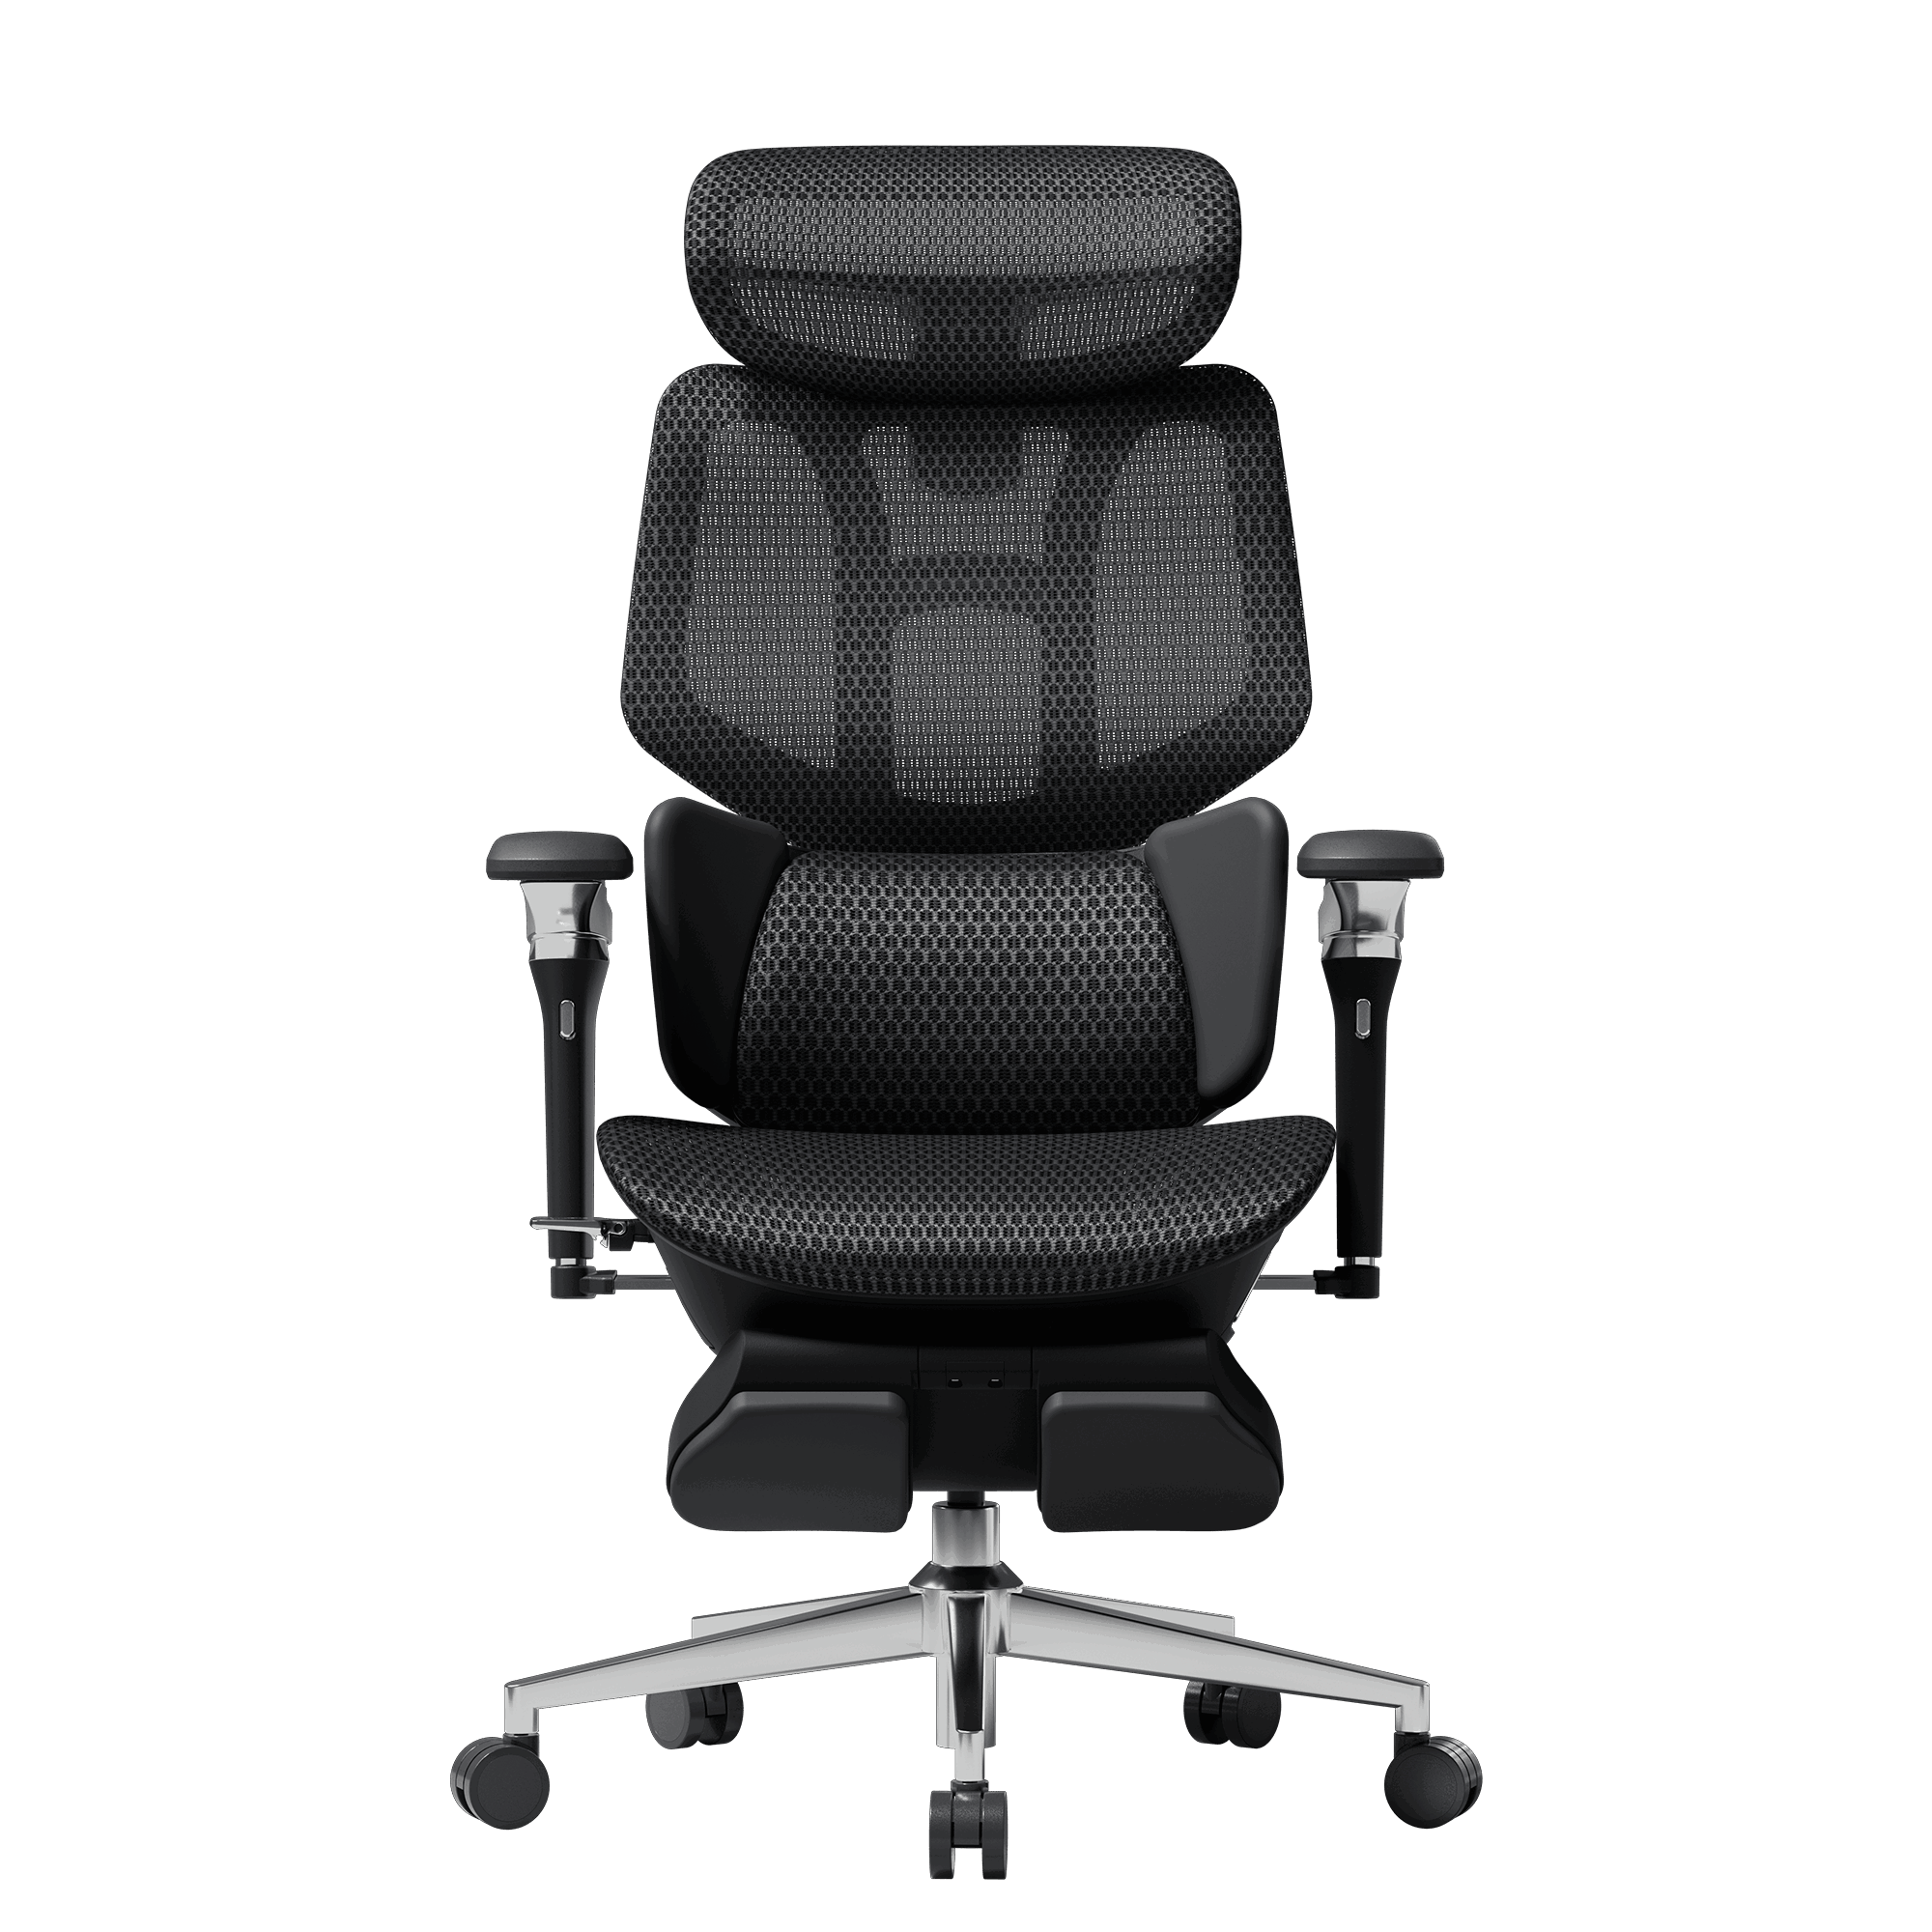
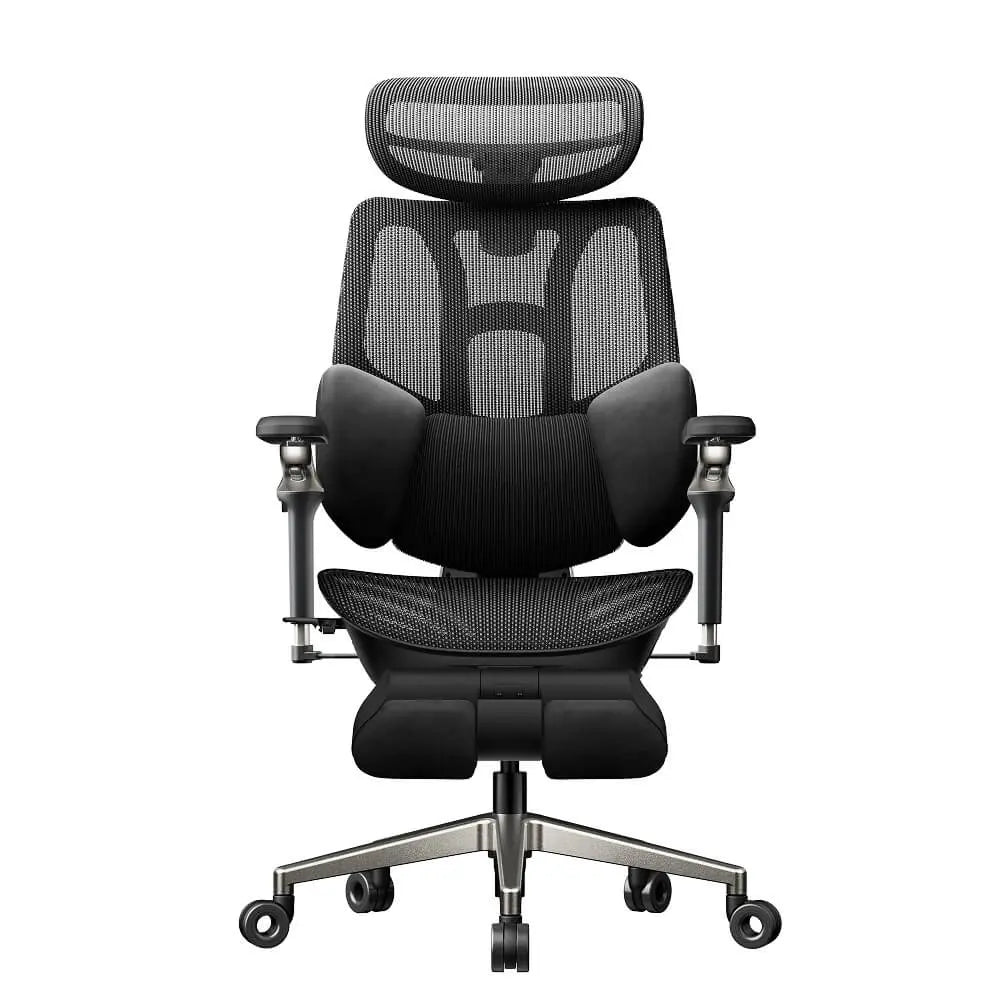
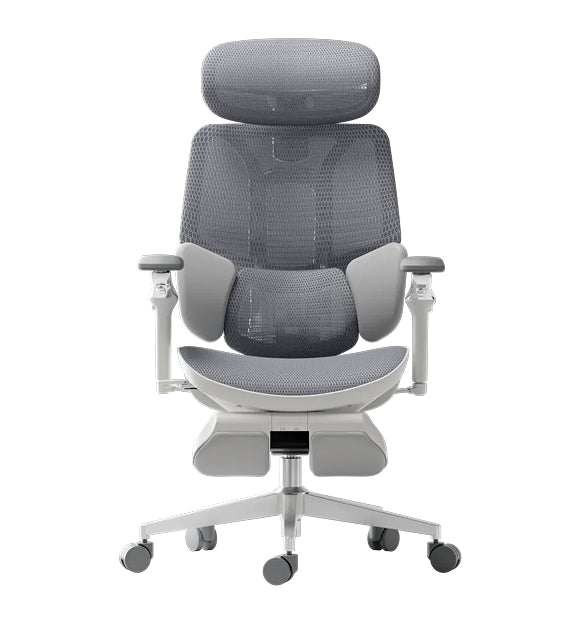
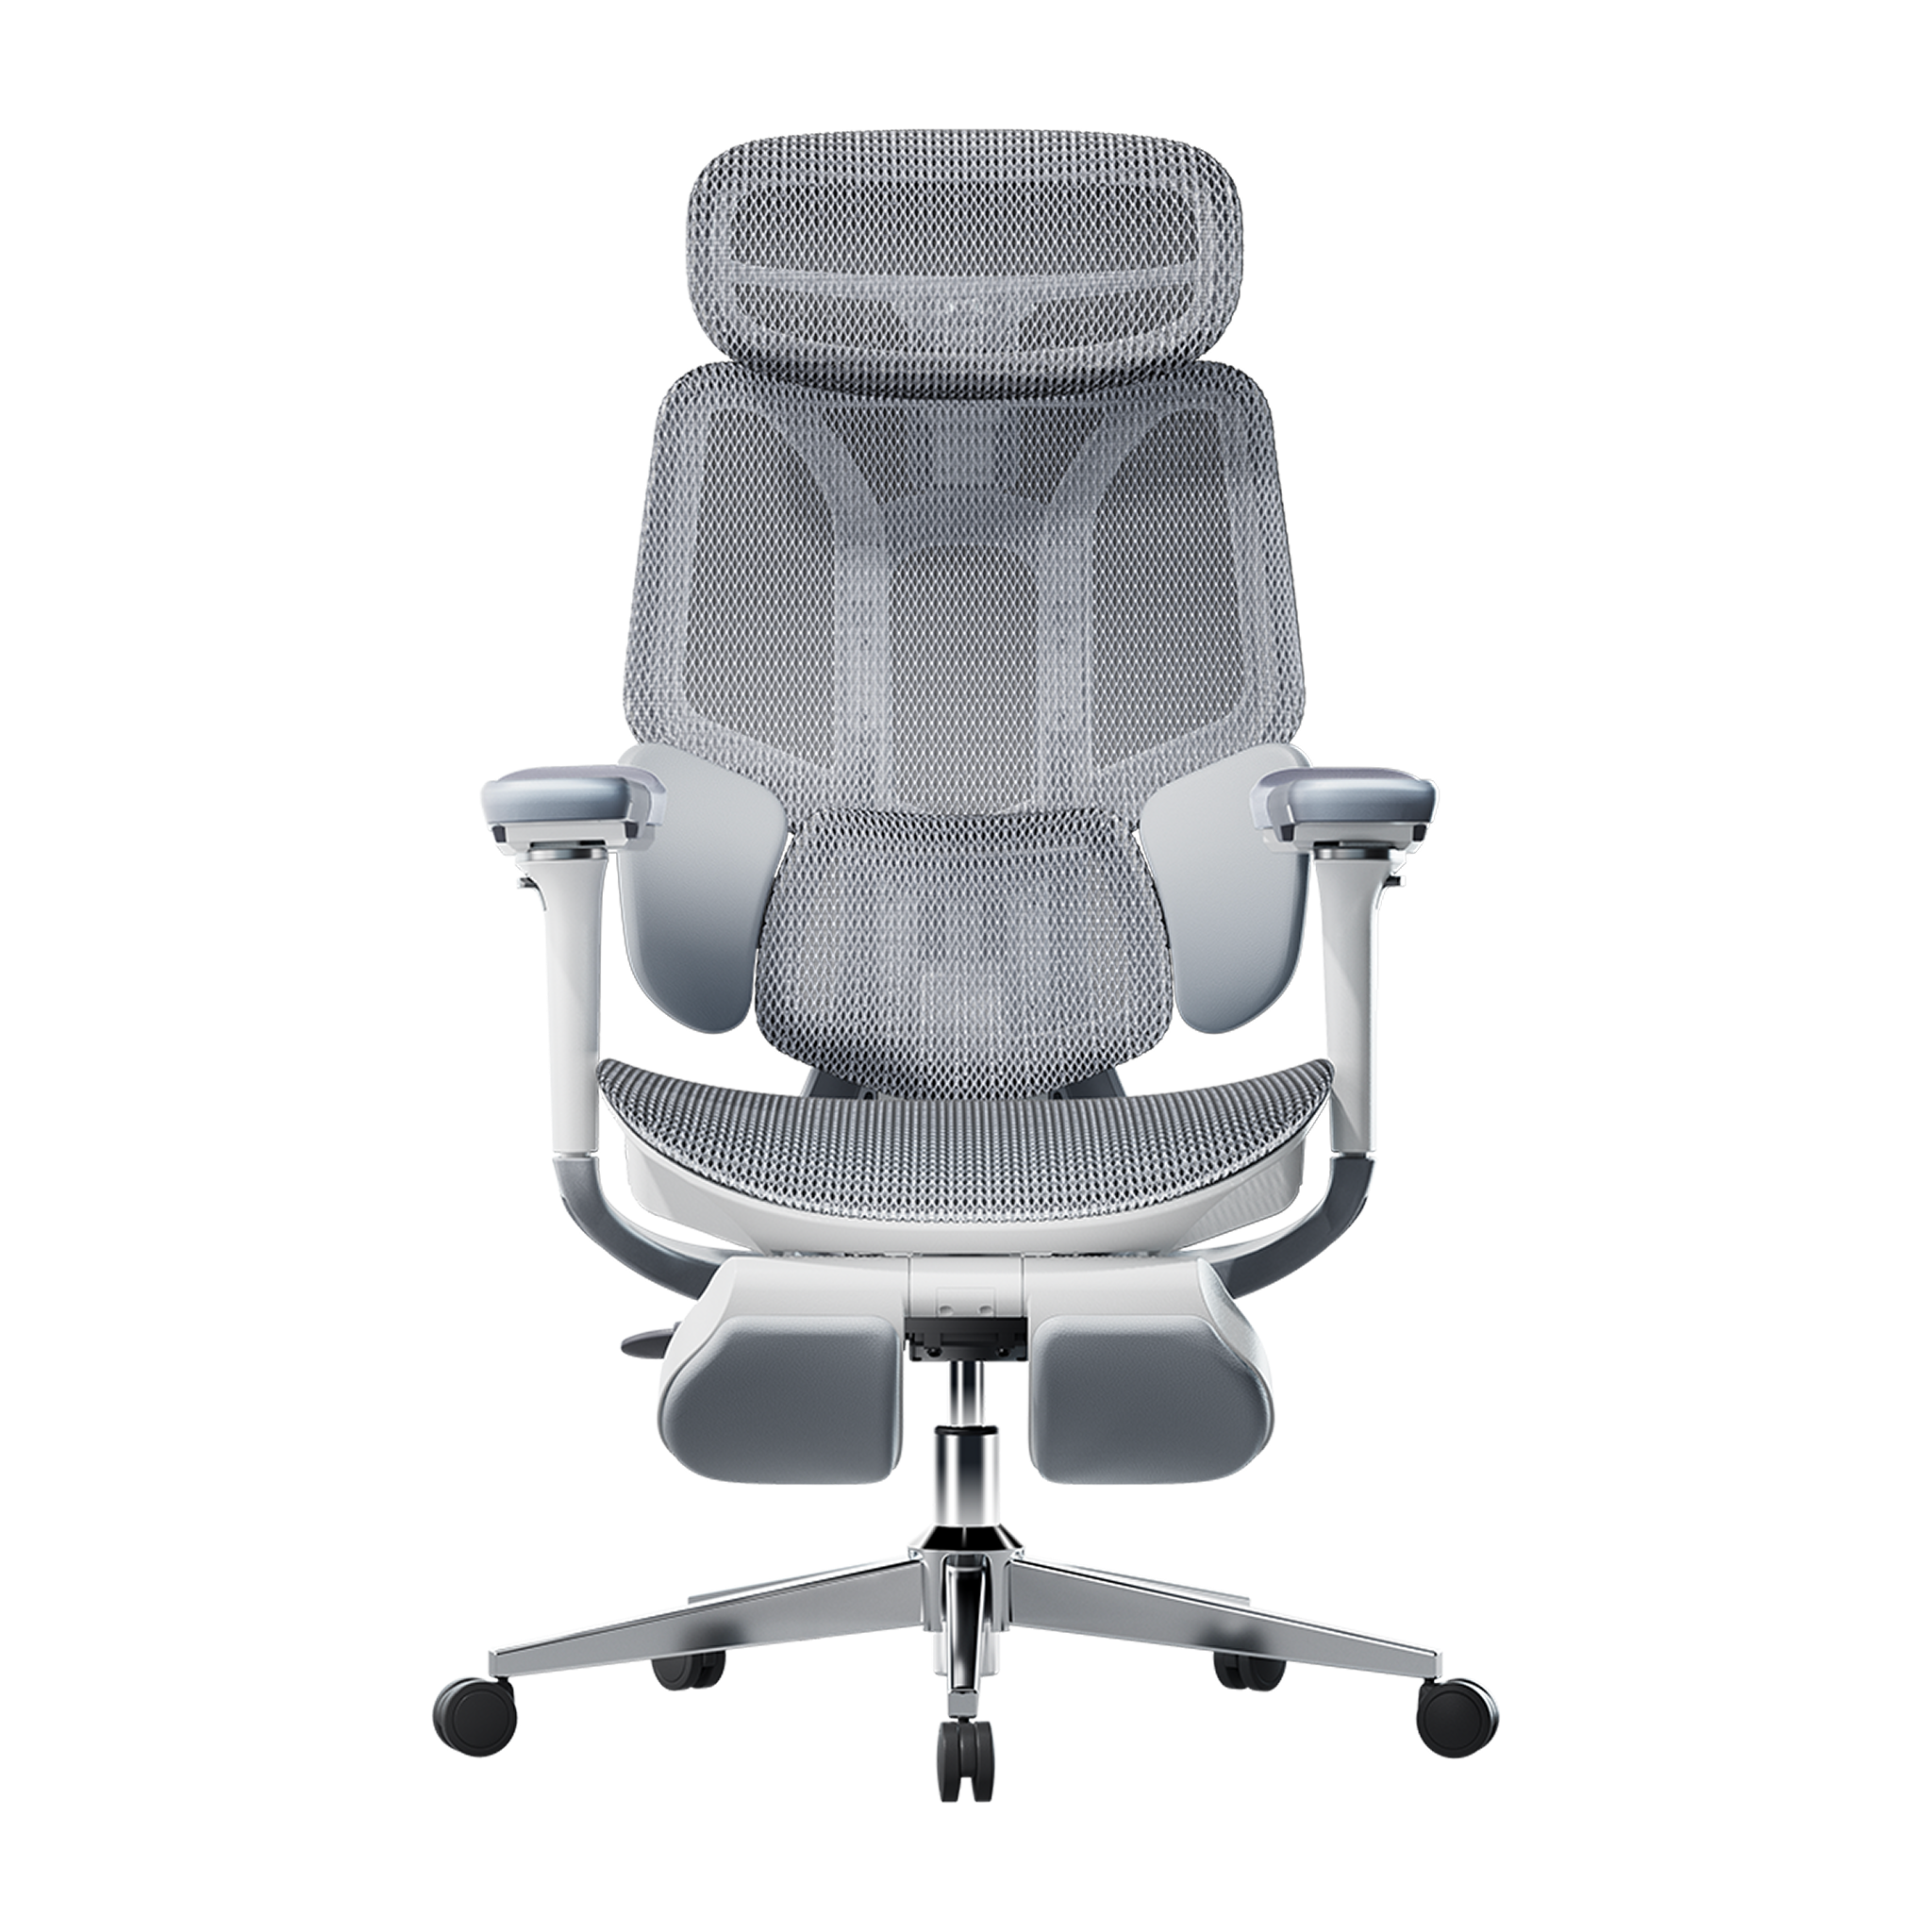
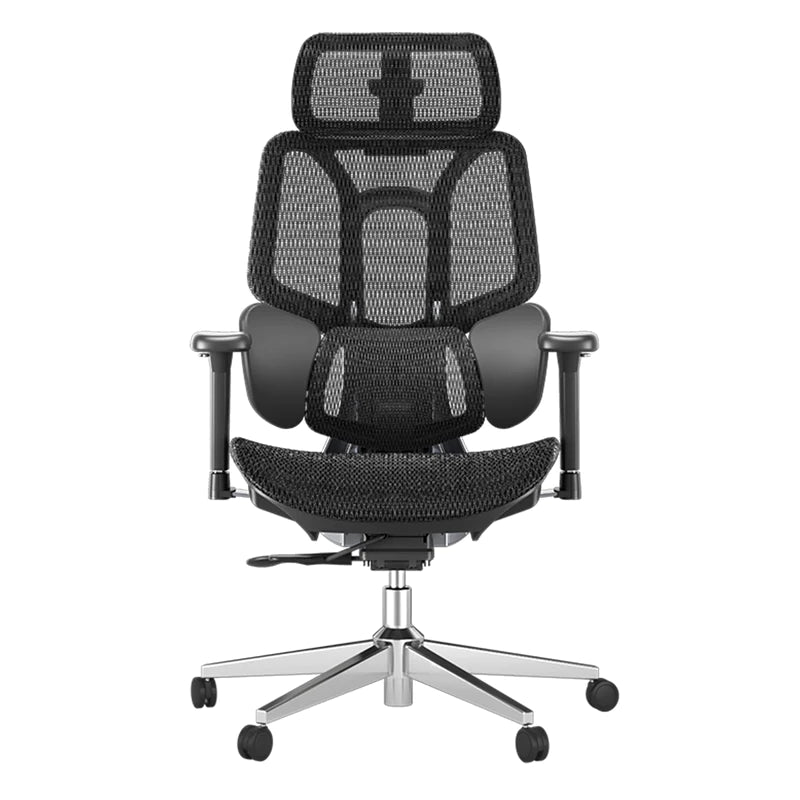
| HBADA E3 Air | Hochelastisches CloudMesh-Panel | Poren des Netzgewebes reinigen & Schmutz von den Rollen entfernen. | Staubsaugeraufsatz & weiche Bürste |
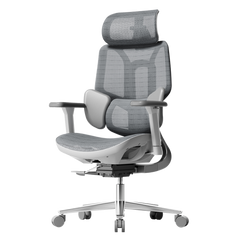
| HBADA E3 Pro | Adaptive, schwimmende 3-Zonen-Flügel | Interne Federspannung & Armlehnenschrauben prüfen. | Mitgelieferter M6-Inbusschlüssel |
| HBADA KI-gestützter X7 | Sensorkern & motorisierte Schienen | Akku aufladen & Sensoroberfläche kalibrieren. | USB-C-Kabel & Mikrofasertuch |
🤖 Fehlerbehebung bei integrierter Tech: Die neue Ära der smarten Wartung
Beim Umstieg auf intelligente Möbel umfasst die Pflege des Setups mehr als nur das Überprüfen von Muttern und Bolzen.
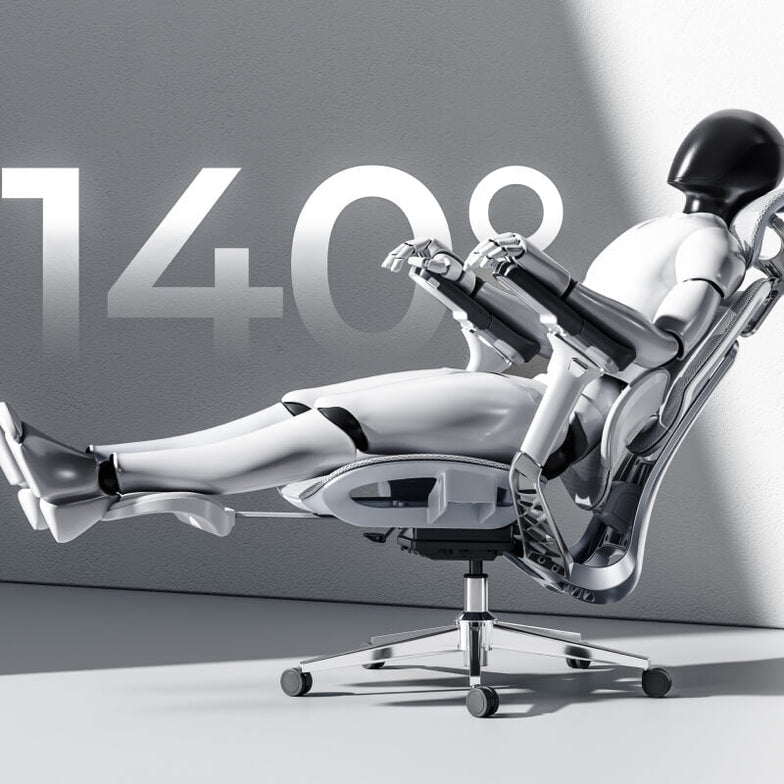
Akku- und Energiemanagement beim HBADA KI-gestützten X7
Der HBADA KI-gestützte X7 nutzt intelligente Elektronik zur Ergonomie- und Haltungsunterstützung, weshalb sein Stromverbrauch gesteuert werden muss. Er wird von einem herausnehmbaren Lithium-Ionen-Akkupack mit 5.200 mAh betrieben, der im unteren Rahmen sitzt.
Um sicherzustellen, dass die aktiven Funktionen reibungslos laufen, verbinden Sie den versteckten Ladeanschluss alle paar Tage mit einem Standard-USB-C-Netzteil. Falls die aktiven Tracking-Funktionen nicht starten, ziehen Sie den Akku aus seinem Sicherheitsgehäuse, um zu überprüfen, ob die metallischen Kontaktpunkte vollkommen sauber und staubfrei sind.
Kalibriervorgang der Sensorausrichtung
Das Tracking-System nutzt hochempfindliche Sensoren, um Ihre Haltung 1.000 Mal pro Sekunde zu überprüfen. Wenn Sie den Stuhl über dicken Teppich bewegen oder unsanft anstoßen, müssen Sie das System unter Umständen neu kalibrieren.
-
Entlasten Sie das Sitzkissen vollständig und stellen Sie sicher, dass der Stuhl flach auf einer ebenen, geraden Fläche steht.
-
Halten Sie die primäre Kalibrierungstaste an der seitlich angebrachten magnetischen Fernbedienung fünf Sekunden lang gedrückt.
-
Lassen Sie das motorisierte Lordosenmodul arbeiten: Es bewegt sich während des Selbsttests einmal komplett vor und zurück.
-
Sobald das System einen Signalton ausgibt, nehmen Sie Ihre normale Arbeitshaltung ein, damit die aktive Tracking-Software Ihre Körperform präzise erfassen kann.
❓ Häufig gestellte Fragen (FAQ)
Welche Werkzeuge sollte ich für die grundlegende Stuhlwartung in meiner Schreibtischschublade aufbewahren?
Sie benötigen nur wenige Standardwerkzeuge, um Ihren Bürostuhl perfekt in Schuss zu halten. Ein normaler Kombi-Schraubendreher (Schlitz/Kreuz), ein M6/M8-Inbusschlüssel, eine kleine Dose Silikon-Schmierspray und ein einfacher verstellbarer Schraubenschlüssel reichen aus, um fast jede Standard-Einstellung oder Reparatur in unter 10 Minuten zu erledigen.
Wie reinige und pflege ich das hochelastische Netzgewebe, ohne die Stofffasern zu beschädigen?
Um High-Performance-Netzgewebe sicher zu reinigen, saugen Sie die Sitz- und Rückenflächen wöchentlich mit einem weichen Bürstenaufsatz ab, um Staub zu entfernen. Falls etwas verschüttet wird, tupfen Sie den Fleck sofort mit einem feuchten Mikrofasertuch und einem Tropfen mildem Spülmittel ab. Vermeiden Sie aggressive Chemikalien, welche die elastischen Fasern schwächen könnten.
Erschwert das Upgrade auf einen Stuhl mit aktiver KI-Lordosenverfolgung die regelmäßige Wartung?
Überhaupt nicht. Obwohl der HBADA KI-gestützte X7 über fortschrittliche Sensoren und Motoren verfügt, verwendet sein Hauptrahmen dieselben robusten Aluminiumbeschläge wie Standard-Bürostühle. Die smarten Funktionen kalibrieren sich von selbst, sodass Sie lediglich darauf achten müssen, den Akku regelmäßig aufzuladen.
Wie oft sollte ich die Strukturschrauben an der Unterseite meiner Büromöbel überprüfen und nachziehen?
Für ein normales Homeoffice ist die Überprüfung der wichtigsten Montageschrauben alle sechs Monate ideal. Wenn die Stühle in stark frequentierten Unternehmensbereichen oder hybriden Hot-Desking-Zonen stehen, sorgt eine Überprüfung der unteren Schrauben alle drei Monate dafür, dass die Rahmen perfekt stabil und sicher für alle bleiben.
🎯 Fazit
Wie viel Zeit Sie für die Wartung Ihres Arbeitsplatzes aufwenden müssen, hängt ganz von der Konstruktion und der Qualität des gewählten Modells ab. Wenn Sie ein robustes, vollmechanisches Setup mit leicht zugänglichen, federunterstützten Komponenten bevorzugen, die sich einfach per Hand einstellen lassen, bietet der HBADA E3 Pro ein außergewöhnlich stabiles und wartungsarmes Fundament.
Möchten Sie manuelle Einstellungen jedoch komplett überflüssig machen, ist das Upgrade auf den HBADA KI-gestützten X7 die ideale Lösung. Der HBADA KI-gestützte X7 kombiniert langlebige Aluminiumbeschläge in Luftfahrtqualität mit einer intelligenten, selbstkalibrierenden Software, die Ihre Haltung automatisch verfolgt – das minimiert den physischen Wartungsaufwand und bietet gleichzeitig einen kontinuierlichen, aktiven Schutz für Ihre Wirbelsäule.