




Blog

HBADA's 3-Zone Lumbar Support: How It Compares to Standard Chair Designs

HBADA's 3-Zone Lumbar Support: How It Compares to Standard Chair Designs

HBADA / The support edit

Your lower back moves.
Your support should respond.

A closer look at the central support and side wings behind our 3-zone lumbar design, with practical guidance for choosing an ergonomic office chair that fits the way you sit.

Lumbar support specifications can start to blur together after comparing a few chairs. “Adjustable” tells you that something changes, but leaves an important question unanswered: what happens after you have set it and begin moving through your working day?

We designed our 3-zone approach around that everyday movement. This guide explains how it differs from a conventional lumbar pad, where a split-back design fits into the comparison, and what to check when you adjust your own chair.

Start with how the lumbar support moves.

For this comparison, we are looking at three common approaches: a single lumbar pad, a backrest divided into upper and lower sections, and our central-and-side-wing arrangement. These categories describe the structure. Individual chairs can still differ considerably within each group.

Single-pad lumbar support

A single lumbar pad gives the lower back one main contact area. Depending on the chair, its position may be fixed or adjustable in height and depth.

A rigid pad retains its shape as you shift. Flexible or spring-mounted versions can respond differently, so it is worth checking the actual mechanism rather than judging by the number of visible cushions.

A split upper and lower backrest

Split-back designs separate the upper backrest from the lumbar section. The lower section may pivot or flex, allowing it to respond independently of the upper back.

Its behaviour during recline depends on the pivot and how the two sections are linked. A split appearance alone does not tell you how much lateral movement or adjustment the chair offers.

The useful question is simple: where do you feel support when your sitting position changes?

How HBADA's 3-zone lumbar support works

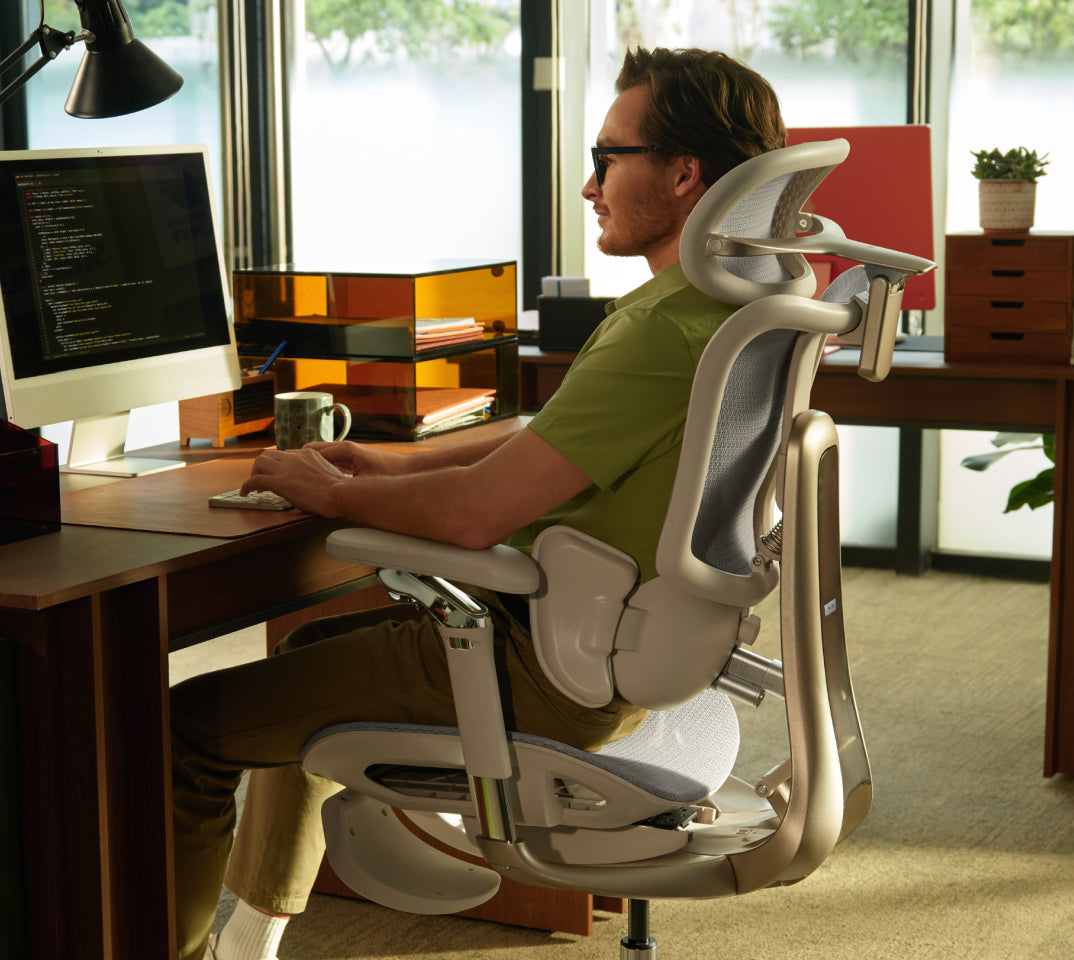
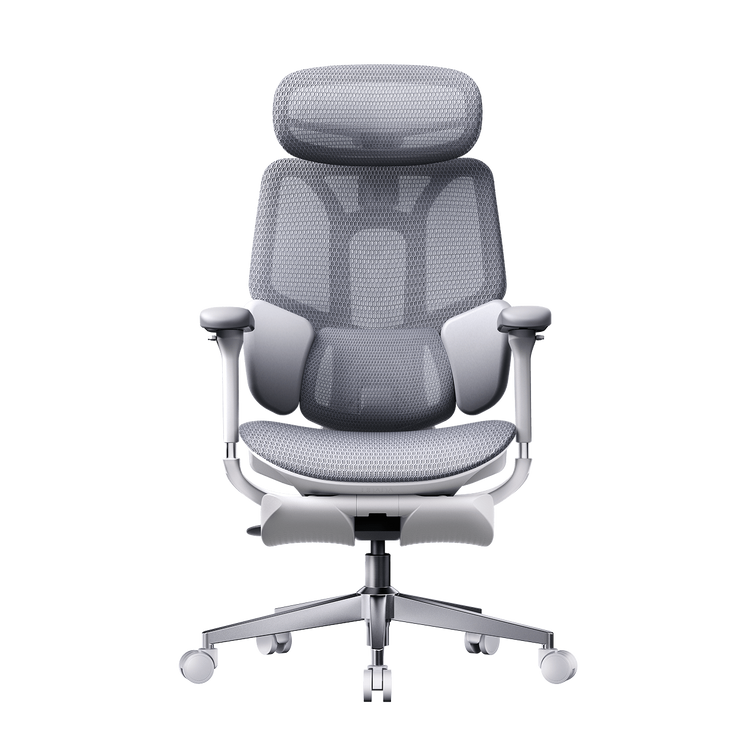
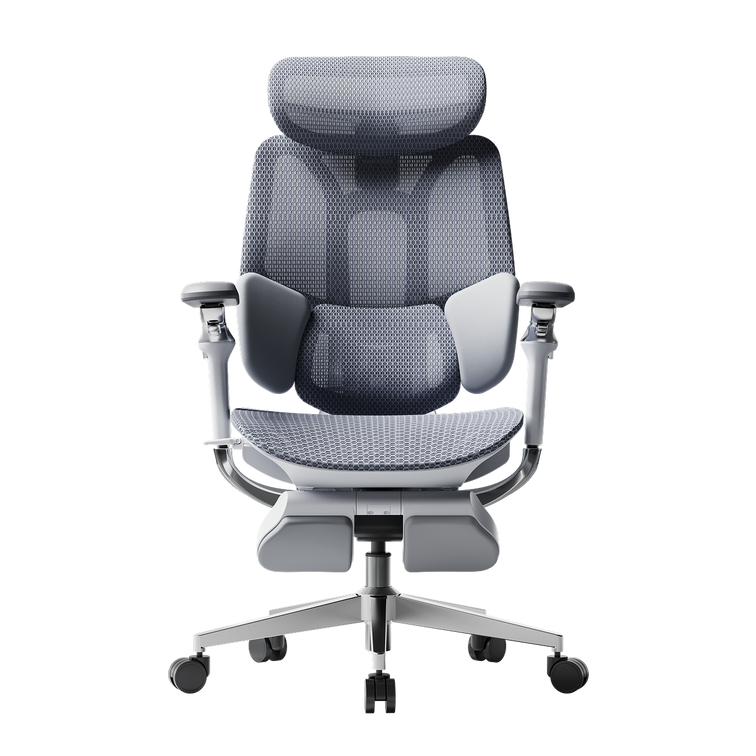
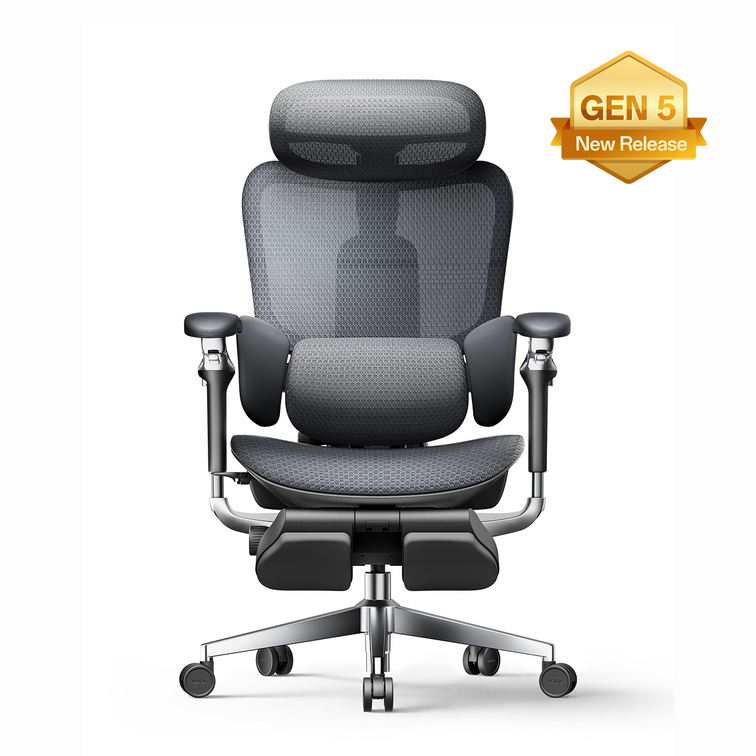
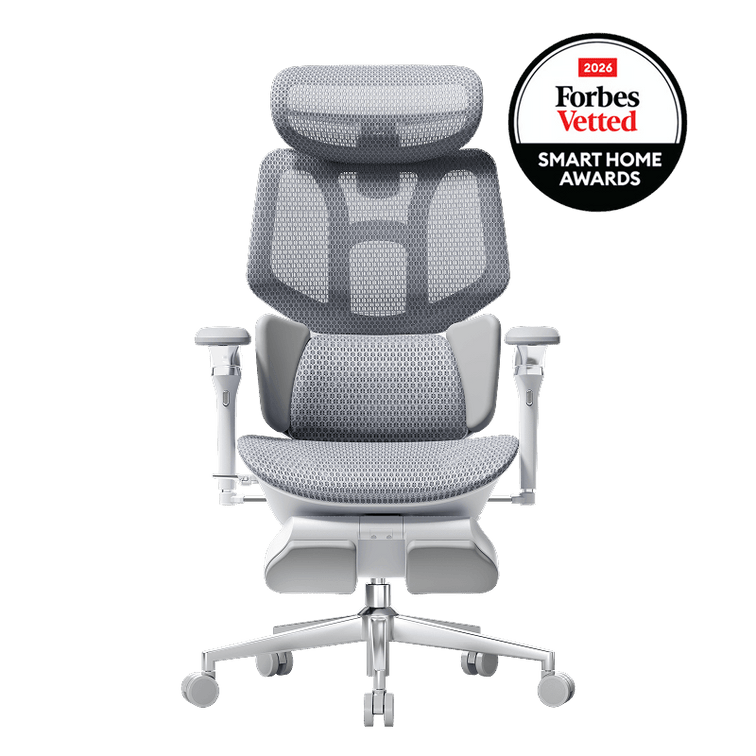
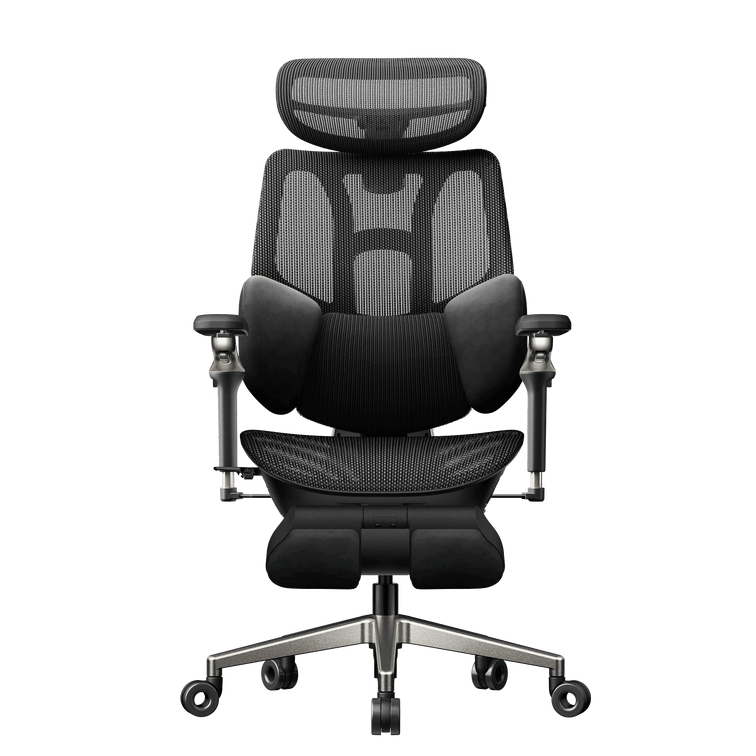
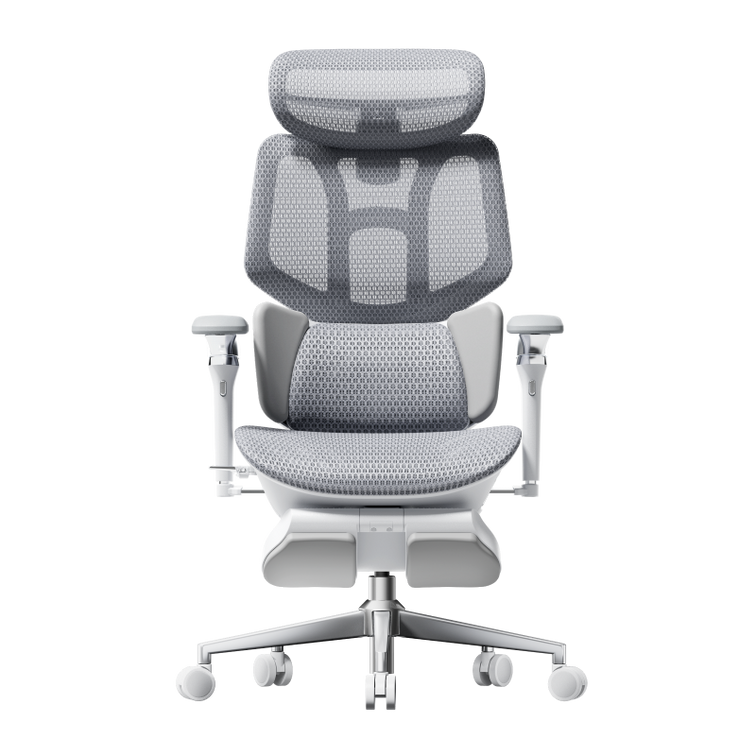
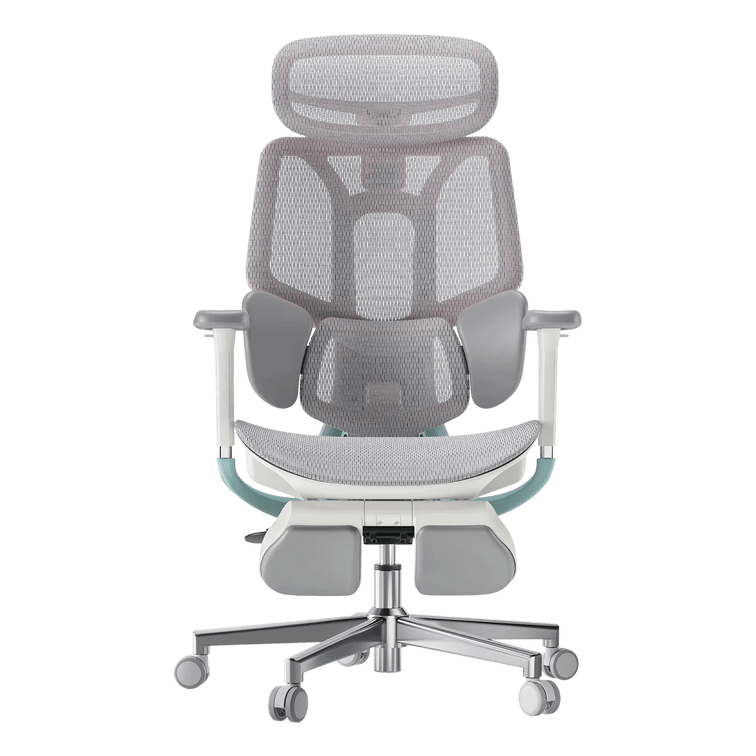
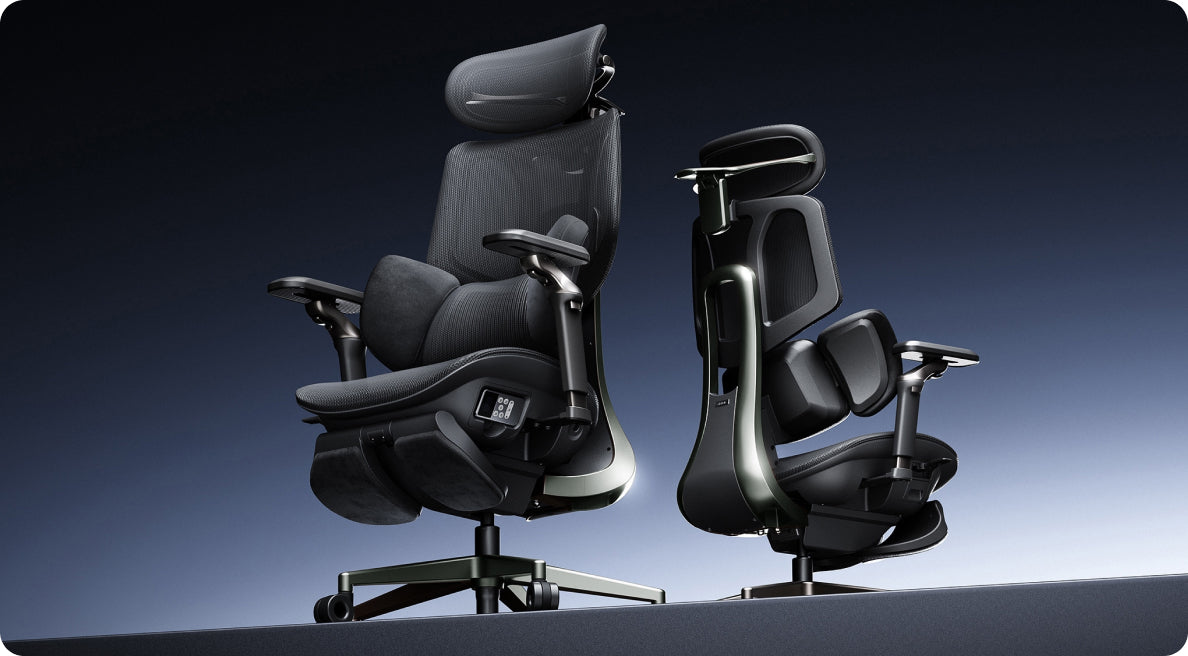
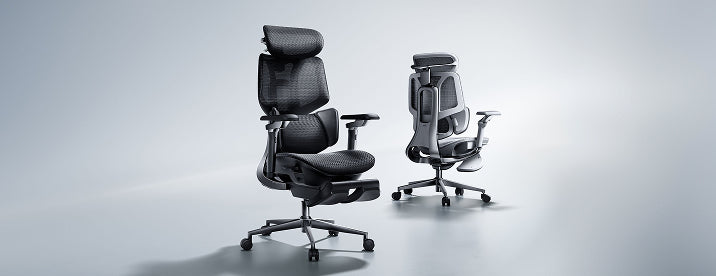
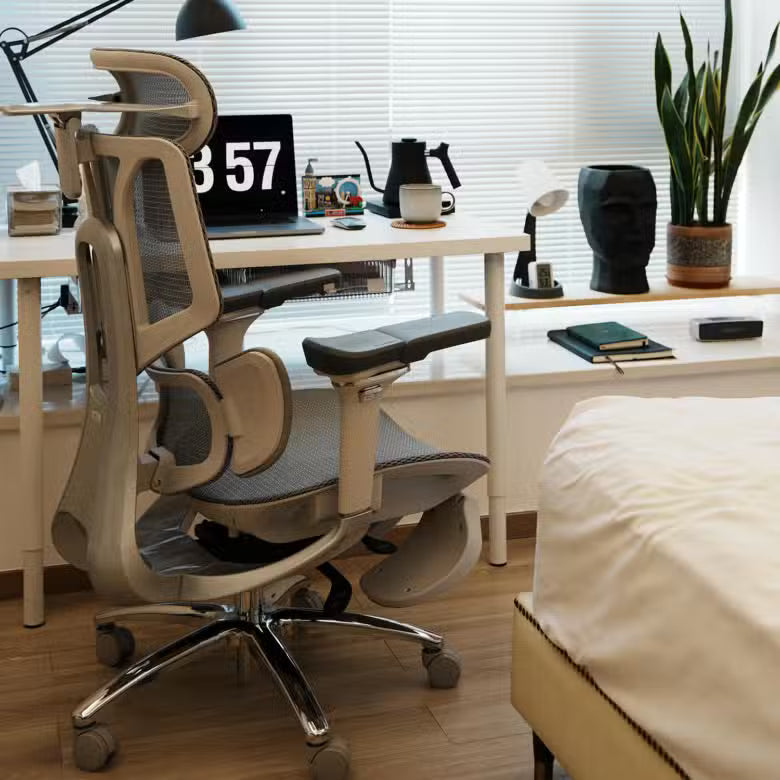
In the HBADA E3 Pro 2026 Edition , a central support area works with two movable side wings. The centre supports the lumbar region while the wings create contact around the sides of the lower back.

This gives the support a wraparound structure. As your position changes, the movable components can respond within their mechanical range. Personal adjustment helps place that movement where your body needs it.

The three support areas, simplified

Side wing Movable lateral contact
Central zone Support at the lower back
Side wing Movable lateral contact

Conceptual layout showing the support areas, not a technical drawing or a representation of exact movement ranges.

The practical advantage is the combination of central contact and side support in one lumbar assembly. You can learn more about the mechanism in our E3 Pro design overview .

Dynamic support follows changes in how you sit.

A chair can feel well adjusted when you first sit down, then feel different once you lean back for a call. That change is worth paying attention to. The position of your pelvis and your contact with the backrest both affect how the lumbar area feels.

Our moving lumbar components are designed to accommodate posture changes within their range of travel. For someone who regularly alternates between desk work and reclined breaks, that responsiveness is a useful part of the seating experience.

You still need room to move naturally. Reaching far away from the backrest can reduce contact, and no chair can maintain the same support through every possible position. Keep frequently used items close enough that reaching them feels easy.

A useful check: after adjusting the lumbar support, move from your usual working position into a comfortable recline. Notice whether support remains comfortable or becomes concentrated in one spot. Revisit the adjustment if you feel pushed forward.

For taller or larger users, check the whole seat.

Lumbar contact is only one part of chair fit. A seat that is too deep can make it difficult to sit against the backrest comfortably. Limited space between the armrests may also affect how freely you can change position.

If you are comparing chairs for a taller or larger build, review the stated weight capacity alongside the seat dimensions. An adjustable seat and backrest give you more ways to position the chair, while the lumbar system helps you refine lower-back contact.

Start with our HBADA chair selection guide , then check the dimensions of your preferred configuration. A recommended height range is a starting point; your leg length and torso proportions help determine the final fit.

Single-pad, split-back and 3-zone support compared

Use the structure to understand what a chair is designed to do. Then look at its adjustment range and how it fits your body.

What each lumbar layout offers
Design Support arrangement What to check
Single lumbar pad One main contact area, with fixed or adjustable positioning depending on the chair. Whether the pad sits at a comfortable height and whether its pressure suits your lower back.
Split-back design Separate upper and lower sections. The lumbar section may pivot or flex. How the lower section responds during recline and whether its movement can be adjusted.

Give the lumbar system a good starting position.

We recommend settling the seat position before fine-tuning the lumbar support. This makes it easier to judge the contact without compensating for a seat that is too high or too deep.

  1. Begin with the seat. Position yourself comfortably against the backrest, with your feet supported. Leave clearance between the seat edge and the backs of your knees.
  2. Bring the lumbar support into comfortable contact with your lower back. Use the available height and depth adjustments gradually, following the instructions for your model.
  3. Check the side contact. The wings should feel supportive. If you feel squeezed or pushed out of position, reduce the pressure or revise the setup.
  4. Return to your actual desk task and try a comfortable recline. A setting that feels good in both positions is more useful than one chosen while sitting still for a few seconds.

For the controls on your particular chair, use the guidance available on the E3 Pro product page . Small adjustments are easier to assess when you change one setting at a time.

Frequently asked questions

What does “3-zone lumbar support” mean?

In our E3 Pro design, it refers to a central lumbar support area and two movable side wings. Together, they provide contact across the centre and sides of the lower back.

How is a 3-zone design different from a split backrest?

A split backrest separates upper-back and lower-back sections. Our 3-zone description refers to the arrangement within the lumbar support itself. Because those terms describe different aspects of a chair, looking at the actual mechanism is more useful than counting visible sections.

Can the side wings replace lumbar height adjustment?

Each adjustment has a different role. The side wings shape lateral contact, while height adjustment helps position the lumbar support vertically. Set the support at a comfortable height before assessing how the wings feel.

Should I choose the strongest lumbar pressure?

Choose a setting that feels comfortable while you work. Stronger pressure is not automatically a better fit. If you keep sliding away from the backrest or feel a concentrated pressure point, revisit the adjustment.

Is this suitable if I already have back pain?

The chair is designed to support comfortable sitting. The cause of back pain and your individual needs should guide your choice. Persistent or severe symptoms deserve professional advice; an office chair is not a treatment for an underlying medical condition.

Which HBADA model should I look at?

The E3 Pro 2026 Edition is the model discussed in this guide. Check its current regional specifications and available configurations, especially when comparing it with a different generation.

Feel what central and side support can do together.

Our E3 Pro brings a movable 3-zone lumbar assembly into an adjustable ergonomic office chair. Take a closer look at the design, then compare its fit with the space and support you need at your own desk.

Find your E3 Pro configuration →
Relevant Product

You May Also Like

Home Office Desk Setup Ideas Around Your HBADA Chair Home Office Desk Setup Ideas Around Your HBADA Chair HBADA / At Home Start with your chair.Build a room around it. A grey mesh chair beside a warm oak desk. A black frame picked up in the lamp and shelving. Enough space to pull back, settle in and change position without rearranging the room. That is our starting point for a HBADA home office: make the chair part of the design from the beginning. Here is how to bring our ergonomic seating into a space that feels practical, personal and unmistakably like home. Chair-first styling Grey & black palettes Desk compatibility Work & relaxation How do you style a home office around a HBADA chair? Start with the chair’s colour, dimensions and movement needs. Pair grey mesh with warm wood and soft neutrals, or connect a black chair to darker desk accessories. Choose a desk with suitable legroom and armrest clearance, then leave enough space for the chair’s everyday movement. Add lighting and storage around that working layout. The chair-first approach Choose your colour direction Pair the chair with the right desk Leave room for work and breaks Connect the chair to the room Choose your HBADA starting point Check the finished setup 01 / Let the chair lead Two palettes that work with HBADA’s grey and black finishes. The mesh, shaped back support and visible frame of an ergonomic chair bring more detail to a room than a simple dining chair. Rather than disguising that detail, give it a calm background. A restrained desk surface and repeated colours help the whole workspace feel intentional. Look one / Soft and natural Grey mesh, pale oak and sage. Use the grey chair as a cool neutral, then add warmth through an oak desktop, cream walls and linen curtains. A sage lamp or desk mat introduces colour without competing with the chair. Where your selected chair has metallic details, a small brushed-metal accessory can echo them. Keep the repetition subtle rather than making every finish identical. The combination: grey HBADA chair + oak desk + cream background + one muted green accent. Look two / Warm and graphic Black mesh, walnut and warm white. A black HBADA chair can anchor a darker desk setup. Pair it with walnut or another warm wood finish, then repeat black in the monitor frame or task lamp. Keep the surrounding wall and larger accessories lighter if you want contrast. A ceramic cup or fabric curtain softens the more technical-looking elements. The combination: black HBADA chair + warm wood desk + light wall + restrained dark accessories. Check the colours available for your chosen model before buying accessories. The aim is to style around the chair that fits your needs—not choose an unsuitable chair just to complete a palette. 02 / A pairing that works The best-looking desk still needs to fit your chair. A slim oak desk may look perfect beside your HBADA chair, but the space beneath the desktop matters as much as the surface above it. Deep drawers, crossbars and thick aprons can limit how close you can sit. Measure the clear opening beneath the desk and compare it with the selected chair’s dimensions and adjustment range. Check the working position you need first; being able to tuck the chair away afterwards is a separate consideration. Check Why it matters What to do Desk opening Drawers and supports can narrow the usable space. Measure the clear opening, not only the desk’s overall width. Armrest clearance Armrests may contact the underside of the desk. Compare their adjustment range with the desk’s lowest obstruction. Legroom Storage and crossbars can interrupt your sitting position. Keep the area around your legs and feet clear. Chair movement The chair needs space beyond its tucked-in footprint. Check pulling out, turning and any recline or footrest use. Our HBADA chair-fit measurement guide explains the seat dimensions to compare before you settle on a desk-and-chair combination. A useful buying habit: keep a short note of your desk opening, usable floor space and chair dimensions in centimetres. This is more reliable than judging compatibility from product photographs. 03 / Design for the whole day Give your chair a working position—and room for a break. If you are choosing a HBADA model with a reclining backrest or integrated footrest, plan for those features before placing a cabinet directly behind the chair or a storage basket in front. For desk work, keep your keyboard and mouse within comfortable reach. For a reclined break, move clear of the desk and use the chair according to its instructions. The room should let you make that change without catching a cable or blocking the main walkway. Build the space around the features you will actually use. Our E3 Ultra brings massage and heating into an ergonomic chair, making a seated pause part of its appeal. If those are features you want in your home office, leave the controls accessible and plan any required power connection so cables stay clear of the base and moving parts. See the E3 Ultra product page for the selected model’s features and specifications. Do not assume that every HBADA model has the same footrest, recline range or power requirements. The room is not finished until the chair can do more than look good tucked under the desk. 04 / Bring the room together Echo the chair’s details instead of covering them up. Once your HBADA chair and desk are in place, the smaller choices become easier. Use the chair as a reference for colour and finish, then add softer materials around it. Keep the mesh visible. Let the backrest remain part of the design. Add softness with curtains, artwork or nearby upholstery rather than draping a blanket over the chair’s support surfaces and adjustment controls. Repeat one finish. A dark lamp can relate to a black frame. A muted grey desk mat can connect to grey mesh. One or two repetitions are enough; the whole room does not need to match. Put storage beside the setup. A narrow cabinet or wall shelf can hold paperwork without taking over the chair’s movement area. Keep the space beneath the desk available for you. Test lighting from the seat. Sit in the chair at your usual working height and check the screen for reflections. Position the task lamp so it lights your work without obstructing your view. Finish with one personal detail—a print, a small plant or a favourite ceramic piece. Keep it outside the area you use for typing and writing. The chair should belong to a room you enjoy, not a display you have to dismantle every morning. 05 / Choose your starting point Build around the HBADA features that matter to you. Your preferred room style is one part of the choice. The other is how you want the chair to work. Start with your seating priorities, then use the available finish to shape the rest of the setup. For work and a relaxing pause HBADA E3 Ultra The E3 Ultra combines ergonomic support with 4D bionic massage and graphene heating. Build its corner around a practical desk, clear movement space and accessible controls, then add warm materials to make the setting feel at home. Keep decorative storage away from the footrest area and check the model’s dimensions before deciding where nearby furniture belongs. Discover E3 Ultra → For a technology-led workspace HBADA X7 The X7 offers smart lumbar tracking and a distinctive technical design. Pair it with a clean desktop and restrained accessories so its structure becomes an intentional part of the workspace. Choose the configuration around your fit and feature preferences, then coordinate the available colour with the desk and lighting. Take a closer look at X7 → 06 / Before the finishing photograph Try the setup as a workspace, not just a scene. Sit down, open your usual work and use the chair’s adjustments. A few minutes of real use can reveal the small changes that make the arrangement more practical. You can reach the desk without the armrests preventing a comfortable position. You can pull the chair out without hitting furniture or blocking a doorway. The chair’s controls remain visible and accessible. Any recline and footrest movement has enough clear space. Cables remain clear of the wheels and moving parts. Your chosen accessories do not crowd the keyboard, mouse or writing area. The chair’s colour or finish is echoed elsewhere without making the room feel overly matched. If the chair looks right but the fit still feels unsettled, revisit our seat height, depth and lumbar-fit guide before changing the room around it. The practical details HBADA home office setup FAQs. What desk colour works with a grey HBADA chair? Pale oak and warm neutral finishes are an easy starting point. They add warmth beside grey mesh. Repeat grey in a small accessory, then introduce a muted accent such as sage or terracotta if it suits the rest of your room. How can I style a black ergonomic chair at home? Connect it to another dark element such as a lamp or monitor frame, then balance it with wood and lighter surfaces. Keeping the desktop simple helps the chair look intentional rather than visually competing with lots of accessories. Will a HBADA chair fit beneath my desk? That depends on the model, its adjustment settings and the desk’s clear opening. Compare the chair’s specifications with the space beneath the desk, including drawers and support bars. Check working comfort separately from whether the chair can tuck away fully. How much room should I leave for a reclining chair? Use the selected model’s dimensions and movement requirements rather than a single universal measurement. Account for pulling the chair out, backrest movement and footrest extension where fitted, while keeping a usable walkway. Should I add a cushion or throw to match the room? Avoid adding accessories solely for appearance if they interfere with back support, usable seat depth or controls. Bring colour and texture into the room through curtains, artwork and desk accessories instead. A home office, built around you Let your HBADA chairtake its place in the room. Choose the support and adjustments you want. Give the chair space to move. Then bring in the wood, lighting and personal details that make the workspace yours. A thoughtful home office does not hide the chair. It makes the chair part of why the room works. Build your setup with E3 Ultra → More ideas for the way you work. Choose HBADA Europe as a preferred source on Google for workspace inspiration and practical chair guides. Add HBADA on Google ↗ Office Chairs for Scoliosis: Better Support for Back Comfort Office Chairs for Scoliosis: Better Support for Back Comfort The HBADA Comfort Guide Your back is individual.Your chair should adjust. When you have scoliosis, finding a comfortable office chair can take more than choosing a soft seat or a prominent lumbar cushion. The important question is how the chair fits your body—and whether you can adjust its support without feeling pushed into position. At HBADA, we design ergonomic seating around adjustable support and everyday comfort. This guide explains what to look for, what to adjust, and how to build a more comfortable desk setup. Individual fit Lumbar support Seat adjustments Back comfort Quick answer: choose adjustable support, not a corrective promise. An office chair for scoliosis should give you room to adjust seat height, seat depth, back support and arm positioning around your individual needs. A well-fitted chair may help reduce sitting discomfort, but it cannot straighten a spinal curve. Prioritise comfortable contact, supported feet and the freedom to change position rather than forcing your back against a rigid shape. Inside this guide What better support can do Features worth prioritising How to adjust your chair Finding the right lumbar fit Massage, warmth and comfort Finding your HBADA starting point Your everyday fit checklist Frequently asked questions 01 / Start with comfort What can an ergonomic office chair do for scoliosis? Scoliosis involves a sideways curvature of the spine, and individual support needs can differ. A chair that feels comfortable to one person may create pressure or leave an unsupported area for another. The practical role of an ergonomic office chair is to help you create a more comfortable working position: a seat that fits your legs, a backrest you can rest against, and arm support that does not make you lift your shoulders. Better fit can also make it easier to stop compensating for your furniture—for example, perching at the front of a deep seat or reaching forwards because the armrests keep you too far from the desk. That is a useful goal even though a chair is not a treatment for the spinal curve itself. Support should feel like assistance—not a position you have to endure. You do not need to force your body into a perfectly symmetrical silhouette. Look for a setup that feels supported, allows comfortable movement and works with any individual advice from your clinician or physiotherapist. 02 / The buying priorities Four features to prioritise before extras. When comparing office chairs for scoliosis and back comfort, start with the adjustments that determine whether the chair actually fits. Added features are most useful after that foundation is right. 01 A seat height that works with your feet and desk You should be able to sit back with your feet supported. Check the chair’s actual height range rather than relying only on a recommended user-height label. A separate footrest may help if your desk requires a higher sitting position. 02 Enough seat-depth adjustment An overly deep seat can make it difficult to reach the backrest without pressure behind your knees. Look for a depth that supports your thighs while leaving comfortable clearance at the knee crease. 03 Back support you can position comfortably Check where the lumbar support contacts your back and whether its available adjustments suit you. More pronounced support is not automatically better: it should not feel like a hard point pushing you forwards. 04 Armrests that fit your working position Useful armrests support your forearms without lifting your shoulders or blocking access to the desk. Check height and positioning, along with whether the chair can move close enough to your keyboard. Before comparing models, write down your measurements in centimetres and check them against the selected chair’s specifications. Our office chair fit and measurement guide explains how seat height, depth, width and lumbar support work together. 03 / Make the chair yours How to adjust an office chair when you have scoliosis. Begin with a comfortable, supported position rather than an idealised posture diagram. Make one adjustment at a time so you can notice whether it improves the way you sit. Adjustment What to look for A reason to readjust Seat height Feet supported, with a comfortable relationship between your legs and the desk. Dangling feet or pressure beneath your thighs. Seat depth You can sit back while leaving space behind your knees. You slide forwards to avoid the seat edge. Back and lumbar support Support feels comfortable where it contacts your back. A concentrated pressure point or a feeling of being pushed forwards. Armrests Forearms feel supported and shoulders can relax. You shrug your shoulders or reach around the armrests. Recline and tension You can change position with control, using the chair’s intended settings. You brace yourself to avoid tipping back or struggle to move the backrest. Keyboard and screen Frequently used items are within comfortable reach and view. You repeatedly twist or lean forwards to work. Try the setup during real tasks—not only while sitting still. Typing, reading and video calls may reveal different fit issues. If an adjustment causes pain, numbness or tingling, stop using that position and seek individual advice. For model-specific controls, use our HBADA user manuals and assembly guides rather than forcing a lever or adjustment beyond its intended range. 04 / Support without pressure Is lumbar support good for scoliosis? Lumbar support may make sitting more comfortable when it fits the individual. The important detail is not simply whether the chair has a lumbar feature, but where it contacts your back and how that contact feels. Start with a gentle setting where adjustment is available. Sit back, check your seat depth and notice whether the support feels helpful or intrusive. Avoid assuming that a stronger forward push will provide greater relief. At HBADA, our range includes different approaches to lumbar support, including the three-zone design on the E3 Ultra ergonomic office chair and the responsive lumbar system on the X7 smart ergonomic chair. These are different comfort features to consider—not a prescription for a particular spinal curve. The most useful support is the support that fits you—not the support that pushes hardest. For individual support needs: if your clinician recommends a specific cushion, positioning aid or seating setup, check that the chair can accommodate it. Do not add uneven padding to try to correct your spinal curve without professional guidance. 05 / A more relaxing break Where massage and warmth fit into back comfort. Support and relaxation serve different purposes. Your chair’s fit helps you establish a comfortable working position, while massage and warmth can add a soothing experience during a break. Our HBADA E3 Ultra combines 4D bionic massage and graphene heating with adjustable ergonomic support. These comfort features are designed to help ease everyday lower-back tension and bring a more relaxing pause to desk-based routines. That does not mean massage or heat is appropriate for everyone with scoliosis. If you have a diagnosed spinal condition, previous spinal surgery, altered sensation or instructions about avoiding heat or pressure, check with your healthcare professional before using these functions. For working Prioritise seat fit, comfortable back contact and easy access to your keyboard. Extra features cannot compensate for a chair that is too deep or support that feels uncomfortable. For taking a break Where suitable for you, use massage and warmth according to the product instructions. Keep the experience comfortable, and stop if it aggravates your symptoms. A seated break can feel good, but it should not replace getting up and moving. Build opportunities to change position into your day. 06 / Find your starting point Which HBADA features match your priorities? Start with the kind of support and comfort you want, then check the selected model’s dimensions and adjustments against your own needs. These two options offer different starting points within our range. Support + relaxation HBADA E3 Ultra Consider E3 Ultra if you want ergonomic adjustability alongside built-in lower-back massage and warmth. Its three-zone lumbar support, adjustable seating and arm support let you personalise the setup around work and breaks. Your fit check: confirm that the seat dimensions and lumbar contact suit you, and that massage and heating are appropriate for your individual circumstances. Meet the E3 Ultra → Responsive lumbar support HBADA X7 Consider X7 if responsive lumbar support is a priority in your chair search. Its smart lumbar system offers a different approach to back contact as you change position. Your fit check: evaluate how the support feels during your usual desk tasks. A responsive system still needs to feel comfortable to you; it is not a substitute for individual seating advice. Get to know the X7 → Before ordering, review the selected model’s current specifications and the delivery options for your country. You can also check our return policy and warranty information so you know what to expect after purchase. 07 / The everyday check Five signs your setup is working with you. You can sit back without the seat edge pressing behind your knees. Your feet have support without needing to perch on the front of the seat. The backrest feels supportive rather than creating a concentrated pressure point. You can reach your keyboard and mouse without repeatedly leaning or twisting. You can change position comfortably and take regular movement breaks. These are practical fit checks, not a test of whether your scoliosis is improving. If discomfort persists despite adjustments, or your symptoms change, speak with a healthcare professional about your individual needs. 08 / Your questions, answered Office chairs and scoliosis: FAQs. What type of office chair is best for scoliosis? There is no single chair that is best for everyone with scoliosis. Start with an adjustable ergonomic chair whose seat dimensions, back support and armrests fit your body and desk. Comfortable support and room to change position matter more than a “corrective” label. Can an ergonomic chair help relieve back discomfort? A well-fitted ergonomic chair may help reduce sitting discomfort by supporting a more comfortable working position. It does not treat every cause of back pain or correct scoliosis. Persistent or worsening pain needs individual assessment. Should I use a lumbar cushion if I have scoliosis? A cushion may feel helpful for some people, but more padding is not always better. It can reduce usable seat depth or create unwanted pressure. Check the chair’s existing adjustments first and seek advice if you need targeted or asymmetric support. Do I need to sit perfectly upright all day? The goal is not to hold one rigid position throughout the day. Find a supported working position, change posture as comfortable, and take movement breaks. Follow any individual positioning guidance given by your healthcare professional. Is a massage office chair suitable for someone with scoliosis? Suitability depends on the individual. Massage is a comfort feature, not a scoliosis treatment. Ask your healthcare professional whether massage and heat are appropriate for you, especially after spinal surgery or if you have altered sensation or specific restrictions. Is a softer office chair always more comfortable? No. A soft first impression does not tell you whether the chair provides a comfortable fit during work. Compare usable seat depth, back contact, adjustability and your ability to move rather than judging the chair only by cushioning. Comfort starts with your fit A chair should support your day.Not ask you to fit its shape. The right starting point is personal: your measurements, your desk and the support that feels comfortable to you. Our ergonomic chairs bring together adjustable seating and thoughtful comfort features to help you create a workspace that works better for your body. Find your chair-fit priorities → Keep good advice within reach. Choose HBADA Europe as a preferred source on Google for chair guides and practical workspace advice. Add HBADA on Google ↗ Desk Posture Checklist: 7 Ergonomic Adjustments for Long Workdays Desk Posture Checklist: 7 Ergonomic Adjustments for Long Workdays Your everyday workspace, thoughtfully adjusted Seven small adjustments.A better place to work. A comfortable desk setup rarely comes from one dramatic fix. It comes from the small details working together: where your feet land, how your back is supported, and how easily you can reach the things you use. Work through this desk posture checklist from the seat up. Then put your findings to work when choosing your next HBADA chair. Quick answer: What should you adjust first? A practical desk posture checklist covers seven adjustments: seat height, seat depth, lumbar support, backrest recline, armrest position, monitor height, and keyboard and mouse placement. Start with your chair, then arrange the screen and input devices around your seated position. A better setup. A better Black Friday price. Save up to €470 on selected HBADA chairs. See the deals → Why a checklist Seat height Seat depth Lumbar support Recline Armrests Monitor Keyboard & mouse Quick checklist Black Friday picks FAQs The starting point Why a Checklist Beats Guesswork Proper desk posture rarely comes from one dramatic fix. Seat height, monitor position and armrest placement all affect how you settle into your workspace. Change one, and you may need to revisit another. That is why a structured ergonomic workstation checklist is useful. Working through each item in order gives you a complete picture instead of adjusting one part of the setup and overlooking the rest. Fit the workspace around you—not the other way around. 01 Seat Height Start here. Your feet should rest securely on the floor or a stable footrest. If you are reaching for the floor with your toes or feeling cramped under the desk, revisit the seat height before moving on. Check the fit while wearing the shoes you normally use at your desk. Once the seat feels right, make sure you can still reach your keyboard without lifting your shoulders. Quick check: Sit back, place both feet down and notice whether you feel balanced without perching on the front edge. 02 Seat Depth Sit fully back against the backrest, then check the space between the front of the seat and the backs of your knees. A small gap—around two to three finger-widths—is a useful starting point rather than a rigid measurement. If the seat is too deep, its front edge may press behind your knees or encourage you to slide forwards. If it is too shallow, it may leave more of your thighs unsupported than feels comfortable. Quick check: Can you use the backrest comfortably without the seat edge pressing into your legs? 03 Lumbar Support Position the lumbar support around the natural curve of your lower back. Aim for comfortable contact rather than a strong push that moves you away from the backrest. Make small changes, sit normally and check the result. If the support feels too high, too low or too prominent, use the available adjustments rather than forcing yourself into one position. When choosing your next chair, take a closer look at the HBADA E3 Pro and compare its support and adjustment options with your needs. Quick check: The lumbar area should feel supportive, not like a hard point you need to sit away from. 04 Backrest Recline You do not need to hold one perfectly upright position throughout the day. Try a gentle supported recline, then check that your screen and keyboard remain easy to use. Adjust the tilt tension or lock setting according to your chair’s instructions. For focused typing, avoid leaning so far back that you have to reach forwards again. Change the setup when you switch from desk work to a seated break. Quick check: Can you lean into the backrest without losing comfortable access to your work? 05 Armrest Position Set your armrests so your shoulders can relax and your elbows stay near your body. If the pads rotate or move sideways, position them around the way you actually use your keyboard and mouse. Armrests should not stop you from moving close enough to the desk. Recheck their height and position if they collide with the desktop or push your elbows outwards. Quick check: Rest your arms, exhale and notice whether your shoulders drop naturally. 06 Monitor Height and Distance Place your main monitor directly in front of you, with the top of the screen at or slightly below eye level. Around an arm’s length away is a practical starting point; adjust the distance and text size so you can read without leaning forwards. If you wear bifocals or progressive lenses, you may prefer a lower screen position to avoid tilting your head back. Recheck the screen whenever you change your seat height. Quick check: Read a paragraph on screen. If you move your head towards it, try larger text or a different screen distance. 07 Keyboard and Mouse Placement Keep your keyboard close enough that you do not have to reach, with your wrists in a comfortable, fairly straight position. Start with the keyboard flat and adjust its angle only if that improves your wrist position. Place the mouse at the same level and within easy reach. Check the position during real work—not just while sitting still—because a comfortable setup needs to work while you type, click and switch tasks. Quick check: Type a few lines, then use the mouse. Can you switch between them without stretching your arm or lifting your shoulder? Keep this beside your desk Quick Reference: Desk Posture Checklist Tick each item as you check your setup. These boxes are for your own review; your selections are not submitted and may reset when you leave or reload the page. Seat height: My feet have stable support. Seat depth: I have comfortable clearance behind my knees. Lumbar support: My lower back feels supported without concentrated pressure. Backrest recline: I can use the backrest while keeping my work within reach. Armrests: My shoulders stay relaxed and the pads do not block the desk. Monitor: I can read comfortably without leaning or tilting my head. Keyboard and mouse: Both are close enough for comfortable use. If your current chair cannot accommodate several of these checks together, use the list as your buying checklist. Our office chair fit and measurement guide can help you compare seat height, depth, width and lumbar fit. Make your upgrade count Your checklist. Our Black Friday savings. Found the limits of your current chair? Turn your checklist into a workspace upgrade with our European Black Friday offers. Save up to €470. HBADA E3 Pro 2026 €509 Featured configuration: Grey, with footrest. Shop E3 Pro → HBADA X7 €1,099 Featured configuration: X7, Grey. Shop X7 → More ways to make your budget go further Subscriber coupon pack: €20 off €300+, €50 off €550+, or €60 off €1,000+. The €130 total is three separate coupons, not one discount. Valid November 6–30, 2026; excludes the new E3 Ultra. Each coupon is usable once per customer and cannot combine with other discount codes. Gift card bonus: Eligible X7 purchases receive an €80 gift card; eligible E3 purchases receive €30. Ends November 15. Cards are valid for 90 days on future purchases. Double points: Sign in before checkout to earn 2X points during November 6–30. Shop Black Friday savings → Selected configurations only; promotional stock and activity terms apply. Check current prices and eligibility on the event page before ordering. A useful reset Signs Your Setup Needs a Recheck Even a familiar desk setup benefits from another look. Watch for these signs that your settings or working habits may need attention: You repeatedly lean towards the screen to read. Your shoulders rise while you type or use the mouse. You slide forwards rather than using the backrest. Your wrists feel uncomfortable during desk work. You notice new neck, shoulder or lower-back discomfort. Start again with seat height and work through the list. Also make room for regular movement and breaks away from the desk. Persistent or worsening pain deserves individual advice from a healthcare professional. The details that matter Frequently Asked Questions What should be on a basic desk posture checklist? Include seat height, seat depth, lumbar support, backrest recline, armrest position, monitor height, and keyboard and mouse placement. Review them together rather than treating each adjustment as a separate task. What is proper desk posture, in simple terms? Think of a supported, comfortable position that lets you work without unnecessary reaching or leaning. It is not a single pose to hold all day; change position and take movement breaks. How often should I recheck my workstation? Recheck when you change equipment, share a desk, move your chair settings or notice new discomfort. A brief review after setting up for the day can also catch simple issues such as a mouse left too far away. Does posture matter more than the chair itself? They work together. A chair that fits gives you useful options for support, while the arrangement of your screen, desk and input devices helps you use those options comfortably. Why should I check seat depth as well as seat height? Height alone does not tell you whether you can sit back comfortably. Seat depth affects the clearance behind your knees and how easily you can make use of the backrest. Can monitor position affect the way I sit? Yes. If text is difficult to read or the screen is awkwardly placed, you may lean or tilt your head. Review screen position and text size together. A better fit. A Black Friday opportunity. Seven Small Fixes, One Better Workday None of these adjustments has to be complicated. Work through them together, keep what feels supportive and revisit the setup as your tasks change. Ready for a chair that gives you more options? Bring your checklist to our Black Friday sale and choose your next HBADA upgrade. Make the most of the offers while they are available—and give your everyday workspace the attention it deserves. Find my Black Friday chair deal → Good advice belongs in your everyday routine. Keep HBADA close for practical chair guides, workspace inspiration and ideas that help you get more from your setup. Add HBADA to your preferred sources ↗ Opens Google in a new tab. Confirm your selection there if HBADA is available.