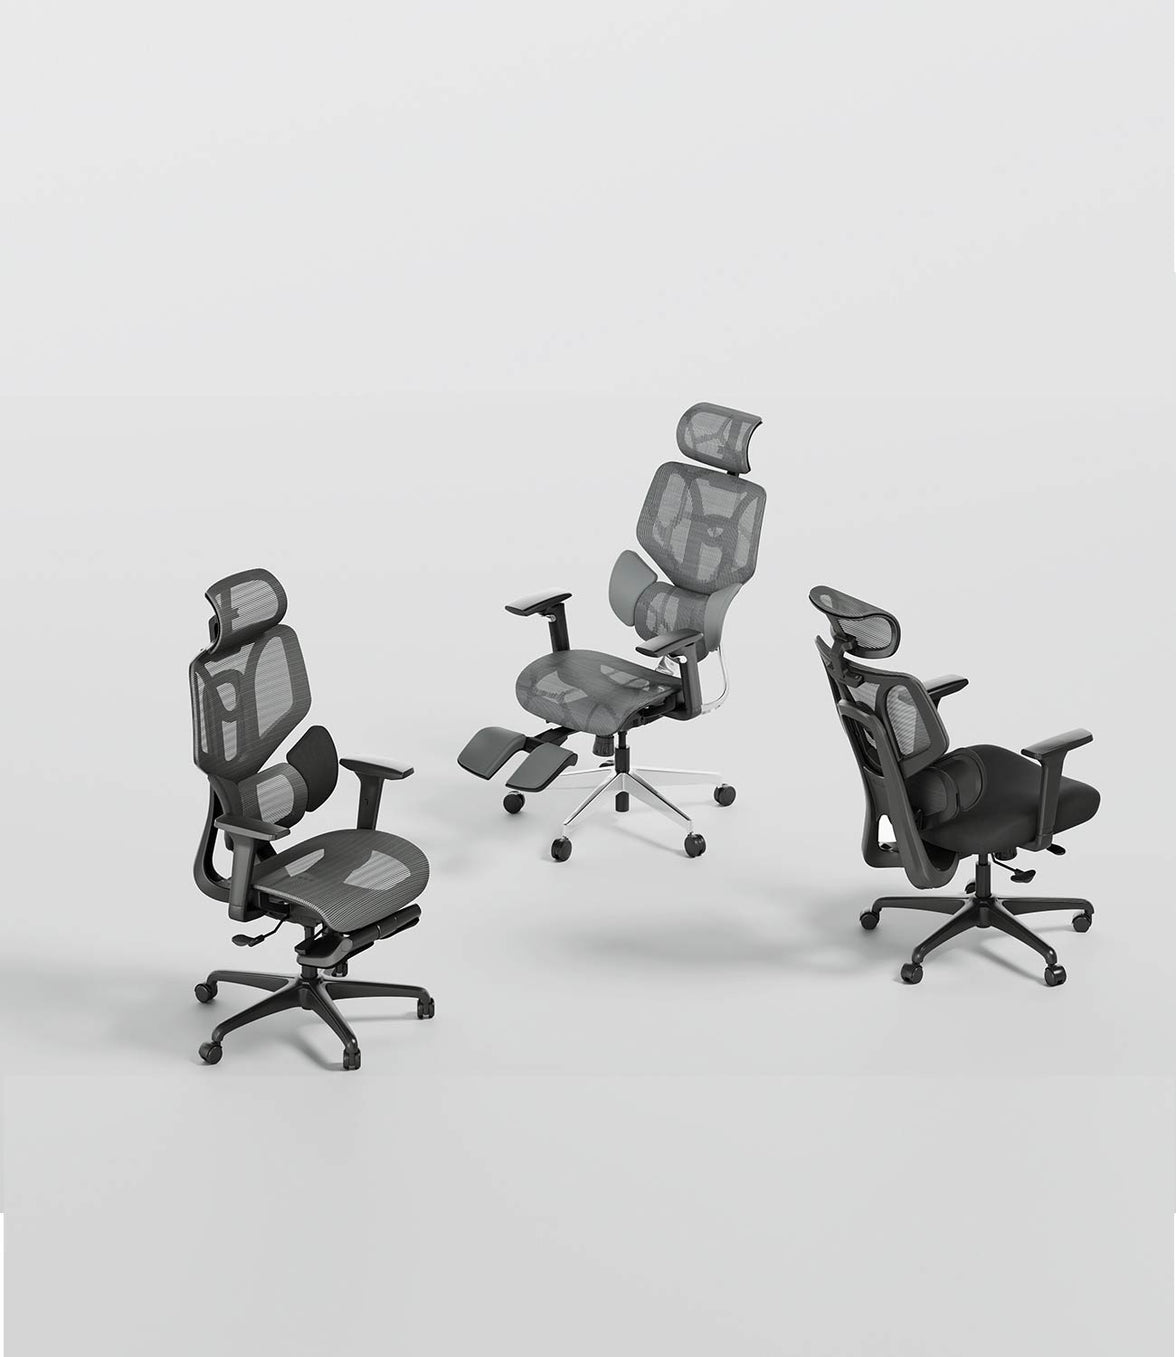




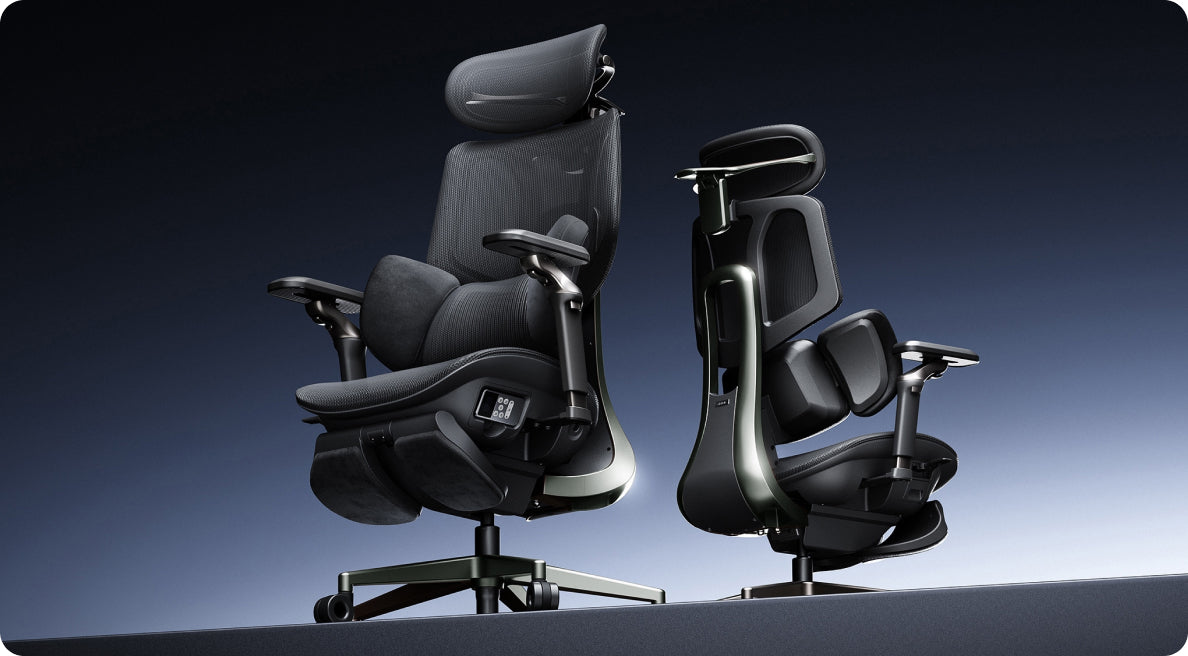

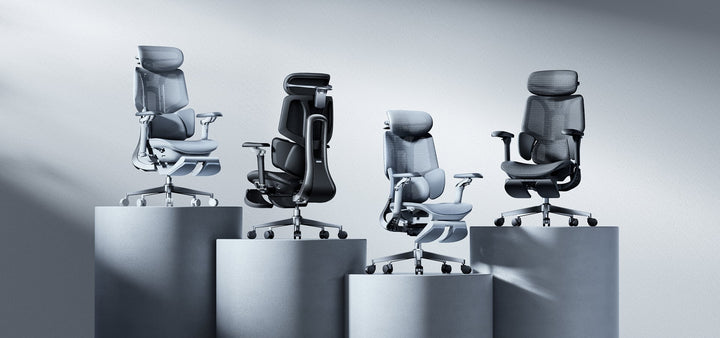
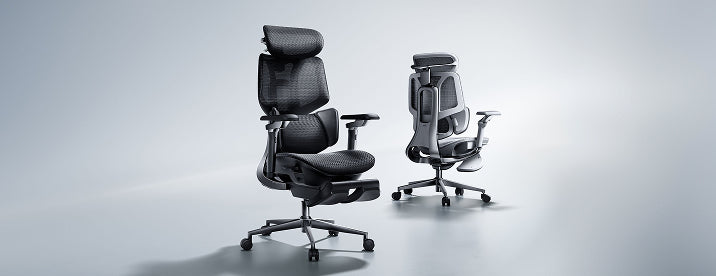




From the box
to your better workspace.
Your first experience with a new office chair starts before you sit down. Here is how to plan the build, avoid unnecessary delays and get your HBADA chair ready for everyday use.
Office chair assembly time depends on the model, the parts already assembled and how comfortable you are handling the build.
For a first-time setup, reserve an uninterrupted hour for unpacking, assembly, checks and adjustments. That is a practical scheduling suggestion—not a measured installation time or a promise that every chair takes an hour.
Use the instructions supplied with your exact chair. Product generations and configurations can have different parts, connections and assembly sequences.
Assembly time is more than tightening bolts.
Two people can assemble the same chair and record different times without either doing anything wrong. One may start the clock after unpacking; another may include sorting hardware, watching the instructions and adjusting the finished chair.
Give yourself time to identify the parts and understand the sequence before you begin. Optional accessories, electrical connections and the need to support a large component can all change the pace.
Before opening the hardware pack, find the model identification on your packaging and match it to the supplied manual. If you need a replacement guide, use the support options on our European website .
What to check before building your chair.
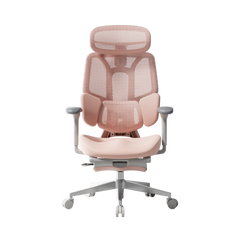
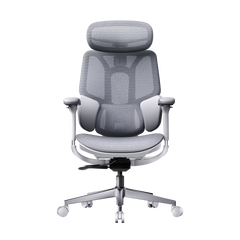
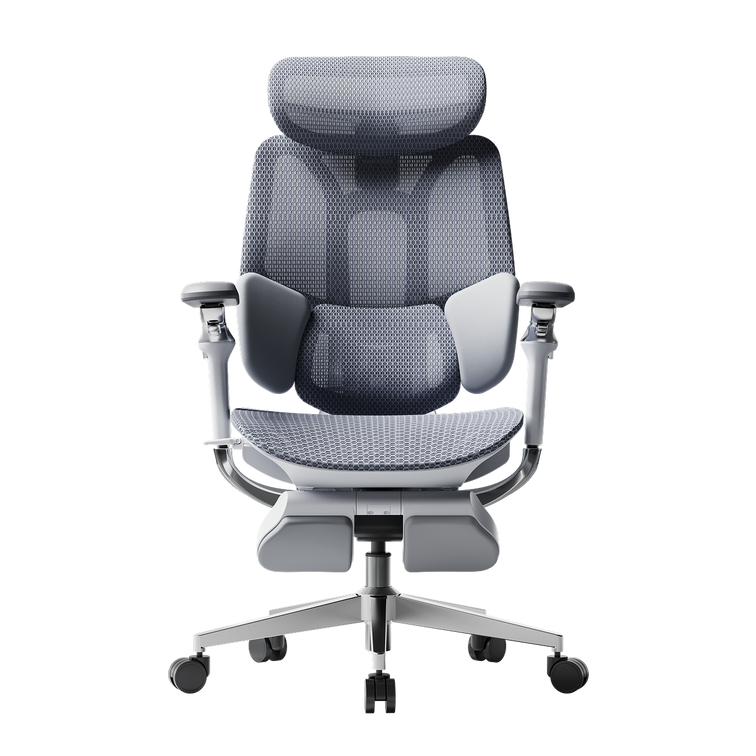
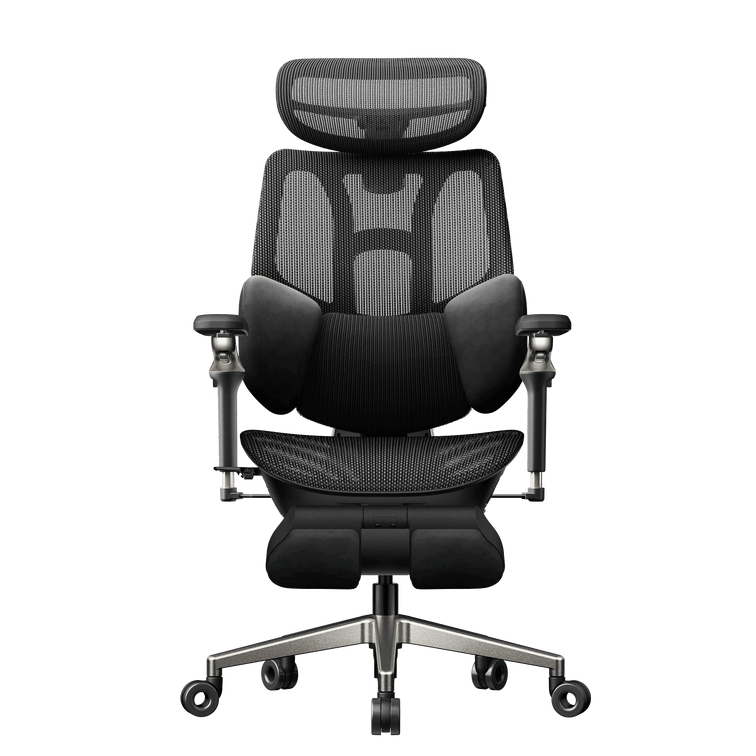
HBADA E3 Pro
Match your instructions to the chair in the box.
Start by checking the model identification on your packaging and manual. When browsing the HBADA E3 Pro , remember that a different generation shown in a review or installation video may not have the same assembly steps.
Confirm whether your configuration includes a footrest and identify the instructions for any included accessories. Check the hardware labels before fitting components; similar-looking bolts may serve different purposes.
If a component is awkward to hold in alignment, ask another person to support it rather than balancing it while trying to tighten a fastener.
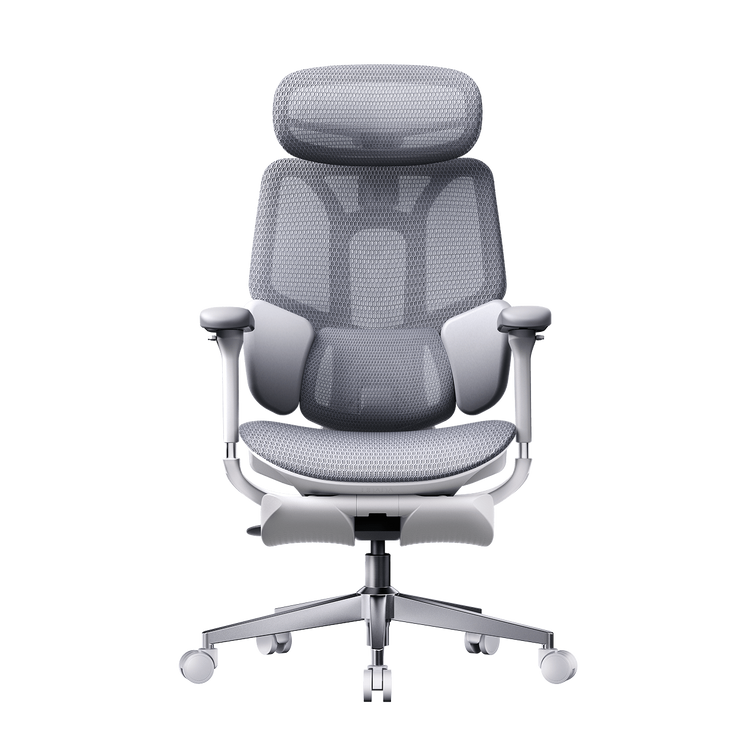
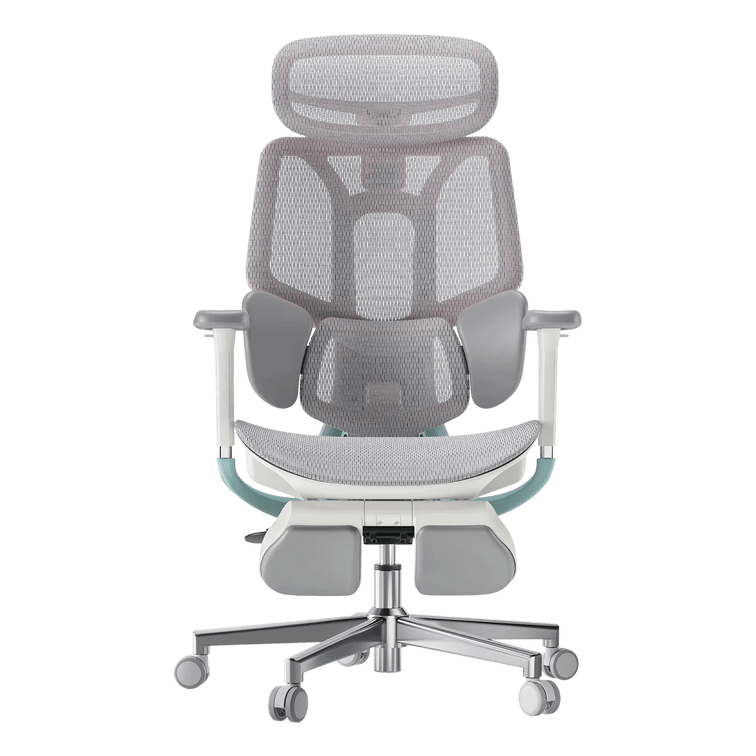
HBADA X7
Take a deliberate approach to handling and connections.
With the HBADA X7 smart ergonomic chair , review the instructions for any electrical connections before joining the relevant components.
Follow the specified cable route and connector orientation. Do not pull components together by their cables, trap wiring between parts or force a connector that does not align. Follow the manual’s instructions on when to connect power.
Arrange help if you cannot comfortably lift or stabilise a component. A second pair of hands is more useful than trying to finish quickly.
The best shortcut is knowing the next step before you lift the next part.

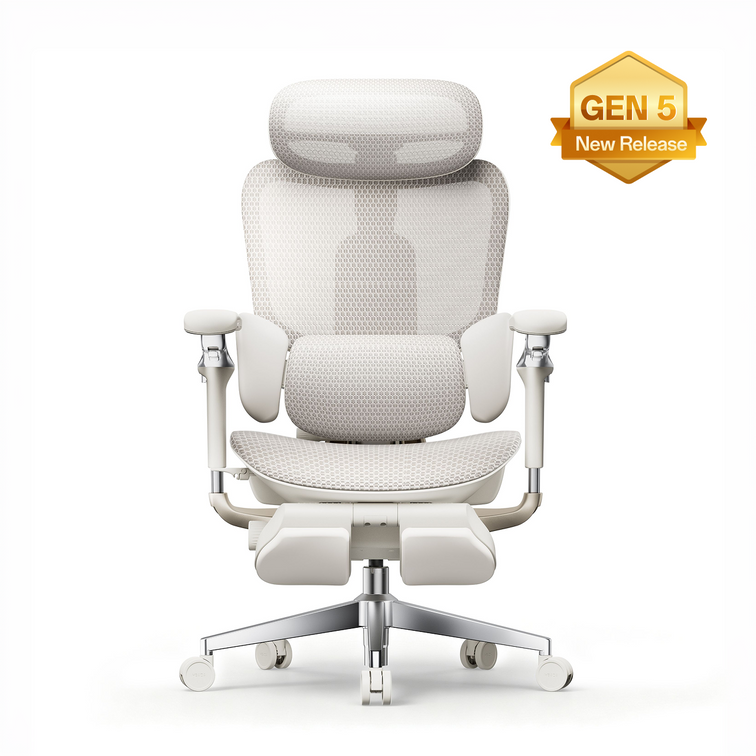
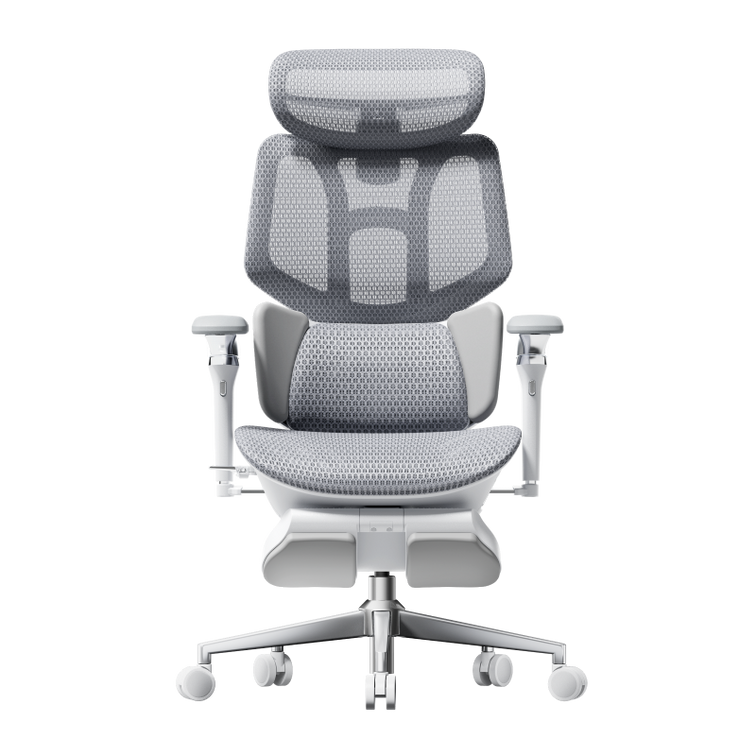
HBADA E3 Air
Do not borrow an installation time from another model.
For the HBADA E3 Air , check the exact edition and accessory configuration before selecting an assembly video.
A similar appearance does not establish an identical assembly sequence. Nor does a simpler feature list prove that one chair will take less time to build.
Lay out the components, match them to the parts list and work through the supplied guide in order. Treat fit adjustments as a separate step after assembly.
| Model | First check | Where to allow extra attention |
|---|---|---|
| E3 Pro | Edition and accessory configuration | Hardware identification and component alignment |
| X7 | Model-specific connection instructions | Safe handling, cable routing and connectors |
| E3 Air | Exact model and included parts | Following its own guide rather than another model’s |
On smaller screens, swipe the comparison horizontally. This table compares preparation needs, not measured build times.
Prepare once. Build without the backtracking.
These habits help organise your assembly session. They do not replace the model-specific sequence, tightening instructions or safety guidance included with your chair.
- Choose a clear, protected work area. Leave enough space to lay out the parts and move around them. Use a clean protective surface where the instructions call for placing components down. Keep children and pets away from loose hardware and the build area.
- Check every part before starting. Match the components, fasteners and tools to the parts list. Keep different hardware types separated. If something is missing or damaged, contact support before improvising a replacement.
- Read the complete sequence once. Identify the steps where a part needs support, an accessory is fitted or a cable must be routed. Watch the matching installation video if one is provided.
- Align components before applying force. Use the specified fastener in the correct location. Where instructed, start bolts loosely to establish alignment before tightening. Follow each step’s tightening direction; do not leave every connection loose until the end.
- Check connections and clearances. On models with electrical components, follow the manual’s connection instructions. Keep cables clear of pinch points and moving parts. Stop if a connector appears damaged or does not fit as shown.
- Complete the final inspection. Confirm that components and fasteners are secured as instructed before use. Do not bounce on the seat to force a joint into position. If the chair feels unstable, stop and check the guide or contact support.
- Adjust the chair to your workspace. Once assembly checks are complete, set the seat height, seat depth where adjustable, back support and armrests. Keep the manual and tools together for future reference.
Small mistakes that create extra work.

Using a video for a different generation
Check the model name and edition before following the steps. Similar product names do not guarantee matching hardware or connection points.
Tightening before the parts are aligned
If a hole does not line up, check orientation and the previous step. Do not use extra force to make an incorrect fit work. Follow the manual’s specified tightening sequence.
Forcing a connector or substituting a bolt
A part that looks almost right may still be the wrong one. Stop and verify the label, orientation and instructions. Contact us if the supplied parts do not match the guide.
Handling an awkward component alone
Ask for help when lifting or holding a part securely is difficult. Do not use the headrest, armrests or cables as improvised lifting handles.
Throwing away the packaging and tools too soon
Keep the tools, instructions and packaging while you complete the setup and check that everything is present and functioning. Review the applicable return instructions before discarding packaging.
Office chair assembly, explained.
How much time should I set aside?
Reserve an uninterrupted hour as a scheduling buffer for unpacking, assembly, inspection and initial adjustments. It is not a tested build time. You may finish sooner, or need more time if you are unfamiliar with the process or need assistance.
Can I assemble an office chair by myself?
Follow the handling guidance for your model. If you cannot comfortably lift or stabilise a component, get help. Being able to tighten the bolts alone does not mean every lifting step is suitable for one person.
What tools do I need?
Check your model’s parts and tool list before starting. Use the specified tools and fasteners. Avoid power tools unless the instructions expressly permit them.
Should I follow the same steps for every HBADA chair?
No. Use the guide for your exact model, generation and configuration. If you cannot identify the right guide, contact our support team through the HBADA European website before continuing.
What if the chair squeaks or feels unstable after assembly?
Stop using it if it feels unstable. Review the assembly checks in your manual and look for incorrectly fitted components or unsecured fasteners. Do not assume every noise comes from the same cause, or disassemble the gas cylinder. Contact our support team if the issue continues.
What information should I provide if a part is missing?
Have your order number, model identification and clear photos ready when contacting support. Include the part label from your manual where possible. This makes it easier to identify the correct component.
A good build starts before the first bolt.
Clear the space, identify your model and read the sequence. Give yourself room to work carefully, then spend a few minutes adjusting the finished chair to your desk. Assembly is the beginning—not a race to the seat.
Explore HBADA Europe →