
Blog

Can Office Chairs Explode? The Truth About Gas Cylinder Safety

Can Office Chairs Explode? The Truth About Gas Cylinder Safety

You sit down, lean back, and a strange thought lands: can office chairs explode? It sounds like an internet myth, yet a few real incidents have made headlines. The honest answer is that a genuine office chair explosion is extremely rare, and it almost never happens with a properly certified chair. The risk lives inside one part, the gas cylinder, and gas cylinder safety comes down to build quality, certification and how you treat your chair. This guide separates fact from fear, shows you the warning signs, and explains how our chairs are engineered to remove the risk. 

So, Can Office Chairs Really Explode?

Here is the straight answer. Yes, an office chair explosion is possible, but only in rare cases involving a faulty or counterfeit gas lift cylinder, and the odds of it happening with a certified chair are vanishingly small. Across millions of chairs in daily use, only a handful of verified incidents have been reported worldwide in the last two decades. Every documented case traces back to the same root cause: a cheap, uncertified pneumatic cylinder that was never built to a recognised safety standard.

How an Office Chair Gas Cylinder Actually Works

To judge the risk, you need to understand the part. The gas lift cylinder, also called a gas spring, is the sealed metal tube that raises and lowers your seat. It works on a few simple principles:

• It is pneumatic, not hydraulic.

• It is filled with compressed nitrogen gas, an inert gas that will not combust.

• When you pull the lever, a valve releases nitrogen to raise or lower the seat.

• The gas is sealed inside thick steel rated well above normal working pressure.

A quality cylinder that ages does not burst. It slowly loses pressure, which is why an old chair starts to sink rather than fail with a bang.

Myth vs Fact: Office Chair Explosions

Most of the fear online comes from half-truths. Here is what holds up, and what does not.

Myth

Fact

Any office chair can blow up at random.

Certified chairs with nitrogen-filled cylinders do not spontaneously explode under normal use.

Gaming chairs are more dangerous than office chairs.

They use the same gas lift mechanism. Build quality, not chair category, decides safety.

The gas inside is flammable.

Quality cylinders use inert nitrogen gas, which cannot ignite.

A sinking chair is about to explode.

Sinking signals a slow pressure leak, not a blast. It is a repair cue, not a danger alarm.

Heat will make your chair detonate.

Extreme heat can stress a weak, low-grade cylinder over time. A certified cylinder is rated for normal indoor temperatures.

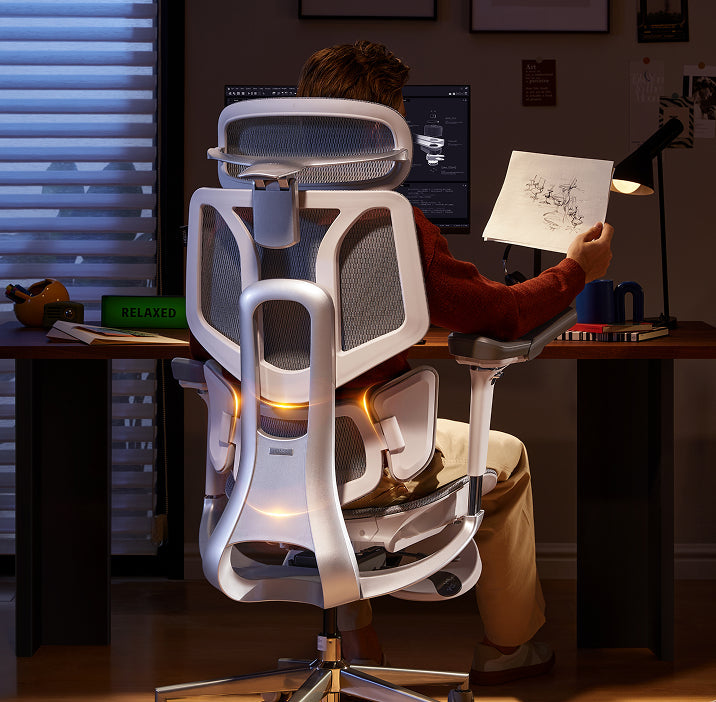
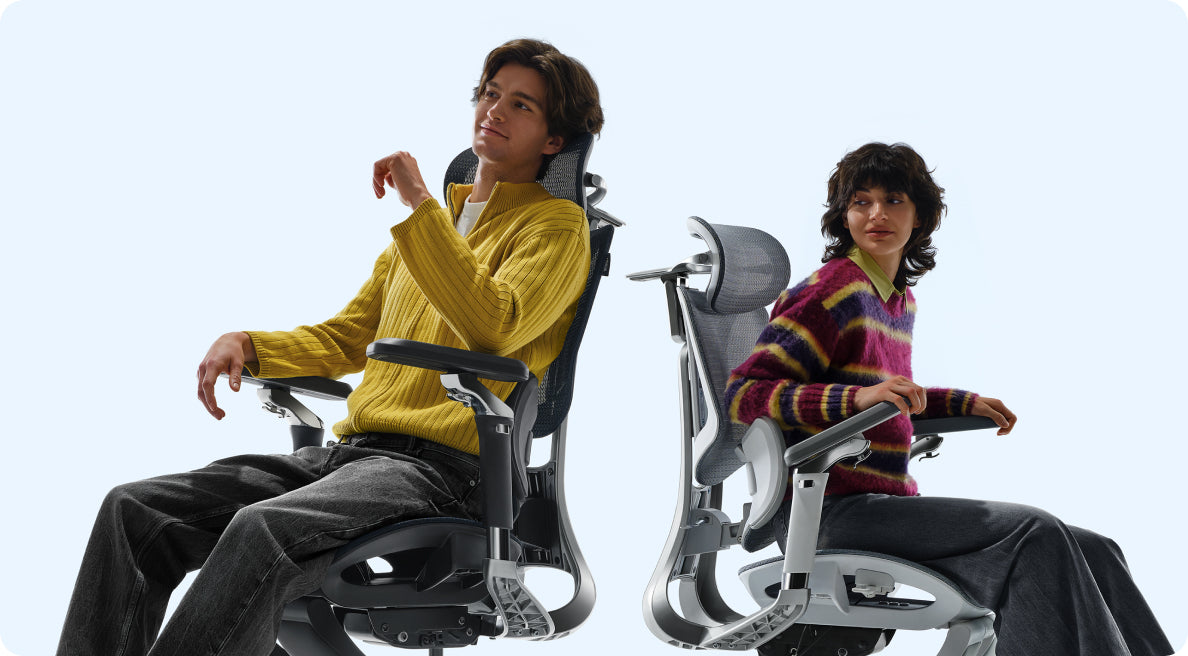
HBADA E3 ergonomic office chair user sitting posture

What Actually Causes a Gas Cylinder to Fail?

When an office chair gas cylinder does fail catastrophically, the cause is almost always preventable. A short list of factors accounts for nearly every reported case:

• Substandard manufacturing: thin, low-grade steel that cannot contain normal pressure.

• The wrong gas: some cut-price makers fill cylinders with compressed air instead of nitrogen gas. Air carries oxygen and moisture, which corrode the seal and raise burst risk.

• Overloading: exceeding the rated weight capacity stresses the internal components.

• Prolonged heat: leaving a chair in direct sun or beside a radiator expands the gas and fatigues weak materials.

• DIY tampering: opening or trying to deflate a cylinder is dangerous and a leading cause of accidents.

• Age and wear: seals degrade over many years, so an unmaintained cylinder is more likely to leak.

Documented Incidents

The cases that fuel the headlines are real but isolated. Reported incidents, including a 2009 case in Shandong, China, and a separate injury reported in 2013, both involved low-cost chairs that were never certified to a recognised standard. In nearly every account, investigators pointed to inferior cylinders filled with compressed air rather than sealed nitrogen. The lesson is consistent: the danger sits with uncertified hardware, not with the technology itself.

Warning Signs Your Gas Lift May Be Failing

Your chair will usually warn you long before anything goes wrong. Act on these signs early:

• A hissing or leaking sound from the cylinder.

• A seat that sinks on its own and will not hold height, the classic sinking chair.

• Visible cracks, rust or dents on the metal tube.

• Wobbling, popping or grinding when you adjust the height.

If you notice any of these, stop using the chair and replace the gas lift cylinder or the chair. Never try to open or refill the cylinder yourself.

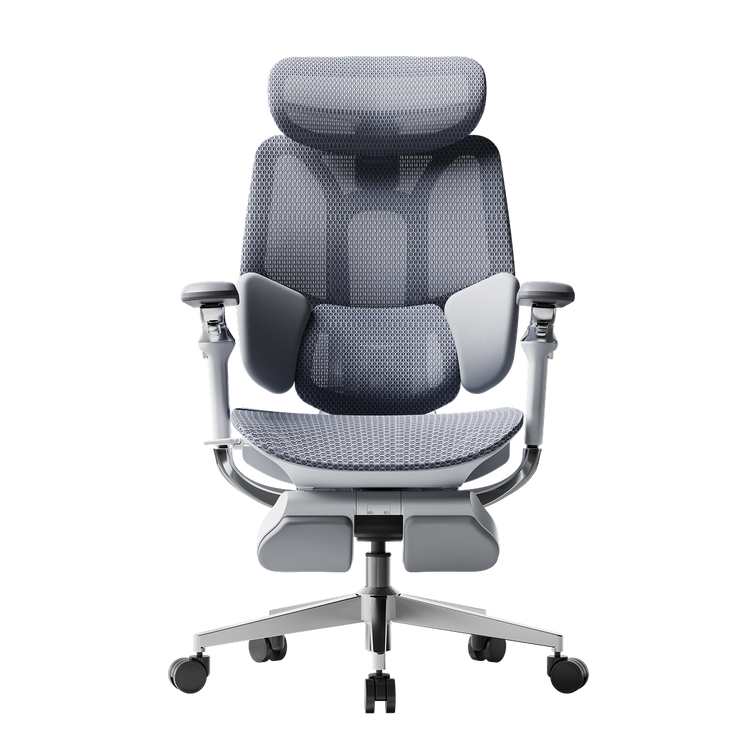
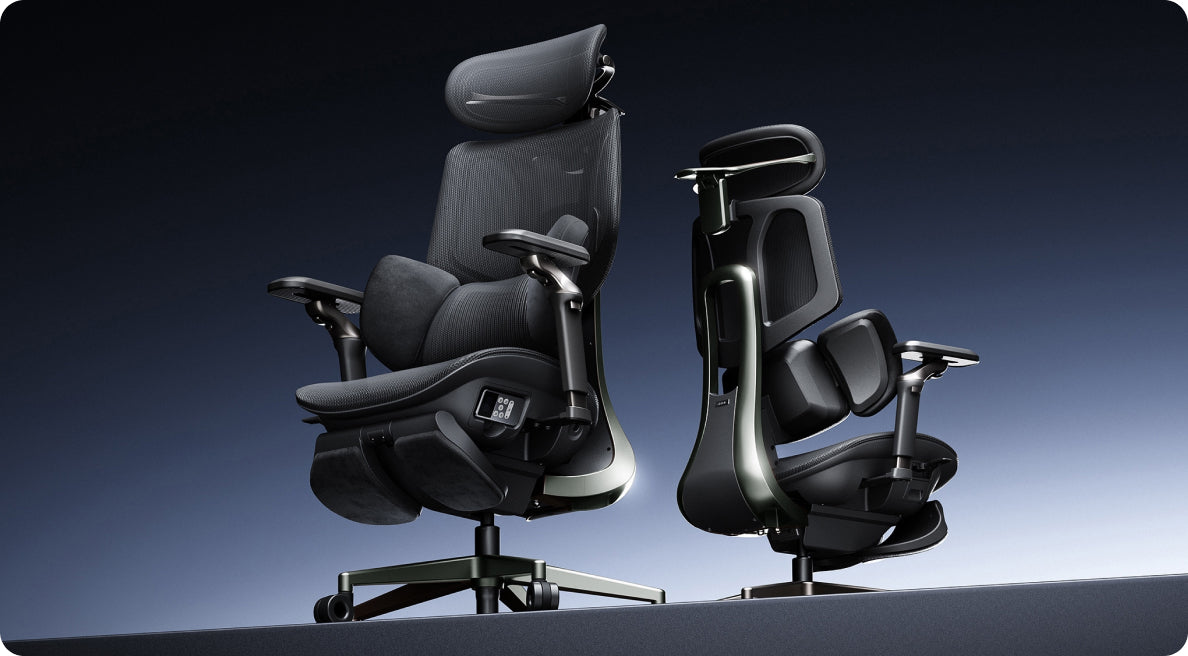
HBADA E3 breathable mesh ergonomic office chair close-up

How We Engineer the Risk Out of Every Chair

Safety should be designed in, not hoped for. Here is how our chairs remove the variables that cause failure:

• Every HBADA chair ships with a BIFMA-certified gas cylinder, tested to the highest Class 4 gas lift grade for pressure resistance and durability.

• Our cylinders use sealed, high-purity nitrogen gas inside thickened, explosion-proof steel, never compressed air.

• Components are validated by independent laboratories including SGS and TUV Rheinland, and every chair passes over 100,000 cycle tests.

• Each model carries a 5-year warranty, so a weakening cylinder is replaced, not endured.

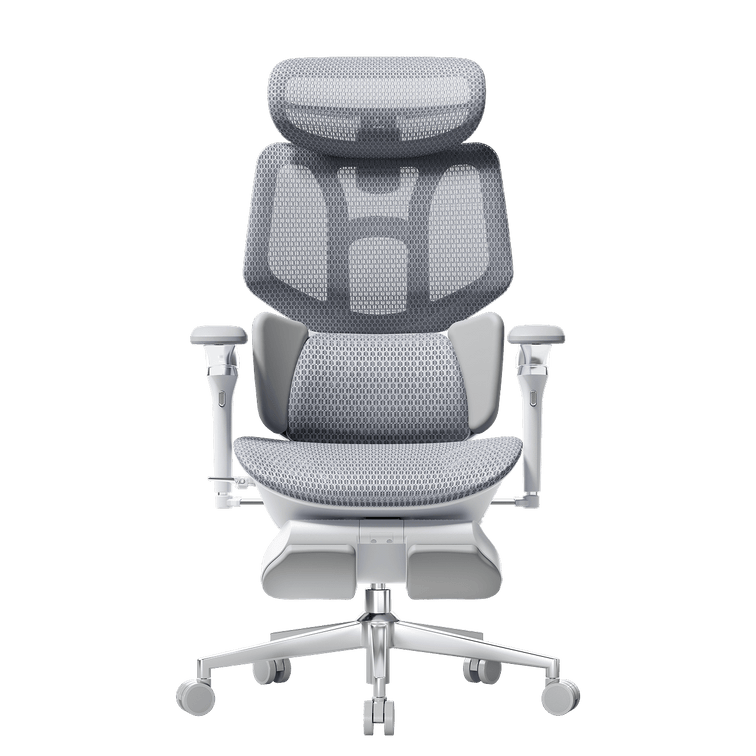
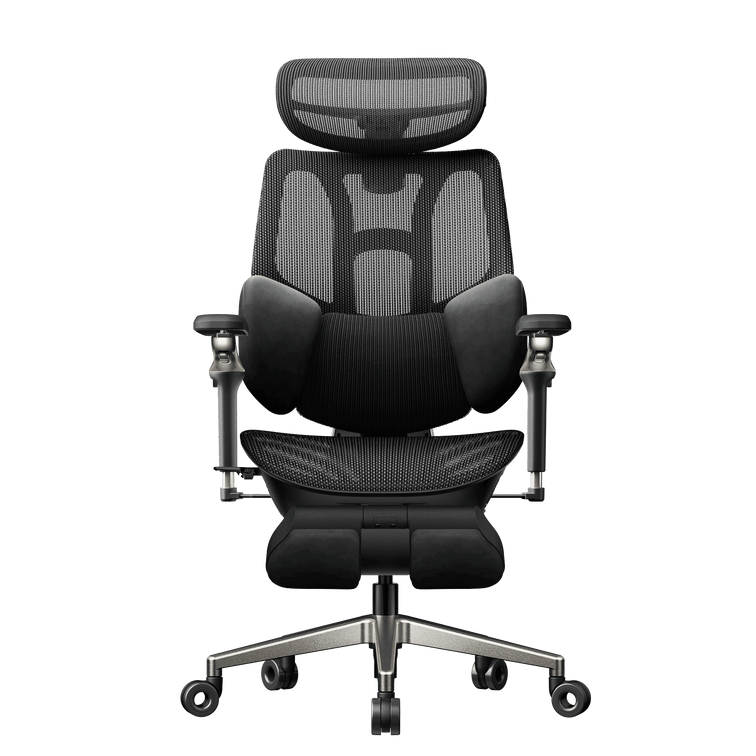
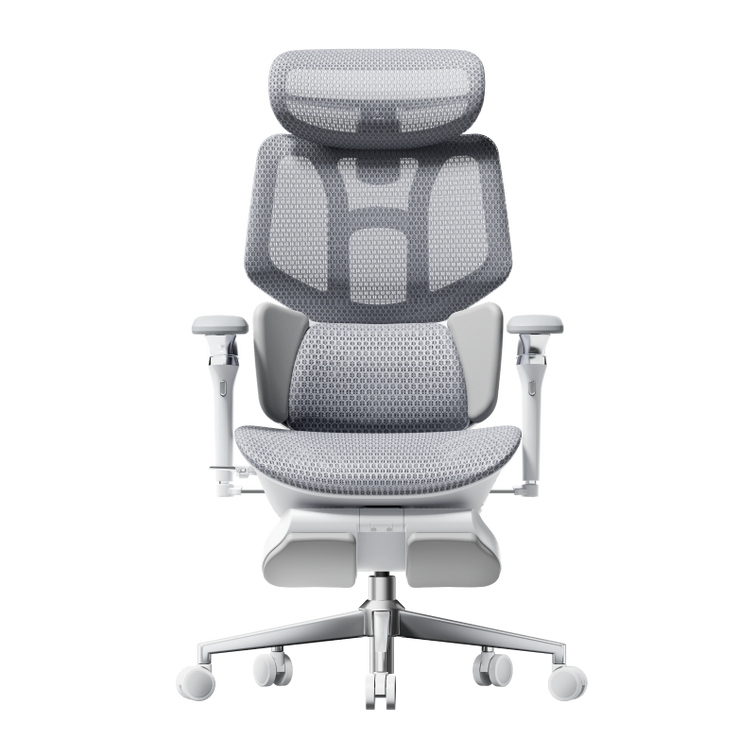
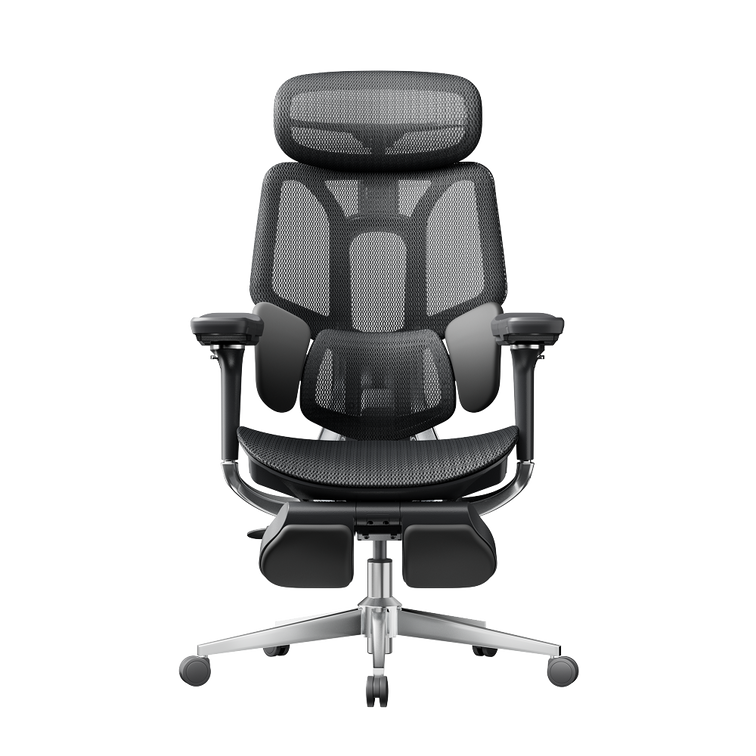
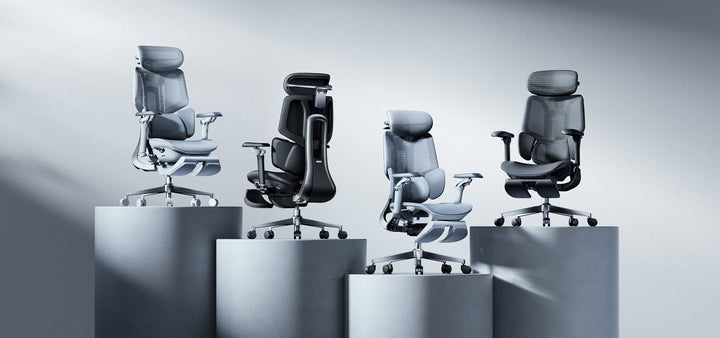
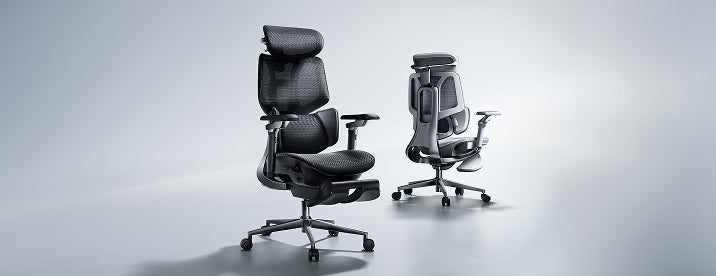
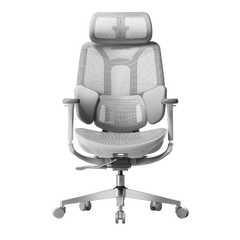
For heavier users and long shifts, the BIFMA-certified gas lift engineering of the HBADA E3 Pro 2026 Edition pairs an anti-sinking Class 4 gas lift with a steel-reinforced chassis and our 3-Zone Elastic Lumbar Support.

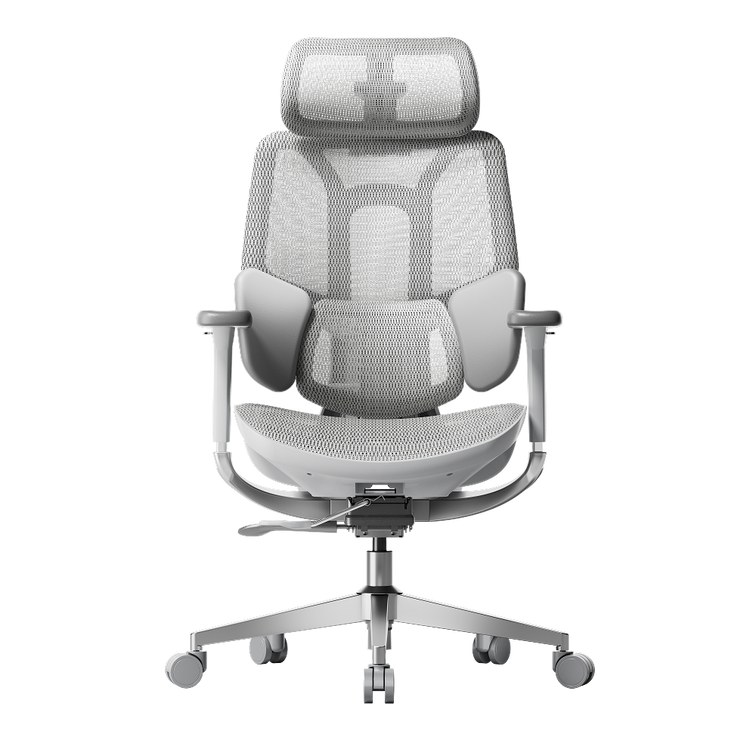
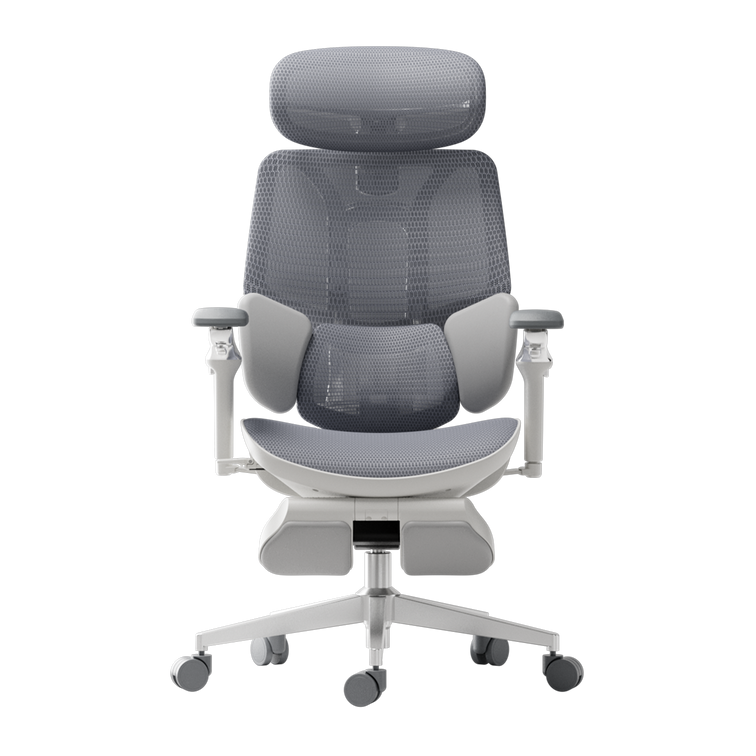
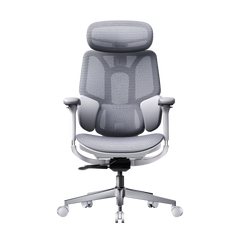
If you want active, sensor-driven support, the AI lumbar-tracking design of the HBADA X7 Smart Ergonomic Chair tracks your spine in real time while resting on the same certified, explosion-proof cylinder platform.

Feature

HBADA E3 Pro 2026 Edition

HBADA X7 Smart Ergonomic Chair

Best for

Heavy-duty use and long shifts

Active AI support and all-day precision

Gas lift

Anti-sinking Class 4, BIFMA-  certified

Class 4, BIFMA-certified

Lumbar support

3-Zone Elastic Lumbar Support

AI lumbar-tracking, auto-adjusting

Frame

Steel-reinforced chassis

Reinforced ergonomic frame

Recline

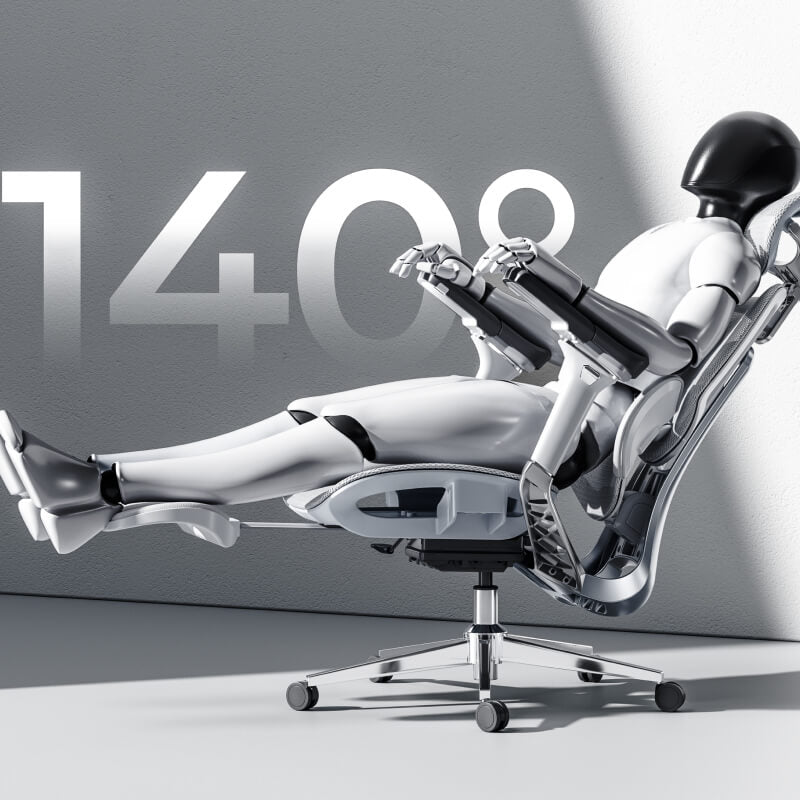
Up to 140 degrees

Dynamic, posture-following

Safety testing

SGS, TUV, 100,000+ cycle tests

SGS, TUV, 100,000+ cycle tests

Warranty

5 years

5 years

Real Users, Real Results

Specifications matter most when you can see them solve a real problem. Here are two very different users and how the right chair fixed their pain.

The Heavy-Duty Home Worker

Callum H., 34, is a senior DevOps engineer and part-time streamer in Manchester (188 cm, 134 kg). He had been through three budget office chairs in two years. The foam compressed flat, the cheap cylinders kept failing under his 10-plus-hour shifts, and a constant sinking chair left him with lower back numbness. He switched to the HBADA E3 Pro 2026 Edition. The anti-sinking Class 4 gas lift and steel-reinforced chassis gave him a rock-solid base, while the 3-Zone Elastic Lumbar Support adapted as he leaned in to type or reclined to 140 degrees to rest, spreading his weight without sagging.

The Petite Professional

Hannah W., 28, is a remote graphic designer and lifestyle blogger in Bristol (155 cm, 50 kg). Standard chairs were built for an average male frame, so the lumbar pad sat too high, her feet could not rest flat, and wide armrests left her elbows floating. She set up the HBADA X7 Smart Ergonomic Chair instead. Using the 60mm seat-depth adjustment, she removed the under-thigh pressure, and the 720-degree bionic armrests rotated inward to cradle her arms as she sketched on her iPad, easing the shoulder tension she had carried for years.

How to Prevent an Office Chair Explosion

Prevention is simple, and almost entirely in your hands. Work through this checklist:

1. Buy certified. Choose chairs with BIFMA or SGS-tested, Class 4 gas lift cylinders.

2. Respect the limit. Stay within the weight capacity printed on your chair.

3. Keep it cool. Avoid direct sun and radiators.

4. Inspect quarterly. Check for cracks, rust or hissing.

5. Never tamper. Do not disassemble or refill the gas lift cylinder yourself.

6. Replace early. Swap a failing cylinder promptly rather than working through it.

The Safety Standards That Actually Matter

If you check only one thing before buying, check the certification. In the UK, the benchmark is BS EN 1335, the European standard for office work chairs, with BS EN 1335-2:2018 setting the safety, strength and durability requirements. For global durability, look for ANSI/BIFMA X5.1, the North American performance standard for general-purpose office chairs. Independent labs such as SGS and TUV verify these claims, so a credible chair carries a test report, not just a marketing badge.

Which HBADA Chair Should You Choose?

So, can office chairs explode? Yes, in rare cases, but the right chair makes it a non-issue. Match the chair to your body and your hours:

• Choose the HBADA E3 Pro 2026 Edition if you are a heavier user, sit for long shifts, or want maximum stability from a steel-reinforced, anti-sinking build.

• Choose the HBADA X7 Smart Ergonomic Chair if you want AI lumbar-tracking and fine, body-specific adjustment.

Either way, you get a BIFMA-certified, explosion-proof gas cylinder, independent lab testing and a 5-year warranty. That is what real gas cylinder safety looks like. Pick the fit that suits you, and stop worrying about the cylinder.

Frequently Asked Questions

Quick answers to the questions people ask most.

Can office chairs explode?

Yes, but it is extremely rare. A true office chair explosion almost always involves a cheap, uncertified gas lift cylinder filled with compressed air instead of sealed nitrogen. Among millions of chairs in use, only a handful of verified incidents have been reported in twenty years. A certified chair with a Class 4, BIFMA-tested cylinder is not at meaningful risk. Buy certified, respect the weight limit, and you can sit with complete confidence.

Why do office chair gas cylinders explode?

Failure usually comes down to build quality. Some low-cost makers use thin steel or fill the cylinder with compressed air rather than inert nitrogen, which corrodes the seal over time. Overloading past the weight capacity, prolonged heat from the sun or radiators, and DIY tampering all add stress. Age matters too, as seals degrade over time. Remove these factors with a certified cylinder and proper care, and catastrophic failure becomes a non-event.

Are gas lift office chairs safe?

Yes. Gas-lift office chairs are generally safe when they meet recognised standards. The pneumatic cylinder uses inert nitrogen sealed inside thick steel that is rated well above normal working pressure, so it cannot ignite or burst under everyday use. Problems cluster around uncertified, bargain imports, not quality chairs. Look for BS EN 1335 or BIFMA testing and a Class 4 gas lift, and your chair will protect you for years.

How do I know if my office chair cylinder is failing?

Your chair gives clear warnings. Listen for a hissing or leaking sound, and watch for a seat that sinks on its own and will not hold height. Check the metal cylinder for cracks, rust or dents, and notice any wobbling, popping or grinding when you adjust the height. Any of these means the gas lift cylinder is wearing out. Stop using the chair, and replace the cylinder or the chair. Never open or refill it yourself.

Can a sinking office chair be dangerous?

A sinking chair is annoying rather than explosive. Slow sinking signals a gradual nitrogen leak, meaning the cylinder is losing pressure rather than building toward a blast. Even so, do not ignore it. A worn cylinder can drop suddenly and jolt your spine, and the underlying wear only gets worse. If your chair keeps sinking, replace the gas lift cylinder or upgrade to a certified chair with an anti-sinking Class 4 gas lift for a permanent fix.
Producto relevante

También te puede gustar

How to Test an Ergonomic Office Chair During a 30-Day Home Trial How to Test an Ergonomic Office Chair During a 30-Day Home Trial The quick answer To test an ergonomic office chair during a 30-day home trial, use it for your real work each day and check fit, lumbar support, breathability, recline, armrests and noise. Keep the packaging, avoid damage, and decide before the window closes. If the chair does not suit you, contact support early enough to complete the required return steps within the applicable deadline. Table of Contents Jump to the part of the trial you need. 01. What is a 30-day home trial? 02. How should you set up the chair? 03. What should you test in week one? 04. What should you test in weeks two to four? 05. How do you protect return eligibility? 06. What are your EU return rights? 07. Which HBADA chairs can you test? 08. Your 30-day test plan 09. Limitations and when to get help 10. Conclusion 11. Frequently asked questions 12. Sources and useful links What Is a 30-Day Home Trial and How Does It Work? A home trial is a return window that lets you assess the chair in your real setup. HBADA EU’s current return and refund policy provides a 30-day satisfaction guarantee from receipt, subject to its terms. This commercial offer does not limit your statutory consumer rights. This gives you time to judge an adjustable ergonomic chair at your own desk, not in a showroom. Testing may help you find a more comfortable sitting position, but it is not a medical treatment. How Should You Set Up the Chair for Testing? Start well, because a fair test needs a proper setup. Assemble the chair using the HBADA user manual and assembly guide, and keep every part of the packaging, including the box, foam and spare hardware. Then set it to your body before you judge it. Set the seat height so your feet rest flat on the floor or a suitable footrest. Set the seat depth so two to three fingers fit behind your knees. Set the lumbar support to meet your lower back. Set the armrests so your forearms are supported and your shoulders stay relaxed. Check that you can reach your keyboard and mouse comfortably. Only after this setup should you decide how the chair feels. What Should You Test in the First Week? Your first week is about first impressions and daily fit. Fit: Check you can reach a feet-flat, back-supported position within the chair’s adjustment ranges. Lumbar support: Notice whether the support meets your lower back through your normal workday. Breathability: Watch for heat build-up and check whether the mesh and seat feel comfortable in your room. Noise and castors: Roll across your floor and listen for creaks or scuffs. Check that the castors are suitable for the surface. What Should You Test in Weeks Two to Four? Later weeks reveal how the chair holds up over real work. Now test the chair as an office chair for long hours. Work a normal week, keeping your usual movement breaks, and notice whether early comfort lasts into the afternoon. Move through the available recline positions and check that the locks hold. Use the armrests while you type, write and relax. Give yourself time to learn the controls and fine-tune the settings, but do not treat pain as a required adjustment phase. If discomfort eases after a setting change, note what helped. If it persists after reasonable adjustments, the chair may not fit you. A Quick Test-and-Decide Table Use this table to turn each check into a clear next step. What to test How to test it Keep or return signal Fit Set seat height, depth and lumbar support to your body, then sit back fully. Consider a return if you cannot achieve supported feet and back within the adjustment ranges. Lumbar support Use it during a normal working day and note lower-back comfort. Consider a return if the support cannot meet your lower back comfortably after adjustment. Breathability Check for heat build-up during ordinary work sessions. Consider another material or model if the seat consistently feels too warm for you. Recline and lock Try the recline settings according to the manual. Stop using the chair and contact support if the recline is unstable or a lock fails. Armrests Type, write and relax while checking forearm support. Consider a return if the armrests prevent a relaxed working position or access to your desk. Noise and castors Roll gently across a suitable floor surface and listen for persistent noise. Contact support about recurring creaks or floor marking before continuing use. Long-session comfort Work a normal week in the chair, with movement breaks. Reassess the fit if discomfort persists after you fine-tune the settings. How Do You Protect Your Return Eligibility? Test thoroughly, but handle the chair carefully while you decide. Keep the original box, foam and hardware for the whole trial. Keep the chair clean and unmarked, and use a suitable floor mat if needed. Note your delivery date and the relevant return deadlines. Contact support early if you are unsure, rather than on the final day. For its commercial guarantee, HBADA EU recommends retaining the original packaging and specifies condition requirements. Missing or inadequate packaging may lead to fees under that policy, subject to mandatory consumer law. These commercial terms do not override statutory withdrawal rights. What Are Your Rights If You Want to Return It? The 30-day commercial offer and your statutory right of withdrawal are separate. For most online purchases from a trader in the EU, you normally have 14 days from delivery to notify the seller that you wish to withdraw, followed by another 14 days to send the goods back. Exceptions apply. The statutory withdrawal period allows inspection of the product. Handling beyond what is necessary to establish its nature, characteristics and functioning may result in a deduction for diminished value. Keeping the original packaging is practical, but losing it does not automatically remove your statutory right. A commercial trial does not turn the statutory 14-day notification period into 30 days. If you want to use your statutory right, notify the seller within the applicable legal deadline. See the EU guidance on returns and withdrawal for details. Warranty coverage is also separate from a change-of-mind return. Refer to HBADA EU warranty and service information for product support after purchase. Which HBADA Chairs Can You Test at Home? If you are considering the HBADA X7 or E3 Pro 2026, check the current EU product page and the return terms for your order before purchasing. Use the same testing checklist for either chair, but pay attention to the features that make each model different. What to compare HBADA X7 HBADA E3 Pro 2026 Lumbar support Test how the AI lumbar-tracking system responds when you change position. Test how the three-zone adaptive lumbar support fits your lower back. Seat fit Check the selected model’s seat dimensions and adjustment range against your body and desk. Check the selected model’s seat dimensions and adjustment range against your body and desk. Recline and armrests Check support and control access while typing, leaning back and relaxing. Check the headrest, armrest and recline adjustments during your usual tasks. Additional features Try the comfort functions included with your selected version, following its manual. Focus on mechanical adjustments, mesh comfort and any optional footrest. Before ordering Confirm the exact configuration, delivery availability, return conditions and warranty. Confirm the exact configuration, delivery availability, return conditions and warranty. If you want automatic lumbar tracking, explore the HBADA X7 smart ergonomic chair and check the comfort features included with your selected version. If you want a mechanically adjustable chair to test for long workdays, compare the HBADA E3 Pro 2026. You can also browse the HBADA ergonomic office chair collection before your trial begins. Your 30-Day Test Plan Follow this simple plan so nothing is missed before the commercial trial ends. Keep the separate statutory withdrawal deadline in mind if you intend to use that right. Day 1 Assemble and Adjust Assemble by the manual, keep all packaging, and set the chair to your body. Days 2–7 Check Daily Fit Test daily fit, lumbar support, breathability, noise and castors. Days 8–21 Test Your Normal Work Routine Work your usual schedule and test recline, armrests and long-session comfort. Keep taking movement breaks. If you wish to exercise the statutory withdrawal right, do not wait beyond its notification deadline. Days 22–27 Fine-Tune and Decide Fine-tune settings and review your notes. If you are continuing under the commercial trial and the chair is not right, contact support now to confirm the return steps and deadline. Days 28–30 Complete Your Decision Keep the chair if it fits your needs, or complete the steps required under the commercial return policy within the applicable deadline. Do not assume contacting support on day 30 automatically extends the window. Limitations and When to Get Help A trial answers many questions, but not every one. A trial checks comfort and fit for you; it cannot promise a health outcome. Thirty days cannot establish the chair’s lifespan or long-term durability. Keep the chair and packaging in good condition while deciding. Commercial return terms and warranty coverage may vary by market and order. Mandatory consumer rights remain unaffected. If you have severe, persistent or radiating pain, consult a qualified healthcare professional. A chair is not a medical treatment. Conclusion The best way to judge an ergonomic office chair is to test it where you actually work. Assemble it, set it to your body, use it for real tasks, and keep the packaging until you are sure. Compare the X7 if you want automatic lumbar tracking, or the E3 Pro if you prefer mechanical adjustments. Make your decision before the relevant deadline, and keep the chair that fits you. Frequently Asked Questions How long is the HBADA EU home trial? HBADA EU currently offers a 30-day satisfaction guarantee from receipt. Check the applicable policy for the return procedure. It is separate from your statutory withdrawal right. Can you return an office chair after using it? Check whether you are returning under the commercial trial or exercising a statutory right. The conditions differ. Keep the chair clean, avoid damage and retain its packaging while deciding. How long does it take to get used to a new ergonomic chair? There is no fixed adjustment period for everyone. You may need several sessions to learn the controls and fine-tune the seat height, depth, lumbar support and armrests. Change one setting at a time. Do not keep sitting through pain in the hope that you will eventually adapt. Who pays for return shipping? Under HBADA EU’s commercial policy, change-of-mind returns involve a customer contribution to shipping, while damaged, defective or incorrect items are handled at HBADA’s shipping expense. Confirm the process before booking a courier; statutory rights remain unaffected. What should you check before the trial ends? Confirm the essentials: fit, long-session comfort, lumbar support, breathability, recline, armrests and noise. Also check that the chair suits your desk height and floor. Decide early enough to meet the deadline for the return route you are using. Sources and Useful Links HBADA EU Return and Refund Policy HBADA EU Warranty and Service HBADA User Manuals and Assembly Guides HBADA X7 Product Details HBADA E3 Pro 2026 Product Details Your Europe: Returns and the Right of Withdrawal How to Clean a Mesh Ergonomic Office Chair Without Damaging the Material How to Clean a Mesh Ergonomic Office Chair Without Damaging the Material Safe, simple care for mesh, spills, stains, casters and smart-chair components. Quick answer: Remove dust with a soft dry cloth or a vacuum on a low setting. Blot spills with a well-wrung cloth and mild soapy water, then let the mesh air-dry naturally. Avoid bleach, hot water, solvents and abrasive cleaners. Contents What can damage mesh? How to remove everyday dust How to clean spills and stains Frame, armrests and casters Cleaning methods at a glance How to clean a smart chair Safe deep-clean routine HBADA chair care FAQs What Can Damage a Mesh Chair? Mesh is designed to breathe and flex, but it can be damaged by unsuitable cleaning methods. Bleach, strong chemicals, solvents, hot water and abrasive cleaners can weaken or discolour the fibres. Stiff brushes and hard scrubbing can also snag or stretch the weave. Keep the chair out of prolonged direct sunlight, do not soak the mesh, and avoid spraying liquid directly onto it. Regular light cleaning is safer than occasional heavy cleaning. How Do You Clean Everyday Dust? Use a soft dry cloth Wipe the mesh with a dry microfiber cloth to remove surface dust, lint and light debris. Vacuum on a low setting If dust is caught in the weave, use gentle suction and move across the surface without pressing into it. A short weekly clean helps prevent dust and skin oils from building up, particularly when the chair is used every day. How Do You Clean Spills and Stains? For a fresh spill, dampen a soft cloth with mild soapy water and wring it out well. Blot the area from the outside of the mark toward the centre so it does not spread. Do not soak the mesh or scrub hard. For a stubborn mark, test an alcohol wipe on a hidden area first, then dab gently. Let the chair air-dry completely in a ventilated room before use. How Do You Care for the Frame, Armrests and Casters? Use a separate soft, damp cloth for the frame, armrests and base. Keep water away from the gas lift, recline mechanism and other moving parts. Never attempt to open the gas cylinder. Casters can collect hair and dust over time. Remove anything wrapped around the wheels, then wipe them clean so the chair can move smoothly. Cleaning Methods at a Glance What to Clean Safe Method What to Avoid Everyday dust Soft dry cloth or low-suction vacuum Hard brushing or scratching the mesh Fresh spills Blot with mild soapy water Soaking or rubbing the mesh Stubborn marks Spot-test, then dab gently Bleach, hot water or solvents Frame and armrests Soft damp cloth Abrasive or harsh cleaners Casters Remove hair and debris, then wipe Forcing debris deeper into the wheel How Do You Clean a Smart Chair With Electronics? Important: Switch the chair off and follow its supplied care instructions before cleaning around powered components. Use a dry cloth around controls, sensors, fans, batteries and powered adjustment areas. Never spray liquid directly onto the chair. Clean the mesh and non-electronic surfaces gently, then allow the chair to dry completely before use. Step by Step: A Safe Deep Clean Switch off a smart or powered chair before cleaning. Vacuum or dry-dust the mesh to remove loose debris. Mix a small amount of mild soap with lukewarm water. Dampen and thoroughly wring out a soft cloth. Blot the mesh without soaking it. Spot-test before treating stubborn marks. Wipe the frame, armrests and base separately. Remove hair and dust from the casters. Let the chair air-dry away from direct sunlight. Which HBADA Chairs Does This Apply To? This guide is suitable for HBADA mesh office chairs sold through HBADA EU, including the E3 Pro and X7 Prestige. For an E3 Pro, regular care means keeping the mesh clean and keeping moisture away from the gas lift and mechanism. For a smart or powered model, follow the model-specific guidance before cleaning around controls or powered areas. Frequently Asked Questions Can you wash a mesh office chair? You can clean it, but you should not soak it. Vacuum or dry-dust the mesh first, blot it with mild soapy water, and let it air-dry completely. What should you not use to clean a mesh chair? Avoid bleach, hot water, solvents, abrasive cleaners, stiff brushes and hard scrubbing. These can weaken, discolour or snag the mesh. How do you remove a stain from mesh? Blot the stain with a well-wrung cloth and mild soapy water. For a stubborn mark, spot-test an alcohol wipe first, then dab gently rather than scrub. How often should you clean a mesh office chair? Dust or vacuum the mesh once a week, deal with spills promptly, and carry out a deeper clean whenever needed. Does cleaning damage mesh over time? Not when it is done gently. Mesh damage usually comes from harsh chemicals, excess water, heat or heavy scrubbing. Sources HBADA EU E3 Pro Ergonomic Office Chair HBADA EU X7 Prestige Smart Ergonomic Chair HBADA EU FAQs ``` How to Set Up an Ergonomic Office Chair for Laptop Work How to Set Up an Ergonomic Office Chair for Laptop Work A more comfortable home office Start with the chair, then separate screen height from typing height. Adjust your seat to the desk, support your feet and lower back, and keep your shoulders relaxed. For longer laptop sessions, use a stand with a separate keyboard and mouse so you can position the screen without lifting your arms to type. In this guide The laptop setup challenge Five chair adjustments Screen and keyboard position Common problems and fixes Your setup checklist Choosing an HBADA chair Limitations and when to get help Final thoughts Frequently asked questions Sources Why Can Laptop Work Feel Uncomfortable? A laptop is easy to move between rooms, but its screen and keyboard remain joined together. A comfortable keyboard position can leave the screen too low. Raising the laptop may improve the view while making the keys harder to reach. An ergonomic office chair helps you build a supported sitting position. It does not solve this screen-and-keyboard trade-off on its own. For regular work at one desk, a separate keyboard and mouse allow more flexibility. Whether your workspace is a dedicated home office or a shared desk, check how the chair, work surface and laptop fit together. Comfortable working also depends on changing position, not holding one posture all day. How Should You Set Up the Chair First? Use the keyboard position and desk height as your starting points. Then adjust the chair to support you without making you reach or raise your shoulders. Step 01 Match the seat height to the work surface Adjust the seat until you can type with your shoulders relaxed, elbows close to your body and wrists roughly straight. If the desk height is adjustable, use both adjustments to find a comfortable position. Step 02 Support your feet Your feet should rest securely on the floor or a suitable footrest. If a fixed desk requires a higher seat position, a footrest can bridge the gap without forcing you to lower the chair below a comfortable typing height. Step 03 Check the seat depth Sit against the backrest and check the space behind your knees. Around two to three fingers is a useful starting point. If the model allows seat-depth adjustment, use it to avoid pressure from the front edge. Step 04 Align the lumbar support Position the support against your lower-back curve. It should not feel as though it is pushing you away from the backrest. Adjust the available settings gradually and recheck them during normal work. Step 05 Keep the armrests clear of the desk Set the armrests for light support with relaxed shoulders. Make sure they do not stop you moving close enough to the keyboard. Lower or reposition them if they catch on the desk edge. How Should You Position the Laptop Screen and Keyboard? With the chair adjusted, place the laptop on a stable stand and connect a separate keyboard and mouse. Start with the top of the screen at or just below eye level, roughly an arm's length away. Adjust text size and screen distance until you can read without moving your head forwards. Place the mouse beside the keyboard, rather than far to one side, and keep enough desk space for comfortable use. Working without extra equipment? Avoid raising the built-in keyboard to a height that makes you lift your shoulders. Keep the laptop in a manageable typing position and change tasks or take breaks regularly. A stand and separate input devices are worth considering when the same space becomes your everyday workstation. Common Laptop Setup Problems and Their Fixes Use these checks to review your workspace. They do not identify the medical cause of pain or discomfort. What you notice What to check Adjustment to try You look down for long periods Screen height and readability Use a stand with an external keyboard, and adjust text size. You lift your shoulders to type Keyboard and seat height Rebalance the chair and desk heights while keeping your feet supported. Your feet do not reach the floor Desk height and foot support Add a stable under-desk footrest if the working height requires it. You sit on the front edge of the seat Equipment reach and seat depth Move the keyboard closer and check whether you can use the backrest. Your armrests hit the desk Armrest height and width Lower or reposition them to allow closer access. You feel stiff after a long session Time spent sitting still Change position and include short walking or standing breaks. Your Laptop Workstation Checklist Adjust the seat for comfortable access to the keyboard. Keep both feet securely supported. Leave room behind your knees. Set the lumbar support against your lower back. Check that the armrests do not prevent desk access. Use a separate keyboard and mouse when raising the laptop. Adjust screen distance and text size for easy reading. Make time for movement and changes of task. Which HBADA Chair Suits Laptop Work? The right model is the one that fits both you and your desk. Before choosing from the HBADA EU office chair range, compare the adjustments available on the exact product and configuration. If you are considering an E3 or X7 model, check its regional product information rather than relying on specifications from another market. Seat dimensions, adjustment options and footrest availability should be confirmed for the version you intend to order. What to compare What to look for Seat-height range A suitable working height for your desk with stable support for your feet. Seat dimensions Enough room to sit comfortably while reaching the backrest. Lumbar support A support position and adjustment range that suit your lower back. Armrest adjustments Comfortable forearm support without blocking access to the work surface. Footrest type Distinguish a reclining leg rest from a footrest used during upright typing. Regional configuration Confirm the selected model, dimensions, capacity and availability on HBADA EU. No chair feature removes the need to position the laptop correctly. Reserve space in your setup for a stable stand, keyboard and mouse as well as the chair. Limitations and When to Get Help Chair adjustments support your working position; they do not treat medical conditions. Screen placement and equipment reach still need separate attention. A reclining position is not automatically suitable for keyboard work at a fixed desk. Speak to a qualified healthcare professional if discomfort persists or becomes severe. For an employer-provided workstation, ask about the assessment and guidance applicable in your country. Final Thoughts A practical laptop workstation starts with a chair that fits the desk and supports your feet and back. Keep the keyboard close, position the screen independently where possible, and check that your armrests do not get in the way. Small adjustments are useful, but regular movement remains part of the setup. Frequently Asked Questions How should you sit when working on a laptop? Sit back with your lower back supported and your feet stable. Keep your shoulders relaxed and the keyboard close enough to reach without leaning forwards. A separate keyboard and mouse allow you to raise the screen while keeping a comfortable typing height. Do you need a footrest for laptop work? Only if your feet lack stable support at the seat height needed for your desk. Check the chair and desk adjustments first. If the desk is fixed and your feet still dangle, an under-desk footrest can help support them. Is an ergonomic chair enough for working on a laptop all day? No. The chair supports your sitting position, but screen height, keyboard reach and movement breaks also matter. For regular desk work, consider a laptop stand with a separate keyboard and mouse. Can you use the same setup at a dining table? Check the table height, legroom and how close the chair can move to the edge. If the surface is too high, raising the chair may require a footrest. A table that prevents comfortable keyboard access may not suit extended work, even with an adjustable chair. How often should you move during laptop work? Include short, regular opportunities to move rather than staying in one position until you feel uncomfortable. Stand, walk or switch tasks when practical. Follow any workstation guidance provided by your employer and applicable in your country. Sources and Product Information HSE: Working with display screen equipment — a UK practical reference, not a statement of legal requirements across the EU. HBADA EU: Current office chair range and product information Availability and specifications vary by model and configuration. Use the relevant HBADA EU product page to check the version available for your delivery location.