
Blog

Pourquoi votre chaise ergonomique vous fait mal au dos (et comment y remédier)

Pourquoi votre chaise ergonomique vous fait mal au dos (et comment y remédier)

Vous avez dépensé 400 $ pour une « chaise ergonomique » censée soulager votre dos. Au lieu de cela, votre dos vous fait plus mal qu'avant. Bienvenue au paradoxe qui déconcerte des millions d'employés de bureau : la chaise provoque des douleurs dorsales même si la boîte indique « ergonomique ». La douloureuse vérité est que 90 % des utilisateurs de chaises ergonomiques les règlent incorrectement, créant plus de problèmes qu'ils n'en résolvent. Ce guide expose les six mythes qui sabotent la santé de votre dos et vous montre exactement comment configurer votre chaise en 10 minutes.

Le paradoxe de la chaise ergonomique — Pourquoi « ergonomique » échoue

Vous avez acheté une chaise ergonomique. Votre dos s'est aggravé. Voici pourquoi ce n'est pas la faute de la chaise.

Une chaise ergonomique n'est pas un produit passif, elle ne répare pas votre dos en étant simplement assise. C'est un outil qui nécessite une configuration. Contrairement à un oreiller qui soutient votre tête ou à un matelas qui soutient le poids de votre corps, une chaise ergonomique nécessite une installation active : réglage de la hauteur lombaire, calibrage de la profondeur du siège, positionnement des accoudoirs et réglage de la tension du dossier. Une chaise d'usine est réglée pour un homme moyen (1,75 m, 82 kg). Si vous mesurez 1,55 m, 50 kg ou 1,88 m, 134 kg, les réglages par défaut garantissent un mauvais alignement. Un mauvais réglage de la chaise crée exactement la tension spinale que la chaise était censée prévenir.

Mythes vs Réalité : les 6 erreurs les plus dommageables avec les chaises ergonomiques — Démystifiées

Identifions et corrigeons les mythes qui nuisent à votre dos.

Mythe n°1 : « Un soutien lombaire plus haut est toujours meilleur »

Fait : Un soutien lombaire placé trop haut sur votre colonne vertébrale (au-dessus de L5) sollicite le milieu de votre dos

Votre courbe lombaire n'est pas centrée au milieu de votre dos. Elle est concentrée au niveau de L4–L5 (les deux vertèbres inférieures). Une chaise conçue avec un soutien lombaire à une « hauteur moyenne » place le soutien au milieu des lombaires (L3), ce qui est 5 à 7 cm trop haut pour les utilisateurs de petite taille et 2,5 à 5 cm trop haut pour de nombreux utilisateurs de taille moyenne. Vous ressentez un pincement sous les omoplates. Le mauvais ajustement de la chaise ne réduit pas les maux de dos, il les déplace vers vos épaules.

Solution : votre soutien lombaire doit atteindre votre côte la plus basse et donner l'impression de soutenir L4–L5, pas le milieu de votre dos.

Mythe n°2 : « La profondeur du siège n'a pas d'importance — tous les sièges sont les mêmes »

Fait : Une mauvaise profondeur de siège crée une pression sous la cuisse et un affaissement forcé vers l'avant

La plupart des chaises de bureau ont une profondeur de siège par défaut de 43 à 46 cm. Pour les personnes de petite taille (moins de 1,62 m), cette profondeur comprime les tissus mous derrière les cuisses (la zone poplitée), ce qui restreint la circulation sanguine et vous oblige à glisser vers l'avant pour échapper à la pression. Lorsque vous glissez vers l'avant, votre bassin s'incline vers l'arrière, aplatissant votre courbe lombaire. Cet affaissement se produit automatiquement, vous ne choisissez pas une mauvaise posture. La chaise l'impose. Après 4 heures, votre disque L4-L5 est sollicité à la fois par la pression sous le siège et par l'affaissement postural.

Solution : la profondeur du siège doit permettre un espace de 2 à 3 doigts entre le bord de la chaise et l'arrière de vos genoux lorsque vous êtes assis droit, le dos contre le dossier.

Mythe n°3 : « Les accoudoirs sont un luxe — ils n'affectent pas la santé de la colonne vertébrale »

Fait : Des accoudoirs réglés trop haut ou trop bas désalignent vos épaules, sollicitant les disques cervicaux et thoraciques

Lorsque les accoudoirs sont trop hauts, vos coudes flottent et vous serrez les épaules pour stabiliser vos bras. S'ils sont trop bas, vous vous penchez sur le côté ou en arrière, ce qui affaisse votre courbe vertébrale. Dans les deux cas, vos épaules perdent leur alignement neutre et votre colonne cervicale travaille davantage pour stabiliser votre tête.

Solution : les accoudoirs doivent soutenir vos avant-bras à un angle de coude de 90° exactement, avec les épaules détendues. Vos coudes doivent reposer sur les accoudoirs, et non être suspendus au-dessus.

Mythe n°4 : « L'inclinaison du dossier doit être fixée à 90° »

Fait : Un dossier bloqué à 90° empêche le mouvement de la colonne vertébrale qui réduit la contrainte discale à long terme

S'asseoir droit (angle hanche-genou à 90°) dans la même position pendant 8 heures concentre la charge sur les mêmes disques L4-L5 sans soulagement. La recherche montre qu'alterner entre une position droite (90°) et légèrement inclinée (100-120°) toutes les 2 à 3 heures répartit la charge sur différents segments discaux et prévient les lésions cumulées dues au stress. Une chaise qui bloque votre colonne vertébrale dans une seule position viole la diversité biomécanique.

Solution : votre chaise ergonomique doit permettre une inclinaison entre 100 et 140° avec plusieurs positions de verrouillage, vous permettant de déplacer la charge tout au long de la journée.

Mythe n°5 : « Plus d'amorti = Plus de confort = Meilleur soutien dorsal »

Fait : Un rembourrage excessif se comprime sous la pression et retient la chaleur, ce qui diminue le confort à long terme

Les coussins en mousse épais sont moelleux le premier mois. Mais la mousse subit une déformation permanente — elle ne retrouve pas complètement sa forme après chaque assise. Au bout de 3 mois, les tubérosités ischiatiques (os du siège) créent des dépressions permanentes dans le coussin, concentrant la pression dans ces zones. Plus de pression = plus de stress discal = plus de douleurs dorsales.

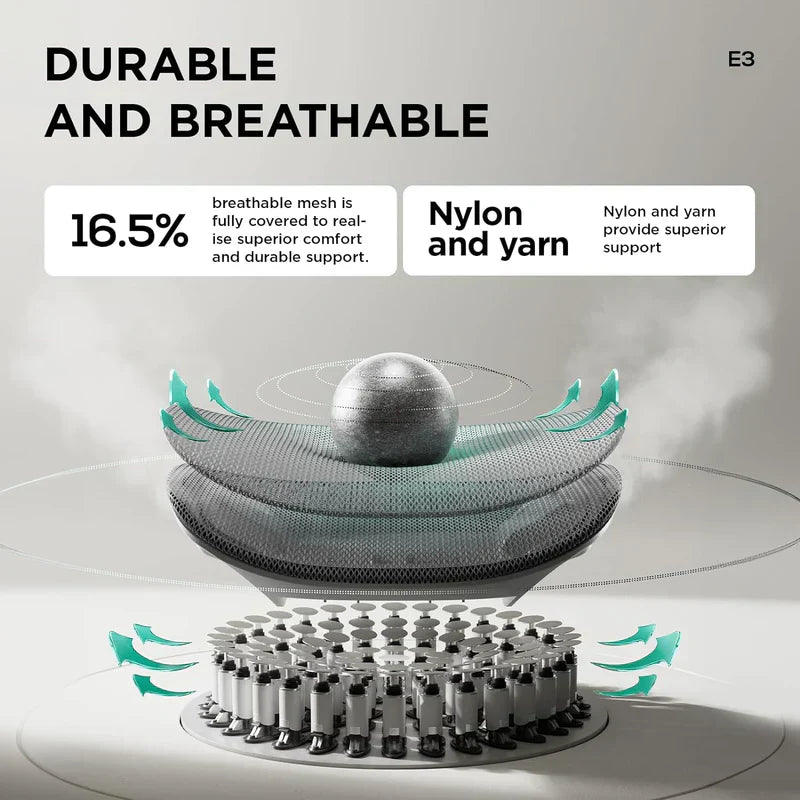
Solution : recherchez un suspension élastique ou un dossier en maille qui maintient une récupération de compression de plus de 95 % sur des milliers de cycles d'assise.

Mythe n°6 : « Si la chaise coûte plus de 400 $, elle est correctement configurée dès la sortie de la boîte »

Fait : Le prix ne garantit pas un réglage correct en usine. Même les chaises haut de gamme sont livrées avec des réglages par défaut.

Une chaise à 500 $ utilise les mêmes réglages d'usine par défaut qu'une chaise à 250 $ : dimensions masculines moyennes, hauteur lombaire générique, profondeur de siège standard. Vous devez toujours passer 15 à 30 minutes à l'ajuster à votre corps. La différence de prix est généralement due aux matériaux (maille ou mousse), à la qualité du moteur (manuel ou motorisé) et à la durée de vie, et non à une pré-configuration. Solution : Chaque chaise, quel que soit son prix, nécessite le protocole d'ajustement ci-dessous.

Deux études de cas : du fauteuil cause de maux de dos au soulagement

Étude de cas A : David L. — Le piège du sur-réglage

David L., 32 ans, chef de projet (1,85 m, 100 kg, 8 heures de bureau par jour). David a acheté une chaise ergonomique de milieu de gamme sur les conseils de son entreprise. Il a passé 2 minutes à régler la hauteur du siège, puis s'est arrêté, supposant qu'« ergonomique » signifiait un soulagement automatique. Après 3 semaines, son bas du dos lui faisait mal tous les jours à 14h, et ses épaules étaient pincées.

Le problème : le support lombaire de David était réglé 5 cm trop haut (au milieu de son dos plutôt qu'au niveau L4-L5), ce qui provoquait une sensation de tiraillement. Ses accoudoirs étaient 7,5 cm trop hauts, l'obligeant à hausser les épaules. La profondeur de son siège provoquait une légère pression sous les cuisses qu'il ne remarquait pas consciemment, mais qui l'obligeait à s'affaisser subtilement vers l'avant. Lorsque David a passé 15 minutes à ajuster correctement sa chaise à l'aide du protocole ci-dessus, la pression sur L4-L5 a diminué de 12 %, la tension de ses épaules a disparu et ses maux de dos de l'après-midi ont disparu en une semaine. Sa chaise n'était pas défectueuse, elle était simplement mal configurée.

Étude de cas B : Sophie W. — L'inadéquation de la petite taille

Sophie W., 26 ans, Créatrice de contenu (1,57 m, 47 kg). L'employeur de Sophie lui a fourni une chaise de bureau standard « adaptée à toutes les morphologies ». À 1,57 m, Sophie était 17,5 cm en dessous de la moyenne d'usine. La profondeur de son siège laissait un espace de 2,5 cm entre ses genoux et le bord du siège, mais comme ses cuisses étaient plus courtes, elle ressentait une pression sous ses genoux plutôt que sous ses cuisses. Son soutien lombaire était réglé à une « hauteur moyenne », ce qui le plaçait 7,5 cm au-dessus de sa position réelle L4-L5 — c'est-à-dire au milieu de son dos.

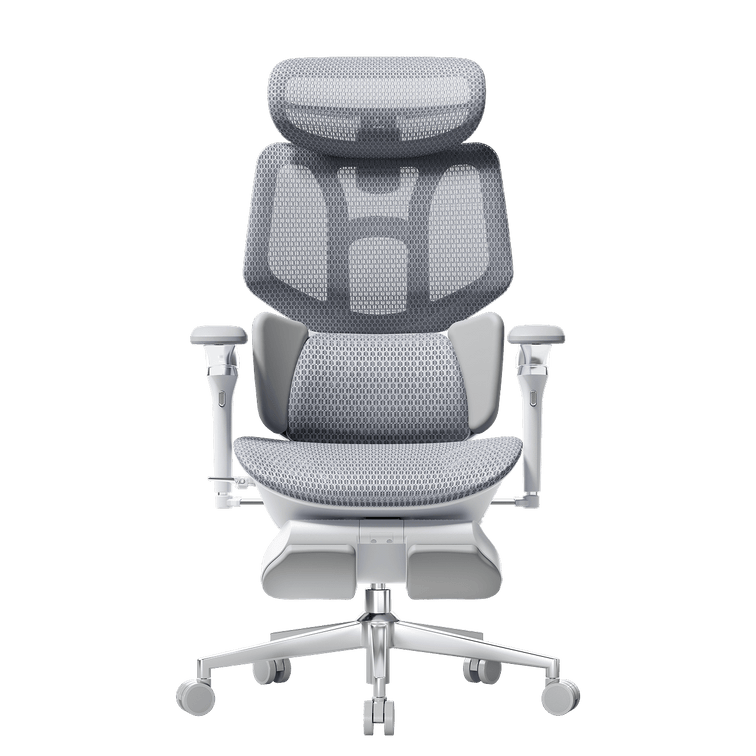
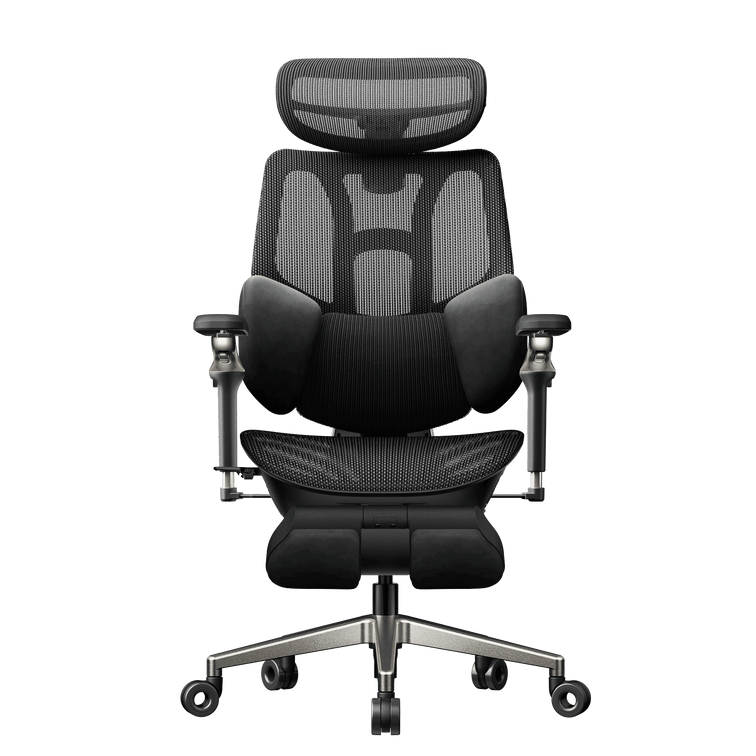
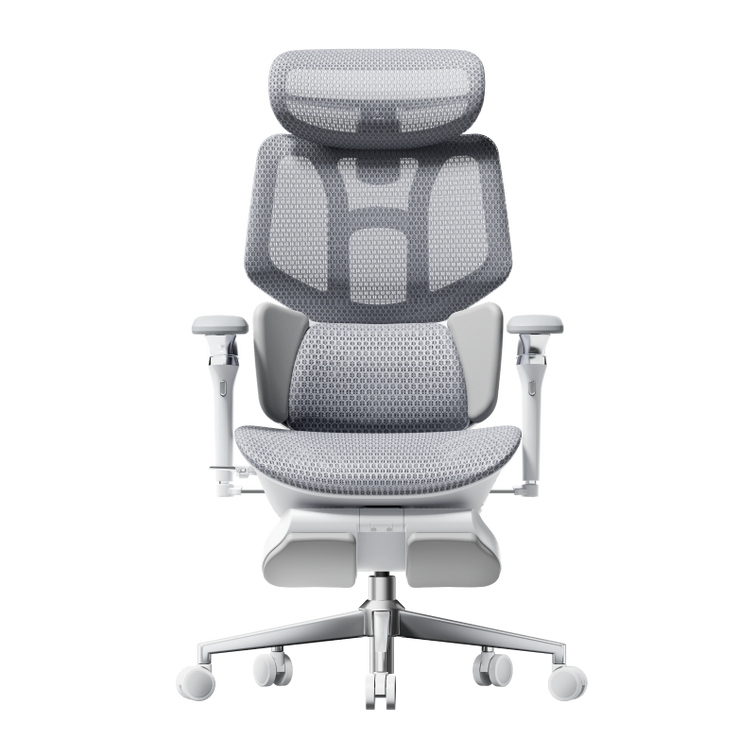
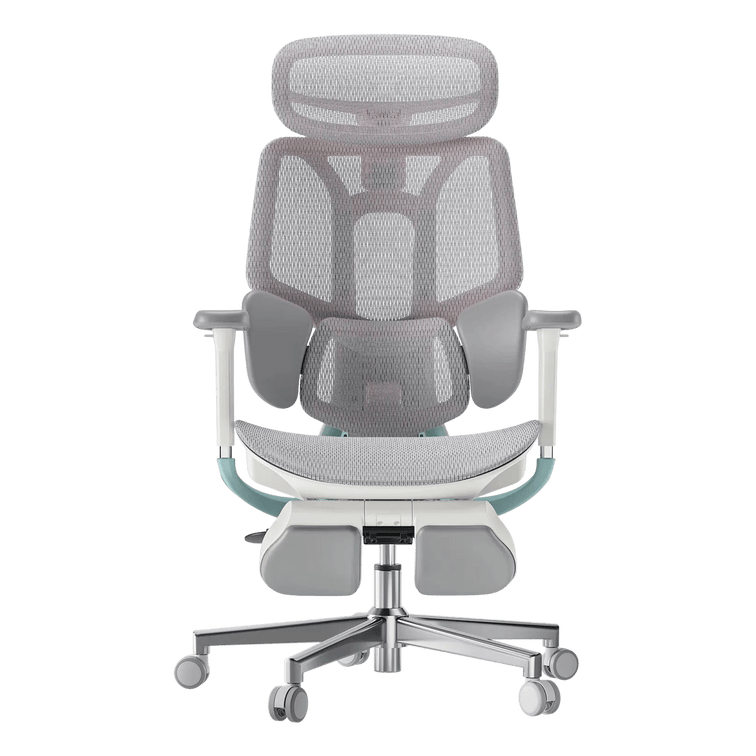
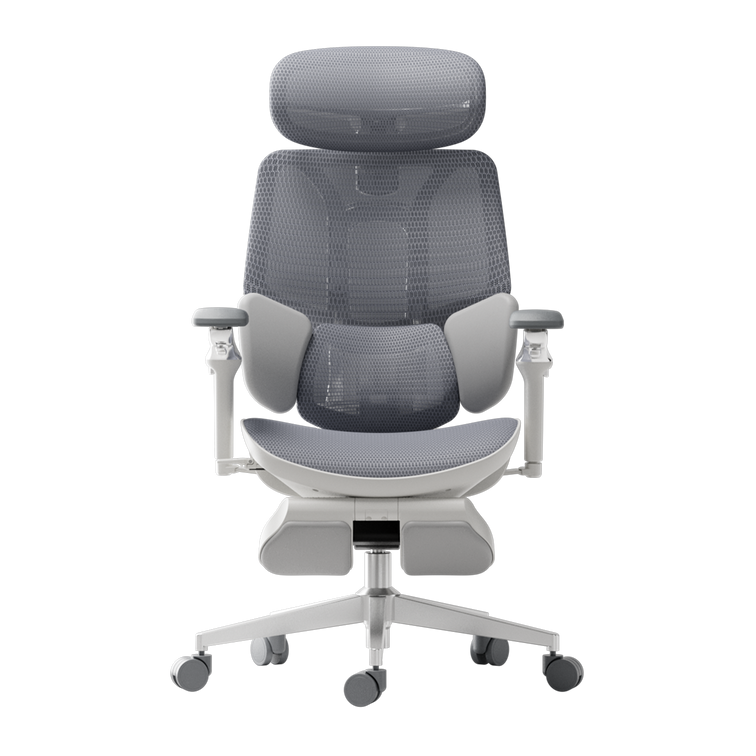
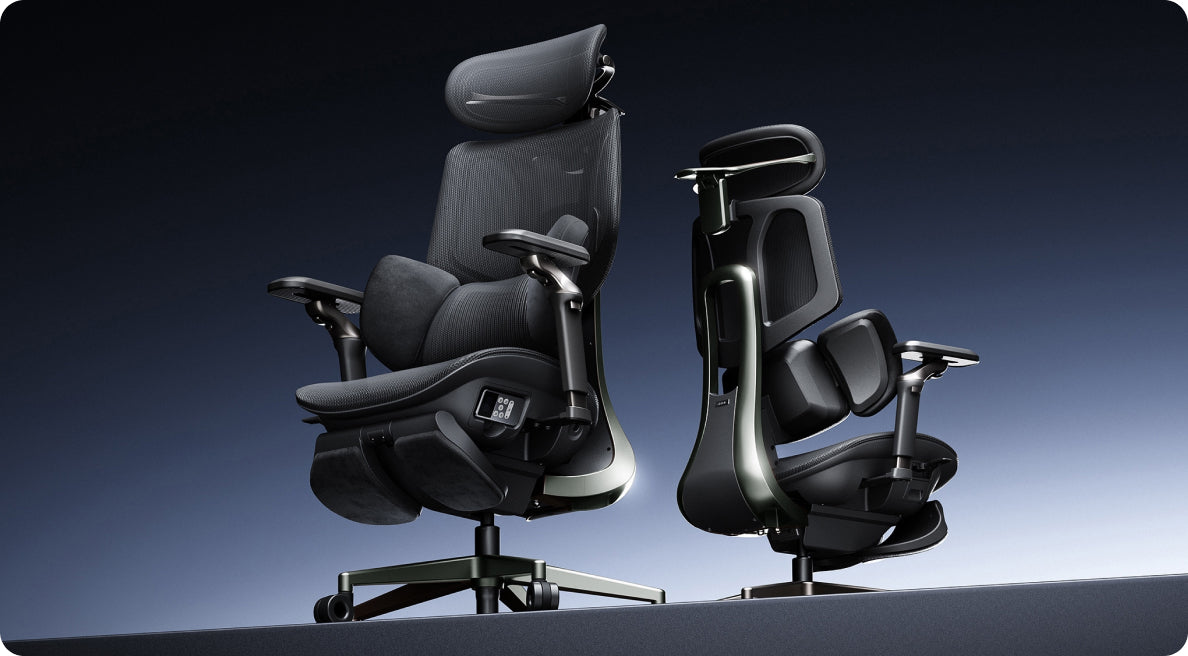
L'employeur de Sophie a ensuite acheté la chaise ergonomique intelligente HBADA AI-Powered X7 avec une profondeur de siège réglable de 60 mm et une plage de soutien lombaire inférieure. Sophie a ajusté la profondeur de son siège à 40,6 cm (contre 45,7 cm standard), positionnant le soutien lombaire au niveau de sa zone réelle L4-L5, et a surélevé ses pieds avec un repose-pieds pour maintenir un angle hanche-genou de 90°. Résultat : sa pression sous le genou a disparu, ses épaules étaient détendues et ses maux de dos ont été résolus en 3 jours de configuration correcte.

Caractéristiques des chaises ergonomiques qui préviennent les erreurs de configuration — Mesures de protection intégrées

Certaines chaises sont conçues de manière à rendre la mauvaise configuration plus difficile. Voici ce qu'il faut rechercher.

Risque de configuration

Problème courant de chaise

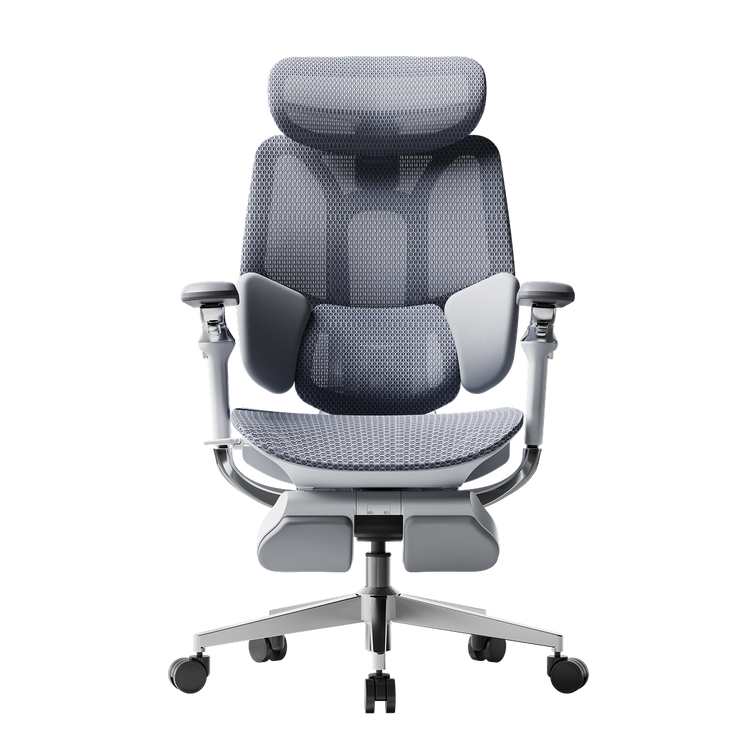
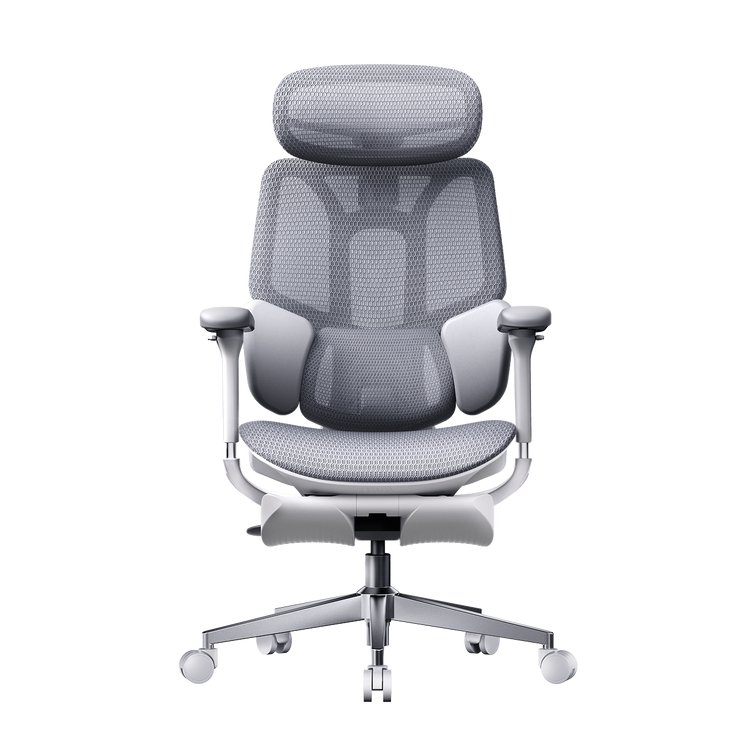
Solution intelligente de chaise (HBADA E3 Pro / X7)

Hauteur lombaire mal adaptée

Soutien trop haut (pincement d'épaule)

Soutien lombaire réglable à 3 zones avec zone cible L4–L5 (E3 Pro)

Profondeur du siège inadaptée au cadre

Pression sous les cuisses + affaissement forcé

Plage de profondeur de siège de 60 mm (X7) vs profondeur fixe

Hauteur des accoudoirs flottante

Haussement d'épaules ou inclinaison latérale

Accoudoirs réglables à 720° (E3 Pro/X7) avec support exact des coudes

Dossier bloqué à 90°

Stress cumulatif L4–L5 dû à l'absence de changement de position

Inclinaison de 100 à 140° avec plusieurs positions de verrouillage (E3 Pro)

Affaissement par compression de la mousse

Augmentation de la pression sur plusieurs semaines ; dégradation du soutien

CloudMesh + suspension élastique (E3 Pro) maintient 95 % + de récupération


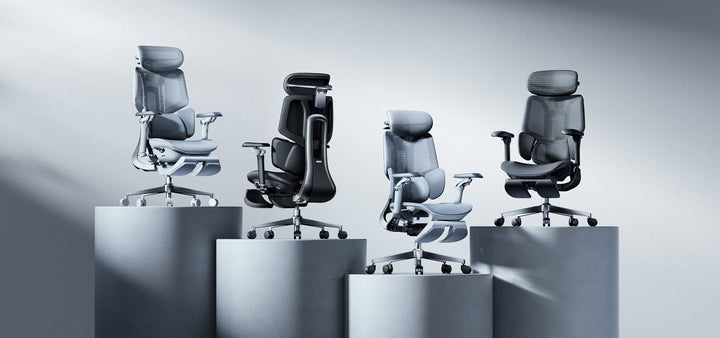
Quelle chaise évite les ajustements qui vous font mal au dos ?

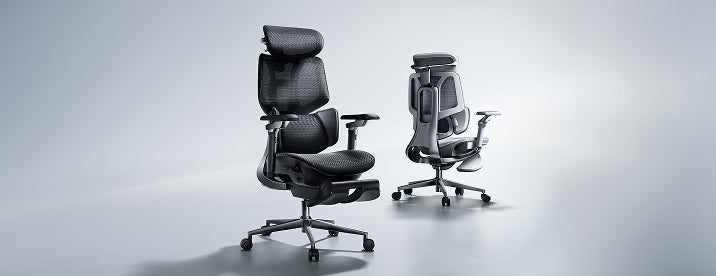
Vous êtes de petite taille ou mesurez moins de 1,62 m : Le HBADA AI-Powered X7 avec une profondeur d'assise de 60 mm et une plage lombaire inférieure élimine la pression sous les cuisses.

Vous mesurez plus de 1,83 m ou pesez plus de 113 kg : Le HBADA E3 Pro 2026 Edition avec un suivi L4-L5 à 3 zones et une inclinaison de 100 à 140° prévient le stress discal induit par la mauvaise posture.

Vous ne voulez pas régler manuellement : Le HBADA AI-Powered X7 avec suivi lombaire AI s'adapte automatiquement à vos mouvements.


FAQ

Une chaise ergonomique peut-elle aggraver les maux de dos ?

Oui. Une chaise ergonomique mal ajustée crée exactement le stress discal et ligamentaire qu'elle est censée prévenir. Un soutien lombaire trop haut pince les épaules ; une profondeur de siège trop importante crée une pression sous les cuisses forçant à s'affaisser ; des accoudoirs trop hauts forcent à hausser les épaules. La chaise elle-même n'est pas défectueuse — c'est la configuration qui l'est. 90 % des « mauvaises chaises ergonomiques » sont en réalité des chaises bien conçues mais mal configurées pour le mauvais corps.

Comment savoir si ma chaise ergonomique est correctement réglée ?

Vous devriez ressentir : (1) un léger soutien du bas du dos sans pincement, (2) les pieds à plat avec les hanches et les genoux à 90–100°, (3) les coudes reposant sur les accoudoirs à 90° avec les épaules détendues, (4) 2 à 3 doigts d'espace entre le bord du siège et les genoux, et (5) aucune pression sous les cuisses ou les épaules. Si vous ressentez un pincement, des jambes engourdies, des coudes flottants ou un haussement d'épaules, votre chaise doit être ajustée.

Dois-je acheter une chaise ergonomique plus chère pour éviter les maux de dos ?

Pas nécessairement. Une chaise à 300 $ bien ajustée surpasse toujours une chaise à 500 $ mal configurée. Le véritable retour sur investissement réside dans les fonctionnalités de réglage — support lombaire réglable, plage de profondeur de siège, plage d'accoudoirs et options d'inclinaison. Une chaise haut de gamme vaut la peine d'être achetée si elle offre une plus grande plage de réglage pour votre morphologie spécifique, pas seulement parce qu'elle coûte plus cher.

Quel est le réglage le plus important d'une chaise ergonomique ?

La hauteur du soutien lombaire. Ce réglage unique affecte l'ensemble de votre colonne vertébrale. Un positionnement lombaire correct (L4–L5) prévient la hernie discale, soutient la lordose naturelle et permet à tous les autres réglages de fonctionner correctement. Si votre soutien lombaire est incorrect, aucun autre réglage ne compensera entièrement.

Ai-je besoin d'un repose-pieds si ma chaise ergonomique est correctement réglée ?

Si vos pieds ne touchent pas le sol lorsque la hauteur du siège place vos hanches et vos genoux à 90-100°, oui. Un repose-pieds maintient l'angle hanche-genou de 90° sans forcer votre siège à monter plus haut (ce qui créerait une pression sous les cuisses). Les utilisateurs de petite taille ont particulièrement besoin de repose-pieds pour éviter que leurs pieds ne pendent, ce qui déstabilise le bassin.
Relevant Product

You May Also Like

How Long Does an Office Chair Last? Repair or Replace Guide How Long Does an Office Chair Last? Repair or Replace Guide A few creaks and malfunctions don’t necessarily mean it’s time to replace an office chair.Here’s how to tell if your chair needs a good service or you should invest in a new one. How to Disassemble an Office Chair Safely, Any Model, Step by Step How to Disassemble an Office Chair Safely, Any Model, Step by Step HBADA Europe Practical Guide Moving your desk, replacing a worn part or freeing up storage space? This step-by-step guide explains how to separate the castors, base, gas lift, seat, backrest, armrests and headrest without damaging the chair. Quick Answer Most office chairs can be taken apart with an Allen key, screwdriver, rubber mallet and suitable wrench. Work from the bottom upwards, label every bolt and treat the gas cylinder as a sealed pressurised component. Never cut, drill, heat, puncture or open the cylinder. In This Guide 1. Tools You May Need 2. Essential Safety Rule 3. Step-by-Step Disassembly 4. Reassembling the Chair 5. Recycling in Europe 6. Repair or Replace? 7. HBADA Chair Comparison 8. Frequently Asked Questions What You’ll Need: Tools for Office Chair Disassembly Gather the appropriate tools before starting so the chair can be disassembled in a controlled order without stripped screws or damaged parts. Tool What it is used for Flat-head screwdriver Releasing removable clips or cover plates and gently helping loosen a stuck castor. Allen key or hex-key set Removing compatible bolts from the seat, armrests, backrest and mechanism. Rubber mallet Applying controlled taps around an approved metal joint without striking or denting the gas-cylinder body. Adjustable or pipe wrench Gripping the outside of a removable gas cylinder near its joint. Protect the finish and use only reasonable force. Suitable penetrating oil Helping release a seized external metal joint. Keep it away from upholstery, mesh, electronics and braking surfaces. Work gloves and eye protection Protecting hands and eyes while handling heavy, greasy or tightly fitted components. Labelled bags and a blanket Keeping bolts organised and protecting the chair and floor. Model-specific manual Confirming the correct bolt locations, removable parts and assembly sequence for the exact chair model. Before You Start: The Safety Rule That Matters Most Never open a gas cylinder. An office-chair gas lift is a sealed pressurised component. Never cut, drill, puncture, crush, heat or hammer the cylinder body. If it is bent, corroded, leaking or visibly damaged, stop and contact the manufacturer, a qualified repairer or an authorised local recycling facility. Only separate parts that the chair manual identifies as removable. Certain tilt mechanisms, powered components and moulded back panels may be factory-assembled. If a part does not move with reasonable effort, stop and check the manual instead of applying additional force. Disconnect any power supply before working on a powered chair. If the chair contains a battery, follow the model-specific shutdown and battery instructions. Take a photograph at every stage so cable routing, washers, brackets and bolt positions can be restored correctly. How to Disassemble an Office Chair Step by Step Begin at the bottom of the chair and work upwards. The precise sequence may differ by model, so the supplied assembly manual always takes priority. Remove the Castors or Wheels Place the chair on its side on a blanket. On chairs with push-fit castors, hold one castor close to the base and pull it straight out. Avoid pulling only on the wheel rim. If a castor is difficult to remove, confirm that it is not retained by a clip or screw. A screwdriver may help release a compatible push-fit stem, but protect the surrounding material and do not twist hard enough to crack the base. Separate the Five-Star Base From the Gas Lift Turn the chair over on a protected surface. Check the manual for a retaining clip, cover or model-specific connection before attempting to separate the base. Where the manual permits removal, support the base and apply light, even taps around the metal joint or collar using a rubber mallet. Never strike the cylinder body. If the joint remains seized, stop rather than escalating to heavy impacts. Remove the Sealed Gas Lift From the Seat Mechanism Grip the external cylinder near the mechanism using a suitable protected wrench, then use slow rotational pressure to release the taper fit. Keep your face and body away from the direction in which the cylinder may release. Once removed, keep the gas lift sealed and store it upright in a stable location away from heat, children and heavy objects. If the cylinder is damaged, leaking or cannot be released with reasonable force, use a qualified repair service. Do not attempt to dismantle the cylinder itself. Unbolt the Seat and Mechanism Support the seat before removing its final bolts. Locate the fasteners that connect the seat mechanism to the seat pan and loosen them using the correct Allen key or tool. Place each bolt, washer and spacer in a labelled bag. Do not mix fasteners from the seat, armrests and backrest, as they may use different lengths or thread types. Detach the Backrest, Armrests and Headrest Support the backrest while loosening its bracket. Remove the armrests at their intended attachment points and detach the headrest only if the manual shows it as a removable component. Keep the components in removal order. Photograph any cables or connectors before unplugging powered features, and never pull a connector by its wire. How to Reassemble Your Office Chair Follow the manufacturer’s assembly instructions and use your photographs to restore every bracket, washer and cable to its original position. Reassembly is usually completed in the reverse order: Attach the headrest, backrest and armrests to the seat as instructed. Reinstall the seat mechanism in its original orientation. Start all related bolts by hand before tightening any one bolt fully. Tighten paired bolts gradually and evenly. Fit the sealed gas lift and five-star base according to the manual. Push each compatible castor completely into the base. Reconnect approved powered components before restoring power. After reassembly, place the chair on a level surface and test it without reclining aggressively. Confirm that the castors, height control, tilt lock, armrests and backrest operate correctly. Stop using the chair if it leans, cracks, sinks unexpectedly or feels structurally unstable. Disposing of or Recycling Office-Chair Parts in Europe Waste and recycling arrangements differ among EU countries and municipalities. Before transporting a chair, contact your local municipal recycling centre or bulky-waste service and describe the materials and components you need to dispose of. Chair component Recommended next step Reusable chair or components Consider repair, donation or reuse if the chair remains safe and the parts are in serviceable condition. Metal base and mechanism Ask the local recycling centre whether it accepts separated metal chair components. Sealed gas lift Tell the facility that it is a pressurised office-chair gas cylinder. Do not place it in household recycling or attempt to depressurise it yourself. Mesh, foam and upholstered sections Follow local bulky-furniture or residual-waste instructions. Acceptance and separation requirements vary by municipality. Powered or electronic components Use the applicable separate e-waste or WEEE collection route rather than mixed household waste. Rechargeable battery Follow the manufacturer’s removal instructions and use an authorised battery collection point. Do not puncture, crush or place the battery in general waste. EU rules require separate collection and appropriate treatment of electrical and electronic waste. National and local implementation can differ, so your municipal authority or authorised collection facility should confirm the correct route. When to Repair an Office Chair—and When to Replace It A worn castor, missing fastener or model-compatible arm pad may be an economical repair. Replacement becomes more sensible when the chair has structural damage, several recurring faults or no safe compatible parts. Situation Usually repairable Consider replacement Castors One or more worn castors with confirmed compatible replacements Base sockets are cracked or distorted Gas lift A correct replacement is available and the surrounding structure is sound The base or seat mechanism is also damaged Armrests or headrest A replaceable pad, bracket or model-specific component has failed Multiple mounting points or the main frame are cracked Seat or backrest Minor replaceable trim or a removable component is worn The supporting frame, mesh structure or mechanism is unsafe Powered features HBADA confirms a compatible module or authorised repair Battery damage, overheating or repeated electrical faults occur The HBADA X7 Smart Ergonomic Chair is one current EU option for users seeking powered lumbar tracking, a ventilated seat, highly adjustable armrests and a stated maximum load of 150 kg. HBADA states that the model is certified to the BIFMA X5.1 standard and tested for an intended ten-year service life under individual-use scenarios. Actual service life still depends on body weight, frequency of use, maintenance and environmental conditions. Product configurations, specifications, prices and availability can change. Confirm the current details on the relevant HBADA EU product page before purchasing. Which HBADA EU Chair Should You Choose? Compare body-fit ranges and the type of adjustment you prefer rather than choosing on appearance alone. Model Support and adjustment highlights Recommended height Maximum stated load Best considered by HBADA X7 Smart Powered lumbar tracking, ventilated seat, 720° armrests, adjustable headrest and up to 140° recline 150–195 cm 150 kg Users who value responsive powered support and additional smart comfort features HBADA E3 Pro 2026 Edition Three-zone adaptive lumbar support, adjustable seat depth, 720° mechanical armrests and up to 140° recline 155–195 cm 150 kg Users who prefer extensive mechanical adjustment without relying on powered lumbar functions HBADA E3 Air 2026 Edition Three-zone lumbar system, adjustable seat depth, flexible armrests, breathable CloudMesh and up to 140° recline 155–195 cm 150 kg Users looking for a lighter everyday ergonomic chair with extensive adjustment Illustrative Heavy-Use Scenario A user around 190 cm tall and close to 140 kg discovers that an older chair has both a failing gas lift and a cracked base. Replacing only the cylinder would leave the structural fault unresolved. A chair with a confirmed 150 kg load rating and suitable seat dimensions would be the safer comparison point. Illustrative Smaller-Frame Scenario A user around 158 cm tall may find that a wide inherited chair places the lumbar support too high and the armrests too far apart. Before buying, the user should compare seat height, seat depth, armrest positioning and the model’s recommended height range. For Powered Support Consider the X7 Smart if adaptive powered lumbar support and additional electronic comfort functions are priorities. View HBADA X7 Smart For Mechanical Adjustment Consider the E3 Pro 2026 Edition if you prefer broad mechanical adjustment and detailed control over chair fit. View HBADA E3 Pro For Everyday Flexibility Consider the E3 Air 2026 Edition for breathable support and flexible adjustment in home and professional workspaces. View HBADA E3 Air Frequently Asked Questions Can you take apart an office chair? Yes. Many office chairs can be partly disassembled for moving, repairs or component replacement. Removable parts commonly include the castors, base, sealed gas lift, seat, backrest, armrests and headrest. Check the exact chair manual because some mechanisms, panels and powered components are not intended for user removal. How do you remove a gas cylinder from an office chair? Follow the chair’s manual. Where removal is permitted, separate the base at the metal joint without striking the cylinder body. Grip the exterior of the sealed cylinder near the seat mechanism with a protected suitable wrench and use slow rotational pressure to release the taper fit. Never cut, puncture, heat or open the cylinder. If it is damaged, leaking or seized, contact a qualified repairer or the manufacturer. How do you remove the base from an office chair? Place the chair securely on a protected surface and check for a retaining clip or other model-specific connection. If the manual permits removal, support the five-star base and apply controlled, even taps around the appropriate metal joint with a rubber mallet. Never strike the pressurised cylinder body. Can office-chair castors be removed? Many office-chair castors use push-fit stems. Lay the chair on its side and pull the castor straight out while holding it close to the base. Some models use different retaining systems, so check the manual before using a tool or fitting replacement castors. Is it safe to disassemble a gas lift yourself? You may be able to remove the complete sealed gas lift from a chair when the manufacturer’s instructions permit it. It is not safe to disassemble the cylinder itself. Wear appropriate protection, keep the part away from heat and never cut, drill, puncture, crush or hammer the cylinder body. Stop if the component is damaged, leaking or cannot be released safely. Can I replace an office-chair gas lift with any cylinder? No. Dimensions, taper fit, class, travel range and load requirements must be compatible with the chair. Contact the manufacturer with the exact model and order information before buying or installing a replacement. Will taking my chair apart affect its warranty? Normal model-approved assembly or removal of intended service parts is different from modifying a mechanism or opening a sealed component. Unauthorised modification or damage caused during disassembly may affect warranty eligibility. For an HBADA chair under warranty, contact service@hbada.eu before attempting a structural or gas-lift repair. Need a Model-Specific Part or Assembly Guide? Contact HBADA EU with your order number, exact chair model, product-label photo and a clear image or video of the component. This helps the support team confirm whether the part is removable and identify the correct replacement. Email HBADA EU Support View Assembly and Maintenance Help Sources and Product Information HBADA EU: X7 Smart Ergonomic Chair Lab and Specifications HBADA EU: E3 Pro 2026 Edition HBADA EU: E3 Air 2026 Edition HBADA EU Warranty and Service European Commission: Waste Electrical and Electronic Equipment Product specifications, configurations, warranty terms and availability may change. Confirm current details on the applicable HBADA EU product and policy pages. Local waste-disposal requirements vary across European countries and municipalities. HBADA Chair FAQ: Warranty, Returns, Setup and Support HBADA Chair FAQ: Warranty, Returns, Setup and Support HBADA Europe Support Guide Clear answers to common questions about HBADA ergonomic chairs purchased through HBADA.eu, including returns, warranty coverage, delivery, assembly, maintenance, adjustments and replacement parts. Quick Answer HBADA.eu provides a 30-day return period from receipt. E3 and X7 Series chairs include five-year coverage for the base, gas lift and casters, while other components are covered for three years. For model-specific support, contact service@hbada.eu with your order number, chair model, photos or video and a description of the issue. In This Guide 1. Warranty and Returns 2. Shipping and Tracking 3. Quality Issues and Parts 4. Assembly and Maintenance 5. Ergonomic Adjustments 6. Footrests and Special Features 7. Contact HBADA EU Warranty and Returns Return eligibility and warranty coverage are different. Returns apply during the initial 30-day period, while warranty coverage applies to eligible manufacturing defects during the relevant warranty term. What does the HBADA EU 30-day return policy cover? Products purchased from HBADA.eu may be returned within 30 days of receipt, subject to the conditions in the official EU return policy. The return may relate to comfort, fit, size, appearance or another personal preference. Contact service@hbada.eu before disassembling or sending the chair. Do not return it to an address on the parcel or a previous return label without authorisation. Who pays the return shipping cost? If the chair arrives damaged, defective or incorrect, HBADA covers the eligible return-shipping cost after the issue has been verified. For a standard change-of-mind return involving preference, comfort, fit or size, the customer is responsible for part of the return cost. HBADA may provide a discounted prepaid label and deduct its cost from the final refund. Can I return a chair after assembling or testing it? An assembled chair may still be eligible for return within 30 days, provided it meets the return-policy conditions and is returned with all components, accessories and documentation. Keep the original box and protective packaging for at least 30 days. Missing packaging or damage caused by inadequate repacking may result in a loss-of-value or restocking deduction. How long does an approved refund take? Once the returned item has been received, inspected and approved, HBADA.eu states that the refund is normally processed within 5–7 business days. The payment provider may require additional time before the credit appears in your account. Will the original delivery cost be refunded? The final refund depends on the reason for return, the original order and any applicable delivery or return-label cost. Contact HBADA EU support for a calculation before sending the chair back. Does HBADA really provide a five-year warranty? Yes, but the five-year term does not apply to every component of every chair. Current HBADA.eu coverage is divided by product series and component type. Product series Base, gas lift and casters Other components E3 Series: E3 Pro, E3 Ultra and E3 Air 5-year extended warranty 3-year warranty X7 Series 5-year extended warranty 3-year warranty Other series, including P, J and E2 3-year warranty 3-year warranty Coverage begins from the delivery date and applies to eligible manufacturing defects under normal, non-commercial use. What is not normally covered by the warranty? Normal ageing, wear, fading or pilling of mesh and fabric Scratches, stains or dents occurring after assembly and use Damage caused by incorrect assembly, misuse or modification Damage caused by exceeding the chair’s specified weight limit High-traffic commercial or rental use Purchases from unauthorised third-party sellers Is warranty registration required? The current HBADA.eu warranty page bases coverage on the purchase, delivery date and proof of purchase. Keep your order-confirmation email and order number. If your product documentation contains an additional registration instruction, follow that model-specific instruction as well. How do I submit a warranty claim? Email service@hbada.eu. Include the order number or other proof of purchase. State the exact chair model and describe the problem. Attach clear photos or a short video showing the fault. Wait for diagnosis and the authorised repair, part or return instructions. For a verified covered defect, HBADA may provide a replacement part and installation guidance instead of requiring the complete chair to be returned. Shipping and Tracking When will my HBADA.eu order be delivered? HBADA.eu currently states a processing time of approximately one business day and delivery within about five business days for supported EU destinations. Actual timing may vary by product, location, stock and carrier conditions. Most supported areas receive free delivery. If a delivery fee applies to a particular product or postcode, it should be displayed during checkout. Why has my tracking information not updated? A tracking number may be created before the carrier completes its first physical scan. Check again later and use the tracking number on the carrier’s official website. If the status remains unchanged or the delivery estimate has passed, contact HBADA EU with your order number and tracking number. What does my tracking status mean? Label created: shipment information has been submitted. In transit: the carrier is moving the parcel through its network. Out for delivery: delivery is expected that day. Delivery attempted: follow the carrier’s redelivery instructions. Exception or delayed: the shipment has encountered a temporary issue. Returned to sender: contact HBADA EU before placing another order. The parcel says delivered, but I cannot find it. What should I do? Check the entrance, safe place, reception desk and nearby delivery points. Ask household members, building staff or neighbours. Review the carrier’s proof of delivery. Contact the carrier using the tracking number. If it remains missing, email HBADA EU with the order details. What if the parcel was returned to the sender? Contact HBADA EU with your order number and confirmed delivery address. Support can investigate why it was returned and explain the available redelivery or refund solution. I did not receive an order-confirmation email. How can I check the order? Check the spam or junk folder and confirm that the email address used at checkout was entered correctly. If the message is still missing, contact support with your name, delivery address and approximate purchase time. Do not publish payment information in a public message. After-Sales Support and Replacement Parts What happens if something goes wrong with my chair? Stop using the chair if the issue affects stability, the base, gas lift, mechanism or another safety-related component. Record the fault with photos or video and contact HBADA EU. The support team may diagnose the issue remotely and provide a compatible replacement part, installation guide, repair solution or authorised return instructions. How do I find compatible replacement casters? Caster stems and dimensions can vary by model and production version. Do not rely on a universal size unless it has been confirmed for your exact chair. Send the chair model, order number, caster photos and the product barcode to service@hbada.eu. HBADA can confirm the correct replacement specification. Can I use third-party replacement parts? Use model-compatible parts that meet the chair’s original load and safety requirements. An incorrect gas lift, base, mechanism or caster may affect stability and could influence warranty eligibility. Confirm compatibility with HBADA before installation. Assembly, Maintenance and Troubleshooting How should I assemble my HBADA chair? Match all components and hardware to the model-specific manual. Place the seat and backrest on a clean, protected surface. Start every screw by hand before tightening it fully. Tighten paired screws gradually and evenly. Install the gas lift and base in the orientation shown in the manual. Check every adjustment and confirm that the chair stands level before use. Model-specific videos may be available from the official HBADA YouTube channel. What should I do if a screw is missing or does not fit? Do not force the screw or substitute hardware with an unknown grade or length. Confirm the part number in the manual, check the packaging and take a photo of the installation position. Contact support for the correct hardware if necessary. Why is my chair squeaking? Squeaking may be caused by a loose fastener, debris around a moving joint or friction between fitted components. Identify the sound while another person gently moves the chair. Check and evenly tighten the relevant accessible bolts. Remove visible dust or debris. Use only a manufacturer-approved lubricant on an appropriate moving joint. Do not dismantle, drill, heat or lubricate the pressurised gas cylinder. Contact HBADA if the sound comes from the gas lift or tilt mechanism. My chair keeps sinking. What should I do? First check that the height-adjustment lever is returning to its neutral position and is not continuously pressing the gas-lift actuator. If the chair still loses height during normal use, stop repeatedly operating it and contact HBADA EU. The gas lift may require model-specific inspection or replacement. The reclining mechanism is stuck. How do I unlock it? Return the backrest to an upright position and remove pressure from it. Operate the recline lock according to the manual, then lean back gently. Some mechanisms must be unloaded before the lock can release. Do not force the lever. Why is the seat tilted or leaning to one side? Place the chair on a level floor, check that all casters are fully seated and inspect the base, gas lift and seat mechanism. Recheck that paired mounting bolts were tightened evenly. Stop using the chair and contact support if a structural component appears bent or damaged. How often should bolts and screws be checked? Inspect accessible fasteners after the initial assembly period and periodically thereafter. Frequency depends on use, movement and the chair model. Tighten only to the manual’s requirements and avoid overtightening plastic-mounted components. How should I clean the mesh? Remove loose dust with a soft brush or low-suction vacuum attachment. Test a small hidden area before using any cleaning solution. Blot lightly with a soft cloth dampened with water and mild cleaner. Do not soak, scrub aggressively or use bleach and harsh solvents. Allow the chair to air-dry completely away from direct heat. How can I reduce long-term mesh sagging? Stay within the specified weight limit, avoid placing concentrated loads or sharp objects on the mesh and do not use the chair as a step. Keep it away from prolonged direct sunlight and heat sources. Will a small snag affect the mesh? A minor surface snag may be cosmetic, but it should not be pulled, cut or burned. Photograph the area and monitor it. Stop using the chair and contact support if the opening expands, the surrounding mesh loses tension or the seat/backrest no longer feels secure. How should I store the chair? Store it indoors on a dry, level surface, away from direct sunlight, heaters, high humidity and corrosive chemicals. Do not place heavy objects on the seat, armrests or mesh. Ergonomic Adjustments Adjustment ranges vary by model. Use the following as setup guidance and confirm each control in your chair’s manual. How should I adjust the lumbar support? Sit fully against the backrest and position the lumbar support around the natural inward curve of the lower back. Begin with moderate support, then make small changes while seated. The support should feel present without creating a concentrated pressure point. How should I position the headrest? Adjust the headrest so it supports the back of the head or upper neck without pushing the head forward. During focused computer work, keep the ears generally aligned over the shoulders and avoid leaning continuously into the headrest. How do I lock the headrest? Headrest locking methods differ by model. Move it through the permitted height and angle range until the intended detent or lock engages. Do not force it beyond the stops. Consult the model manual if it moves after adjustment. How does dynamic lumbar support work? On equipped models, the lumbar structure follows or responds to changes in sitting posture. It does not eliminate the need for correct seat height, seat depth and desk positioning. Product functions vary, so confirm the system used by your specific chair. How do I lock the backrest at a reclining angle? Lean to the desired supported position and operate the recline-lock control shown in the manual. Before unlocking, reduce pressure against the backrest and return toward an upright position. Not every model locks at every point in its recline range. What do 4D armrests adjust? Depending on the model, 4D armrests may adjust in height, forward/backward position, inward/outward position and angle. Set them so the forearms are lightly supported while the shoulders remain relaxed. How should I set the armrests for desk work? Keep the elbows close to the body and the wrists in a neutral position. The armrests should support the forearms without lifting the shoulders. Lower or reposition them if they prevent the chair from approaching the desk. Why are the armrests at different heights? Return both armrests to their lowest setting, then raise each by the same number of adjustment positions. Check that both assemblies are fitted correctly. Contact support if one side does not engage or remains visibly uneven. What is the correct chair height? Begin with the feet supported, thighs approximately level and knees comfortably bent. Then align the desk and monitor so you can work without lifting the shoulders or bending the wrists excessively. A footrest may help if the desk cannot be lowered. Why does the chair feel unstable or wobble? Check the floor, casters, five-star base, gas-lift seating and accessible fasteners. Some movement in adjustable components can be normal, but pronounced instability, cracking or structural movement requires immediate inspection. Stop using the chair until the cause has been confirmed. How do I clean noisy or slow-moving casters? Turn the unoccupied chair carefully according to the manual, then remove visible hair, thread and debris from the caster axles. Wipe the wheels with a slightly damp cloth and dry them. Replace cracked, detached or deformed casters with model-compatible parts. Footrests and Special Features How do I deploy and retract the built-in footrest? On models equipped with a retractable footrest, sit upright and pull the footrest outward using the designated handle or frame. Rotate or extend it only in the direction shown in the model manual. Before standing, return it fully to its stored position. Do not stand or sit on the footrest. It is intended to support the lower legs while the user remains seated. Why is the footrest difficult to pull out? Check that the chair is upright, nothing is blocking the rail and the footrest is being pulled evenly rather than twisted sideways. Do not force it. If the rail appears bent, misaligned or damaged, photograph the mechanism and contact HBADA EU. Where can I find instructions for model-specific smart features? Refer to the manual supplied with the chair and the official HBADA video channel. Smart, powered, heating, massage and ventilation functions differ by model. Use only the supplied or specified power accessories. Still Need Help? Contact HBADA EU and include enough information for the support team to identify the correct chair and component. Order number or proof of purchase Exact chair model and colour Photo of the product label or barcode Clear description of the problem Photos or a short video showing the issue Current delivery address if a replacement part may be required Email HBADA EU Support View Maintenance Help Official HBADA EU Policies Return and Refund Policy Warranty and Service Shipping Policy Order Tracking Assembly, Maintenance and Troubleshooting Policy terms and product specifications may change. The official policy and product pages in effect when support is requested take precedence.