How to Fix a Sinking Office Chair: A Step-by-Step Hydraulic Repair Guide

How to Fix a Sinking Office Chair: A Step-by-Step Hydraulic Repair Guide

Your chair sinks when you sit down. You adjust it every morning. By afternoon, you're too low again. A sinking office chair is the office equivalent of a slow leak, annoying, worsening over time, and eventually forcing a decision: fix it, replace the cylinder, or upgrade to a new chair. This guide walks you through each option with exact costs, timeline, and ROI so you can choose the right fix for your situation.

Why Office Chairs Sink

Your chair sinks for one of three reasons. Understanding which one determines your fix.

Reason 1: Hydraulic Gas Cylinder Seal Failure

Your office chair uses a pneumatic gas cylinder (a sealed metal tube) filled with nitrogen at 50–60 PSI. A piston inside the cylinder moves up and down to raise and lower your seat. When the seal that holds the gas pressure fails, gas leaks out slowly. Result: the cylinder can no longer hold its height under load. A slow leak takes 4–12 weeks to manifest as noticeable sinking. This is the most common cause (70% of sinking chairs).

Reason 2: Valve Malfunction (Slow Leak)

The release valve lets you lower your seat by pulling the lever. If the valve seal wears out, gas leaks continuously. Your chair initially holds its height but sinks under pressure. This typically develops in 2–to 3-year-old children and accounts for 20% of cases.

Reason 3: Structural Damage to the Base or Piston Rod

If the chair base has cracked or the piston rod inside the cylinder is bent, height loss can occur even with normal gas pressure. This is rare (10% of cases) but requires full chair replacement, not cylinder swap.

Fix 1: Quick Fixes ($0–30, 15 minutes) — Temporary Solutions

These won't cure the problem, but they'll buy you 1–4 weeks while you decide on a permanent fix.

Tighten the Lever Adjustment Screw

Most chairs have an adjustment screw that controls how easily the lever engages. If this screw loosens, the lever won't create enough pressure to lock the cylinder in place. Try tightening it with an Allen wrench (usually 3mm or 4mm). Cost: $0. Effectiveness: 20–40% (fixes only loose mechanisms, not seal failure).

Use a Rubber Shim or Wooden Wedge Under the Seat Pan

If your chair sinks slowly throughout the day, you can jam a rubber shim or a small wooden wedge under the seat pan to temporarily lock it at a fixed height. Cost: $0–5. Effectiveness: 100% (but it's a temporary band-aid). Downside: you lose the ability to adjust height, and the friction can scratch your base.

Clean the Lever and Release Valve

Dust buildup on the lever mechanism or release valve can cause sticking. Spray the lever assembly and valve stem with compressed air (like keyboard cleaner). Cost: $5–15 (if you buy compressed air). Effectiveness: 10–25% (helps only if dust is the problem).

Fix 2: Gas Cylinder Replacement ($40–80, 15–20 minutes) — DIY Permanent Repair

Mobile breakdown of the heavy-duty steel wheelbase and safety certifications for HBADA E3.

Replacing the cylinder yourself is achievable if you're slightly handy.

Step 1: Order a Replacement Cylinder

Measure your piston rod diameter (usually 5–6mm) and cylinder outer diameter (usually 40–50mm). Replacement pneumatic cylinders cost $30–60 for standard Class 3–4 units. Avoid the $10 bargain cylinders; they're filled with compressed air, not nitrogen, and will fail in weeks.

Step 2: Remove the Old Cylinder

Sit in the chair and locate where the cylinder connects to the base (bottom) and seat pan (top). The connections are usually held by plastic retainer clips or metal bolts. Push or unscrew these to release the cylinder. Take a photo first, so you remember the orientation.

Step 3: Install the New Cylinder

Insert the new cylinder in the same orientation as the old one. Reconnect the retainer clips or bolts. The piston rod (the thin rod that moves up and down) should face upward into the seat pan.

Step 4: Test and Adjust

Sit in the chair and test the lever. The new cylinder should hold its height smoothly. If it sinks, you may have inserted it upside down, or the retainers aren't fully engaged.

Fix 3: Full Chair Upgrade ($400–700, 0 minutes) — When Repair Doesn't Make Sense

Mobile view showing the zero gravity feel during a deep 140 degree recline on the HBADA E3 Pro.

If your chair is over 5 years old or the frame is damaged, upgrading is often cheaper than repeat repairs.

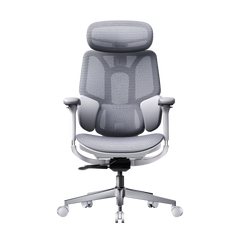
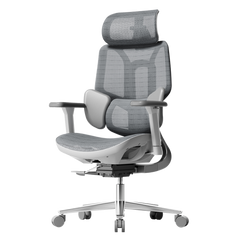
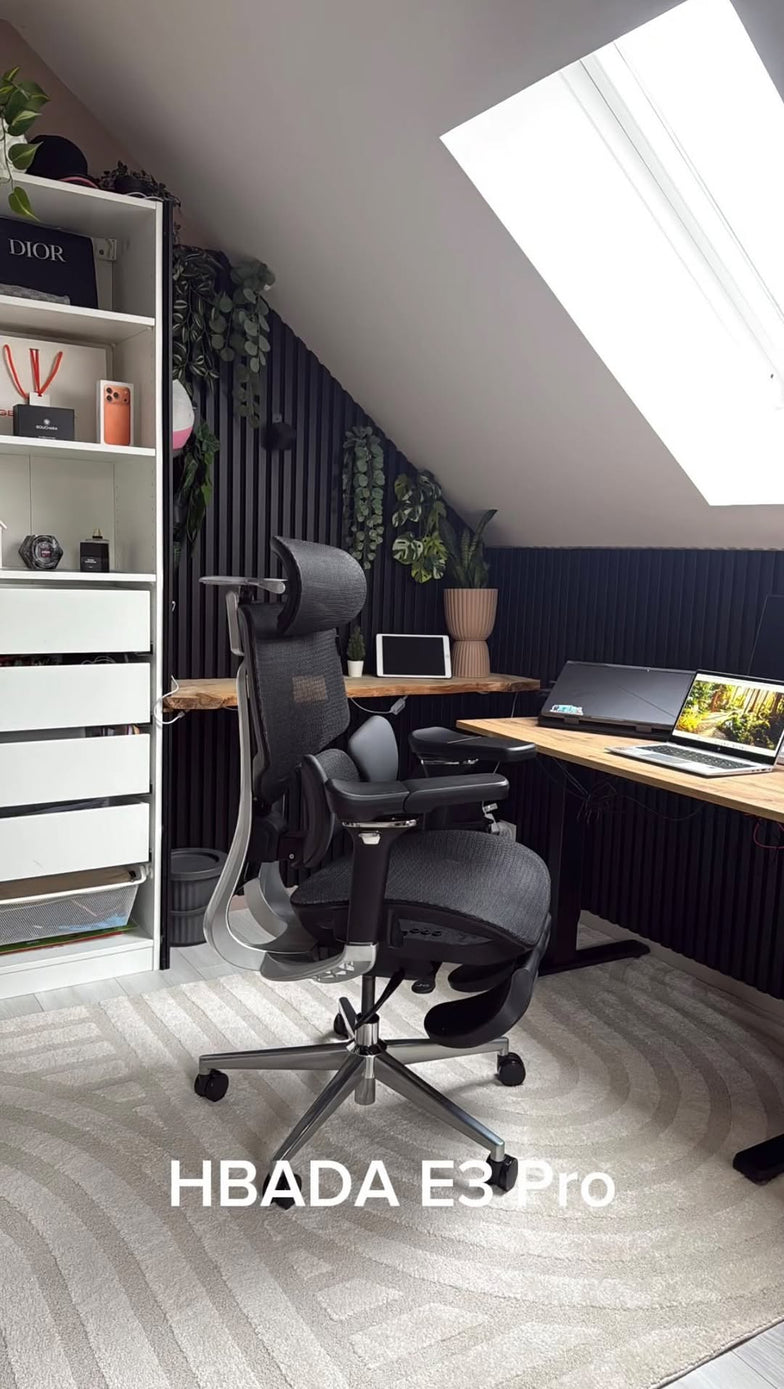
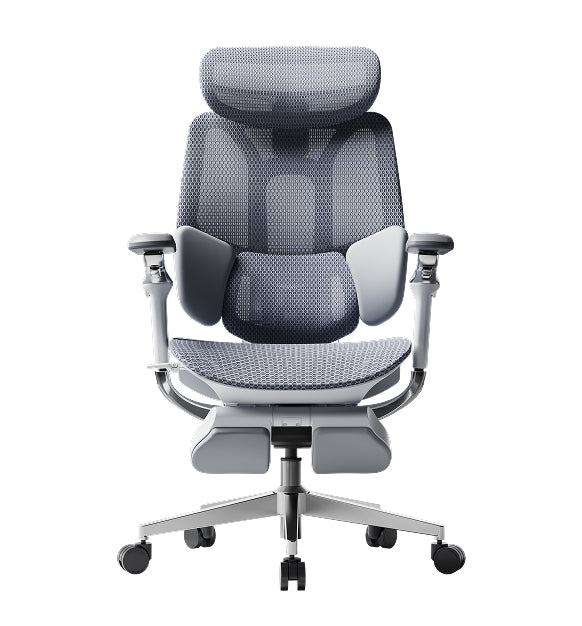
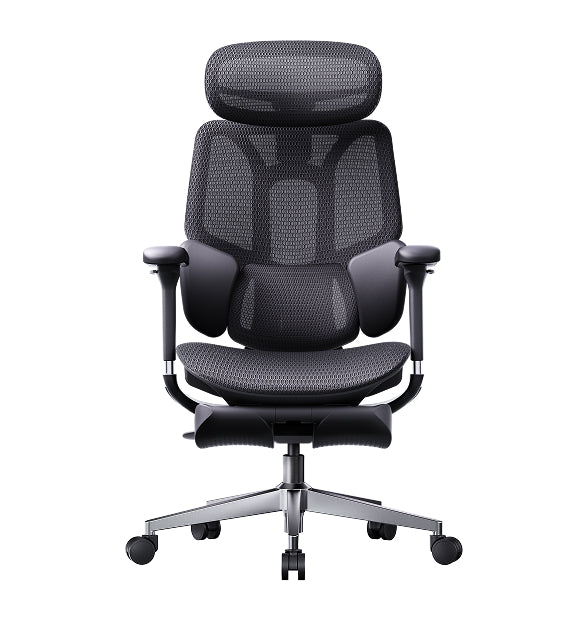
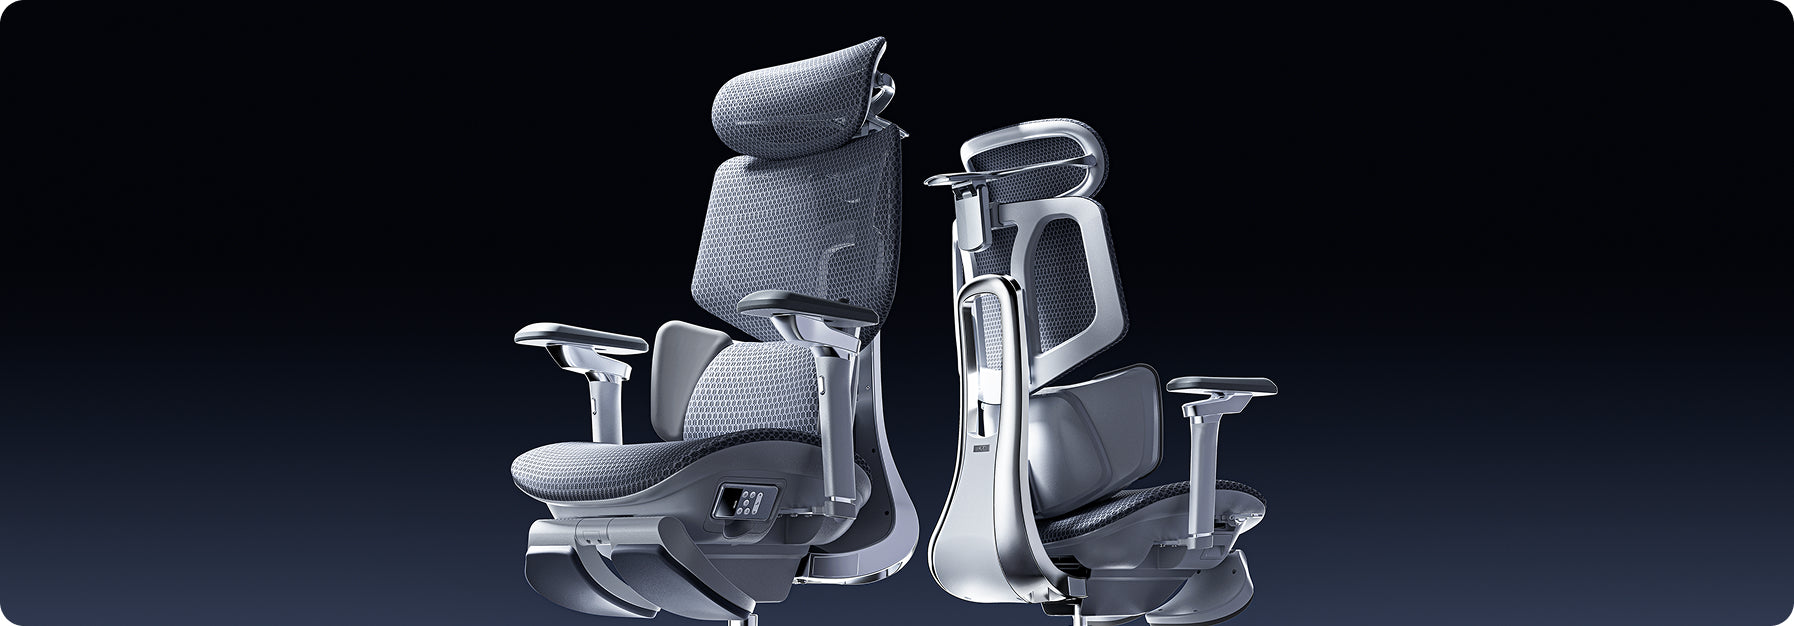
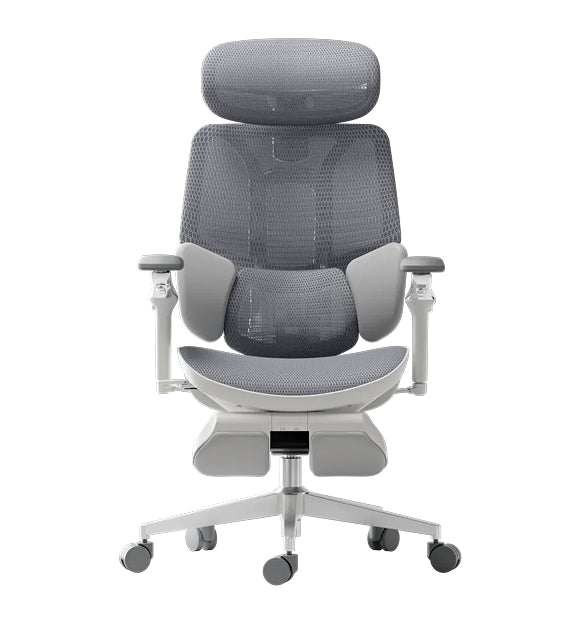
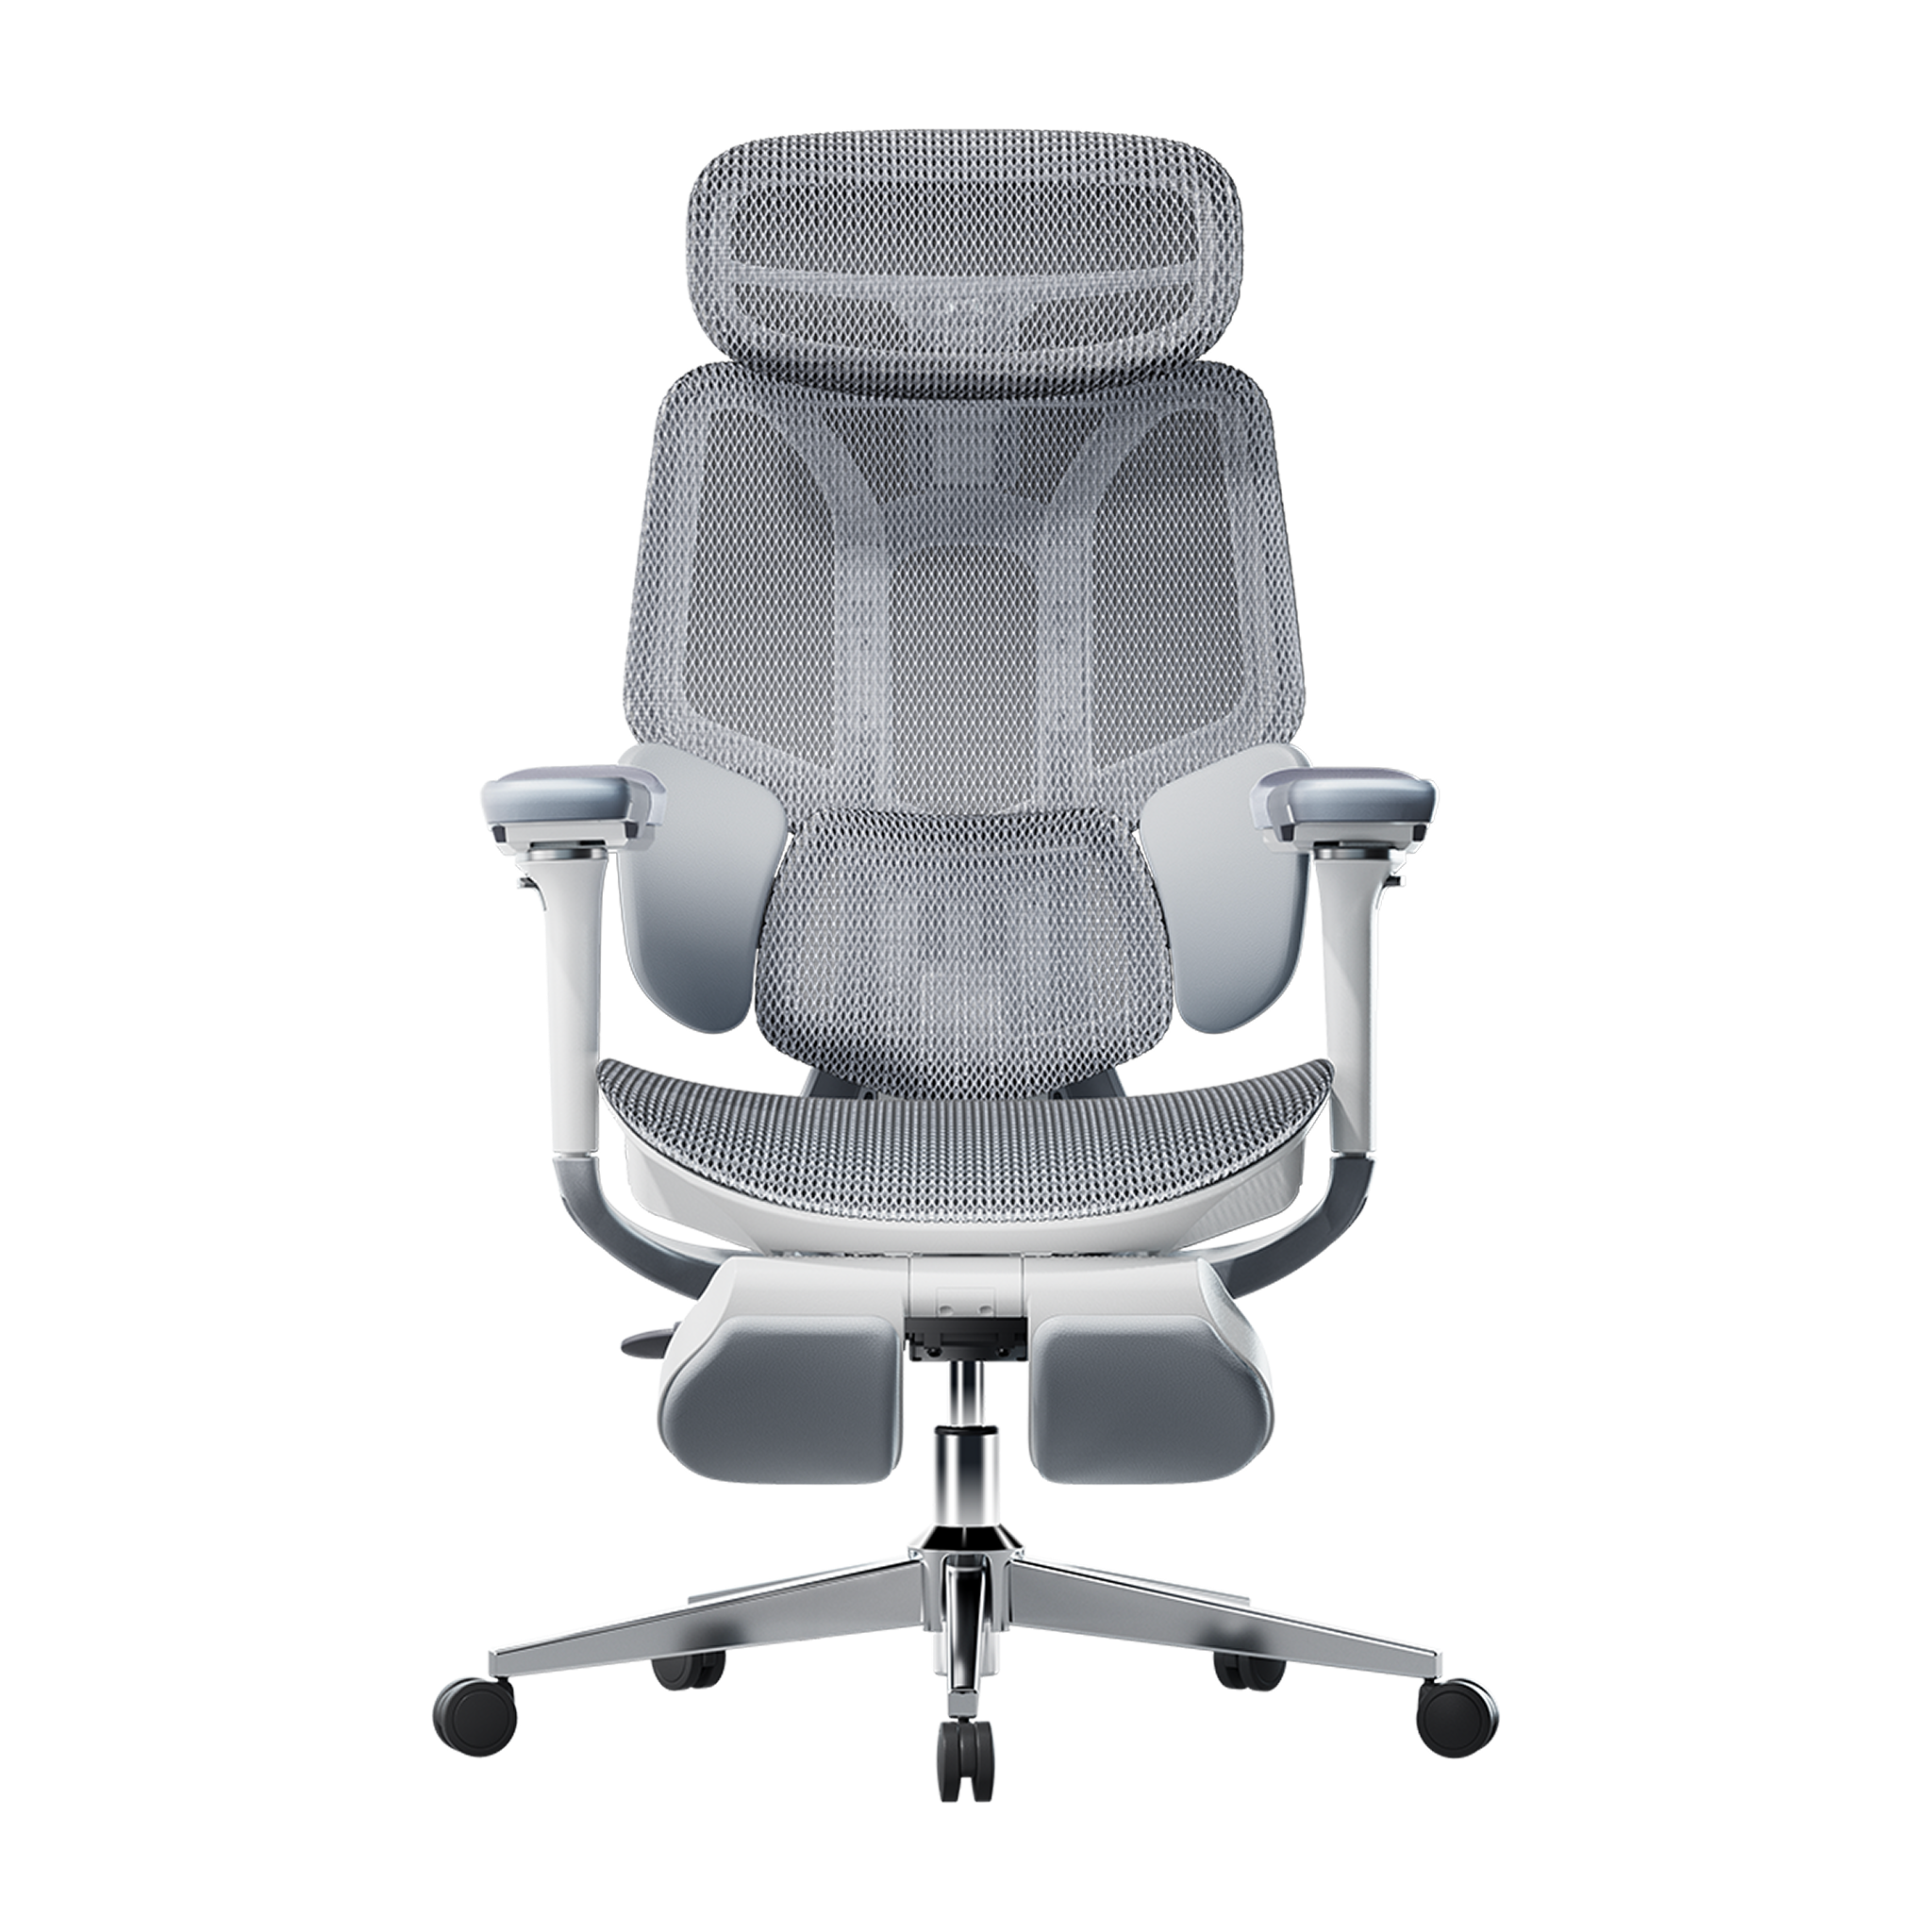
A new HBADA E3 Pro 2026 Edition with Class 4 anti-sinking gas lift ($400–550) is engineered to prevent sinking for 7–10 years. It includes SGS certification, 120,000-cycle testing, and a 5-year warranty. Compare: your old chair sinking every 2–3 years = $30–80 repairs 3–4 times = $90–320 in repairs over 7 years. A new chair eliminates this cycle. 

Fix vs. Replace Decision Framework — The ROI Analysis

Chair Age & Condition

Quick Fix ($0–30)

Cylinder Replacement ($40–80)

Full Upgrade ($400–700)

0–2 years, first sinking

Try first (easy, cheap)

If the quick fix fails

Not yet (too new)

3–5 years, healthy frame

Quick backup if time-pressed

Best choice (good ROI)

Optional (chair still solid)

5–8 years, multiple repairs

Waste of time

Last-resort repair

Best choice (eliminate cycle)

8+ years OR frame damaged

No

No (will fail again soon)

Only option (retire the old chair)


Two Case Studies: Repair vs. Upgrade Decisions

Case Study A: Thomas K. — The Successful DIY Repair

same as sihoo ergonomic office chair m18

Thomas K., 29, Software Developer (5'11", 165 lbs, 2.5 year old chair). Thomas's chair began sinking 3 months into year three of ownership. He diagnosed the problem as a gas cylinder seal failure (sinking only under load). He ordered a replacement pneumatic cylinder ($45) and spent 20 minutes swapping it out. Cost: $45. Outcome: chair works like new. Projected lifespan: another 4–5 years. Total cost of ownership: $45 + original $300 = $345 over 7–8 years ($43/year).

Case Study B: Patricia M. — The Upgrade Decision

Patricia M., 42, Office Manager (5'4", 145 lbs, 7-year old chair with multiple repairs). Patricia's original $250 budget chair had required three-cylinder replacements in 7 years ($80 in repairs, plus her time). The frame was showing stress cracks. She faced a choice: spend another $50–80 on a fourth repair or invest in a new chair. She chose the HBADA AI-Powered X7 Smart Ergonomic Chair ($520). The cost difference: $440. The payoff: zero anticipated repairs for 7+ years (vs. likely 2–3 more repairs in the old chair = $90–160). She breaks even in 3.5 years and gains 3.5+ years of repair-free use. Total ROI: positive in year 4.

How to Prevent Future Sinking — Long-Term Maintenance

• Use a chair within its weight capacity. A 250-lb person in a 200-lb chair stresses the cylinder faster.

• Adjust your lever gently. Rough yanking wears out the valve mechanism.

• Clean the lever and valve assembly every 6 months with compressed air.

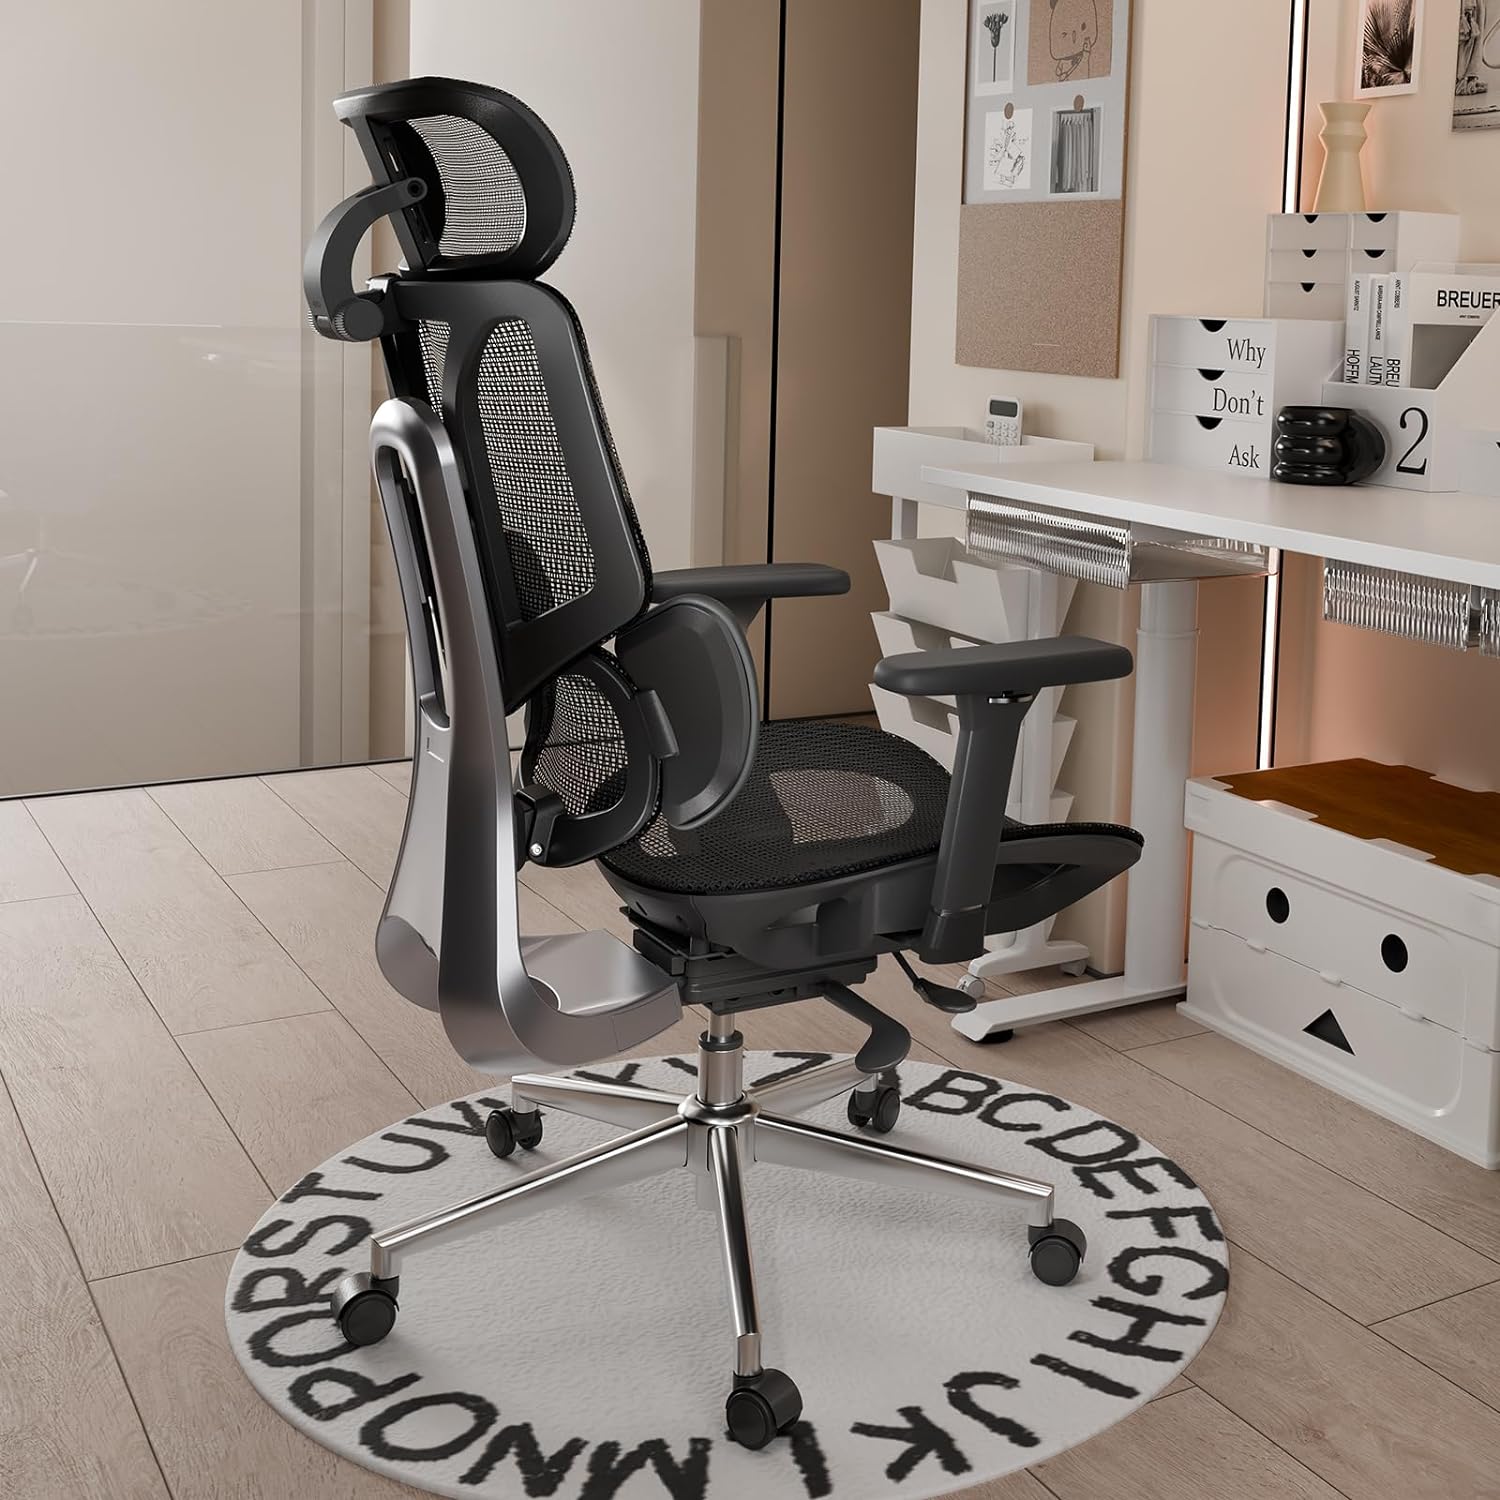
• Upgrade to a Class 4 certified chair with anti-sinking engineering (like the HBADA E3 Series) if you're buying new.

Which Chair Should You Choose?

• Budget quick fix: Your current chair + $45 cylinder replacement.

• Mid-range protection: HBADA E3 Air 2026 Edition ($300–400, Class 4 gas lift, 4–8 hour daily use).

• Premium protection: HBADA E3 Pro 2026 Edition ($400–550, Class 4 gas lift, 6–10 hour heavy-duty use, 330-lb capacity).

FAQs

How do I know if my office chair can be repaired?

Check the chair's age and the condition of its frame. If your office chair is under 5 years old and the base doesn't show cracks or damage, it's repairable. If it's over 5 years old, has undergone multiple repairs, or the frame is visibly damaged, replacement is more cost-effective. A sinking office chair with a healthy frame = repairable. A sinking chair with a cracked or bent base = unrepairable.

How much does a replacement gas cylinder cost?

Quality pneumatic cylinders range from $30–80 depending on diameter, pressure rating, and certifications. A Class 3 cylinder costs $30–50; a Class 4 (certified for heavy use) costs $50–80. Avoid $10–15 "bargain" cylinders; they're filled with compressed air and fail in weeks.

Can I use a sinking chair while waiting for parts?

Yes, temporarily. Use a rubber shim or wood wedge under the seat pan to lock it at a fixed height. This loses adjustability but prevents you from sitting too low. It's a temporary fix only — don't plan to use this for more than 1–2 weeks.

Is a cylinder replacement covered by warranty?

Most chairs come with 1–2 year warranties that cover gas cylinder defects. If your chair is still under warranty, contact the manufacturer; they may replace it for free. If out of warranty, you're paying for the replacement yourself ($40–80 DIY, or $100–150 if you hire a technician).

Will upgrading to a new chair really prevent sinking?

A Class 4 certified chair with proper engineering can prevent sinking for 7–10+ years. The HBADA E3 Series uses SGS-certified Class 4 gas lifts that have been tested for 120,000+ compression cycles, equivalent to 7–10 years of heavy use. This is not a guarantee, but the engineering is demonstrably superior to budget chairs that fail every 2–3 years.

Relevant Product

You May Also Like

How Do I Know If My Office Chair Fits Me Correctly? How Do I Know If My Office Chair Fits Me Correctly? Your office chair is a key part of your workspace, but many people use one that doesn’t fit their bodies. A chair that doesn’t fit can cause more than just short-term discomfort—it can lead to long-term pain and tiredness. If you end your day with a sore neck or aching back, it’s time to check your setup. Learning how to tell if your chair fits is the first step toward a healthier, more productive workday.   Signs Your Office Chair Does Not Fit You Many people wait until they feel pain before realizing something is wrong, but there are earlier warning signs to watch for. If you notice any of these, your chair might not be the right size or properly adjusted: · The Perch: You find yourself sitting on the very edge of the seat because the backrest feels too far away. · The Dangling Feet: Your heels don’t firmly touch the floor, or you find yourself crossing your legs to find balance. · The Shoulder Shrug: Your armrests are so high that your shoulders stay hunched toward your ears. · Circulation Cut-off: You feel a “pins and needles” sensation in your thighs or calves after an hour of sitting.   Recognizing these signs early can help you avoid long-term discomfort. The 4-Step Ergonomic Chair Fit Guide for Proper Posture To sit with good posture, you need to adjust your chair in a certain order. Use this ergonomic chair guide to set up your workspace. 1. Seat Height: The Foundation of Blood Flow Begin by making sure your feet are flat on the floor. An ergonomic chair with adjustable seat height and depth lets you do this while keeping your knees at 90 degrees. If your knees are higher than your hips, there’s too much pressure on your sit-bones. If they’re lower, your lower back is under strain. 2. Seat Depth: Protecting Your Knees and Hips Seat depth is often overlooked when setting up your chair. You should be able to sit all the way back so your spine touches the lumbar support, with about two to three inches (about a fist’s width) between the seat edge and the back of your knees. If the seat presses against your knees, it can cut off circulation. If the gap is too big, your thighs won’t get enough support. 3. Lumbar Support: Maintaining the Natural Curve It’s important to adjust your chair for lower back support to prevent slouching. The lumbar curve should fit right into the small of your back, just above your belt line. If it’s too high or too low, it can push your spine out of its natural position, which is often why a chair feels uncomfortable after long use. 4. Armrest Alignment: Offloading Shoulder Weight Set your armrests so your elbows are bent at 90 degrees and your shoulders stay relaxed. If the armrests are too wide or too high, they can cause neck and upper back tension. A good ergonomic chair lets you move the armrests inward to support your forearms while you type.   Advanced Solutions for Multi-Point and AI Adjustments Today, you don’t have to struggle with manual knobs. High-quality chairs can now adjust themselves for you. The Power of a Multi-Point Adjustment System A high-quality ergonomic chair with a multi-point adjustment system lets you control every part that comes into contact with your body. This is important for people who sit at a computer, because the chair can move with you as you switch from typing to leaning back. Our design uses “Bio-Synchronization,” so the chair mirrors your body's natural movements. HBADA AI-Powered x7: The Ultimate Fit If you’re tired of making manual adjustments, the HBADA AI-Powered x7 is a new solution. It uses sensors to detect your body type and sitting habits in real time, automatically adjusting the lumbar support and seat depth to keep you in the right position. This helps fix poor posture caused by an ill-fitting chair by correcting your alignment before you feel any pain.   Comparing Support Levels for Your Best Fit Feature Standard Office Chair Fully Adjustable Ergonomic Hbada AI-Powered x7 Seat Depth Fixed Manual Adjustment Auto-Adaptive Lumbar Support Static Pad Height Adjustable AI-Synchronized Tracking Armrests 1D (Height) 4D (Height, Width, Depth, Pivot) 720° Bio-Sync Arms User Fit General Custom Tailored Proactive Real-Time Fit   Frequently Asked Questions (FAQ) Q: How do I adjust my chair if I’m between sizes?A: Choose a chair with an adjustable seat height and depth. Adjust the seat forward or back to suit your leg length. Q: Why does my back still hurt even after I adjusted my chair?A: Muscles need time to adjust to a better posture. If pain persists, your chair may not offer enough support. Q: Can a footrest help if my chair doesn’t go low enough?A: Yes. If you’ve set your seat height so your arms are level with the desk but your feet don’t touch the floor, a footrest is a good temporary fix. For a long-term solution, look for an ergonomic chair that fits your height. Q: What is the best way to fix shoulder pain from my chair?A: Make sure your armrests are set at the right height. When your arms are supported, the pressure is taken off your shoulder muscles. This is the quickest way to fix upper-body pain caused by your office chair.   Conclusion Don’t Compromise on Your Comfort Learning how to adjust your office chair is more than just convenient—it’s important for your long-term health. The right chair helps you feel less tired, work better, and avoid pain that impacts life outside of work. If your chair isn’t adjustable, consider upgrading to a fully adjustable ergonomic option, like the HBADA AI-Powered x7, which adapts to your needs and demonstrates the benefits of a good fit. Your body is valuable, so ensure your chair supports it. How to Choose the Right Lumbar Support for Your Body Type How to Choose the Right Lumbar Support for Your Body Type Finding the perfect office chair isn’t just about the cushion; it’s about how the backrest interacts with your unique anatomy. A lumbar support that feels like a dream to a petite user might feel like a painful lump to someone with a larger frame. If you want to eliminate midday backaches, you must learn how to choose lumbar support that suits your body type. Let’s explore how to match your physical profile with the right ergonomic technology to ensure lasting comfort. Why One-Size-Fits-All Lumbar Support Fails Most office chairs have a fixed curve in the backrest. However, everyone’s spine is different, and the lower vertebrae sit at different heights depending on your torso and hips. If the support is in the wrong spot, it can cause muscle fatigue and poor posture. To solve this, look for an ergonomic chair with adjustable lumbar support or one made from flexible materials. Lumbar Support for Posture Correction and Spinal Health The primary goal of any backrest is to maintain the natural inward curve of your lower spine. Proper lumbar support for posture correction and spinal health acts as a physical reminder for your body to sit upright. Filling the gap between your lower back and the chair, it prevents the “C-slouch” that compresses spinal discs. For the best results, look for a high-back ergonomic chair that supports the entire length of your back, not just the base.   Identifying Your Body Type and Support Needs To choose the best office chair for your body, start by thinking about your height and body shape. 1. Petite and Average Frames If you have a shorter torso, the depth of the lumbar support matters more than its height. Too much support can push you forward in your seat. Look for a chair with adjustable lumbar height so you can set the support right at the small of your back. 2. Tall and Large Frames Finding an ergonomic chair for tall people with lumbar support can be a challenge. Tall users often find that standard lumbar “humps” hit them at the top of the pelvis rather than the lower back. A high-back ergonomic chair for spinal alignment is non-negotiable here. It ensures the lumbar zone can be raised high enough to comfortably reach the L1-L5 vertebrae. 3. Users with Existing Chronic Pain If you already have back pain, you need an ergonomic chair that does more than just adjust in height. Look for a chair that helps spread your weight away from your spine to reduce pressure and discomfort.   The Solution for 3-Zone Dynamic Lumbar Support Most chairs only support your back in one spot. Our 3-zone dynamic lumbar support chair is different. It divides the backrest into three sections that move independently to better fit your back. Benefits of the Best Ergonomic Chair with 3-Zone Lumbar Support A chair with 3-zone lumbar support provides full back support. The middle part supports your spine, while the sides help the muscles on each side of your back. This design works especially well for people with wider hips or backs, since the side wings adjust to fit your shape.   Advanced Technology, Adaptive Tracking and AI By 2026, office chairs will no longer rely on manual knobs. If you want a chair, you can adjust it once and not worry about it; adaptive technology is the way to go. The Adaptive Lumbar Tracking Ergonomic Chair An adaptive lumbar tracking chair uses sensors to keep the support in contact with your back as you move. Whether you lean forward to type or lean back to relax, the support stays with you. This way, your lower back is always protected. Hbada AI-Powered x7: The Peak of Personalization For the best fit for any body type, we suggest the Hbada AI-Powered x7. It uses sensors to track your posture in real time. No matter your height, the chair automatically changes the lumbar support to match your needs. It helps you stay in the best position for your back.   Comparison of Support Technologies Feature Standard Ergonomic 3-Zone Dynamic Hbada AI-Powered x7 Adjustment Type Manual Knob/Slide Flex-Wing Gravity Fully Automated Body Type Fit Limited Broad Range Universal Adaptation Support Feel Firm/Static Wrap-around/Supportive Adaptive/Bio-sync Best For Short-term use Best for back pain Long-term Spinal Health   Frequently Asked Questions (FAQ) Q: How do I know if the lumbar support is in the right spot?A: The lumbar support should fit comfortably in the curve of your lower back, just above your belt. It should feel firm but not hurt. If your shoulders are pushed forward or your feet lift off the floor, the support is probably too low or too strong. Q: Is a mesh backrest better than foam for lumbar support?A: Mesh is usually better for fitting different body types. Foam can lose its shape over time, but strong mesh stays supportive and feels more flexible. Mesh chairs also let air flow through and fit your body’s shape more naturally. Q: Does lumbar support really help with sciatica?A: Yes. Sciatica often happens when discs in your lower back are pressed too much. An adaptive lumbar tracking chair can help take pressure off those discs, which may ease the nerve pain that causes leg discomfort. Q: Why should tall people avoid “mid-back” chairs?A: Mid-back chairs usually have lumbar support that sits too low for tall people, which can make you hunch over. Tall users should pick a high-back ergonomic chair so the headrest and lumbar support fit their height.   Conclusion Everyone’s body is different, so your office chair should fit you. The right lumbar support can mean the difference between feeling good at the end of the day and having back pain. Look for features such as 3-zone support and adaptive tracking to help keep your spine healthy. Don’t settle for a chair that doesn’t fit—choose one like the Hbada AI-Powered x7 that adjusts to you. Your back deserves the best support. Your First 30 Days With HBADA: Tips for 2026 New Users Your First 30 Days With HBADA: Tips for 2026 New Users Congratulations on choosing HBADA to upgrade your workspace. Unboxing your new chair is just the start—getting used to better ergonomics takes some time. If you’re used to regular chairs, your body will need about a month to adjust. This guide will help you get the most out of your new chair by showing you how to use it properly and what to expect in your first 30 days.   Week 1: The Setup and Initial Calibration The first week is focused on setting up your chair correctly. Before you start working, follow the HBADA chair setup guide for new users. Adjusting your chair properly helps features like the 3-zone dynamic lumbar support work with your body, not against it. Step-by-Step Adjustment Guide for Beginners Begin with the “Rule of 90.” Make sure your knees, hips, and elbows are all at 90-degree angles. Follow this step-by-step adjustment guide for beginners: 1. Seat Height: Adjust the lever until your feet are flat on the floor. If you are petite, you may need a footrest to keep your knees level with your hips. 2. Seat Depth: Use the slider to leave a two-inch gap between the seat edge and the back of your knees. 3. Lumbar Height: Position the lumbar support so it fits the natural inward curve of your lower back. 4. Armrests: Raise them until your shoulders are relaxed and your elbows are supported at desk height. Why the First Week Might Feel “Different” It’s normal if your ergonomic chair feels uncomfortable at first. If you’ve spent years sitting in regular chairs, your muscles have adapted to a slouched, “C-shaped” posture. A chair like the HBADA AI-Powered x7 helps your spine return to its natural “S-curve.” As your muscles stretch and adjust, you might feel some mild soreness, much like after starting a new workout.   Week 2: Mastering the Lumbar and Motion By the second week, any soreness from your new chair should start to go away. This is a good time to fine-tune your lumbar support. Unlike regular chairs, our premium models have an adaptive lumbar tracking system that adjusts as you move. How to Set Lumbar Support for Correct Sitting Posture To get the best support, sit all the way back in your chair. You should feel the 3-zone dynamic lumbar support gently holding your waist from the center and sides. In models like the HBADA AI-Powered x7, sensors track your small movements. Feel free to move—the chair is built to adjust with you. Adjust the lumbar support until it feels firm but not uncomfortable against your spine. Correct Sitting Posture on a Chair with Proper Fit In the second week, focus on your head and neck position. Adjust the headrest so it supports the base of your skull, not your neck. This helps you avoid leaning forward and developing “Tech Neck.” Building these habits early will protect your neck and spine in the long run.   Week 3: Adapting to Long-Duration Work By the third week, your chair should feel more comfortable as the mesh adapts to your weight and your body gets used to the new alignment. This is when you’ll start to notice the benefits, especially if you sit for long periods (6 to 10 hours). Transitioning from a Regular Chair to an Ergonomic Chair To get comfortable during long hours, use your chair’s recline features. Sitting at a 90-degree angle for long periods can strain your spine. Try tilting back to 110 or 120 degrees during calls. This shifts your upper-body weight to the backrest, taking pressure off your lower back. Posture Correction and Spinal Alignment Over time, you’ll notice your chair feels more comfortable. As your core muscles get stronger, sitting upright will feel natural. Instead of struggling to sit up straight, you’ll feel the chair supporting you. This is a sign that your posture and alignment are improving.   Week 4: Total Bio-Synchronization By the last week of your first month, you should notice you have more energy at the end of the day. Less physical strain means you can think more clearly. The Hbada AI-Powered x7 Experience If you have the Hbada AI-Powered x7, the AI tracking should feel seamless by now. The chair has learned your usual recline angles and weight distribution. Its sensors make real-time adjustments, so even if you move around during a busy meeting, your lumbar and neck support stay just right.   Comparison of HBADA Core Models for New Users Feature E3 Series (Standard) E3 Pro (Advanced) Hbada AI-Powered x7 Lumbar System 3-Zone Dynamic 3-Zone Dynamic Active AI Tracking Armrests 3D Adjustable 720° Omni-Adjustable 720° Omni-Adjustable Adjustment Manual Manual Auto-Adaptive Sensors Best For Daily Office Work Pro Professionals Elite 10+ Hour Users   Frequently Asked Questions (FAQ) Q: How long does it take to get used to an ergonomic chair?A: For most users, the ergonomic chair break-in period lasts between 7 and 14 days. During this time, your body is unlearning years of poor posture. If you continue to feel discomfort after 21 days, revisit your HBADA chair setup guide for new users to ensure your seat height and depth are correctly calibrated. Q: How to use an ergonomic chair correctly in the first 30 days?A: Start by sitting all the way back so your spine is in contact with the backrest. Use the ergonomic chair adjustment guide for beginners, step by step, to set your height and depth. Most importantly, take “micro-breaks”—even the best chair benefits from you standing up for 2 minutes every hour to stimulate blood flow.  Q: Why does my lower back feel sore after switching chairs?A: This is part of adjusting to an ergonomic chair after a regular chair. Your lower back muscles are being forced to work in a healthy alignment for the first time. As long as the soreness is muscular, not sharp nerve pain, it is a sign that your posture correction and spinal alignment chair are doing their job. Q: Best way to adapt to an ergonomic chair for long hours?A: Variation is key. Switch between an upright typing position and a relaxed recline every hour. Ensure you use the adaptive lumbar-tracking ergonomic chair features by keeping your back pressed against the mesh. This ensures the chair’s mechanical “muscles” take the weight, not your own. Conclusion A Lifetime of Healthy Sitting Starts Now Your first 30 days with HBADA are an investment in your long-term health. By following the setup guide and giving your body time to adjust, you’re taking steps to avoid chronic back pain. Remember, your chair works best when you use its features. Pay attention to your posture, trust the technology, and enjoy the extra energy that comes from good support. Welcome to a better way to work. For more information, you can click to check: https://hbada.eu/pages/faq